Important – Sunpak auto 16R pro User Manual
Page 9
21
Setup Example ——————————————————————————
Press the MODE button again until “M”
is displayed and press the SEL button
until the “PR (Power Ratio)” value
blinks. Then, turn the rotary dial to
select the desired exposure value and
press the SEL button again. Now the
PR value setup is complete.
Press the SEL button again so that
the “F (f-value)” blinks. Then, turn the
rotary dial to select the exposure value while checking the bar graph on the range
indicator below. The reference shooting range is either the distance indicated on
the camera lens or the actual subject distance measured visually.
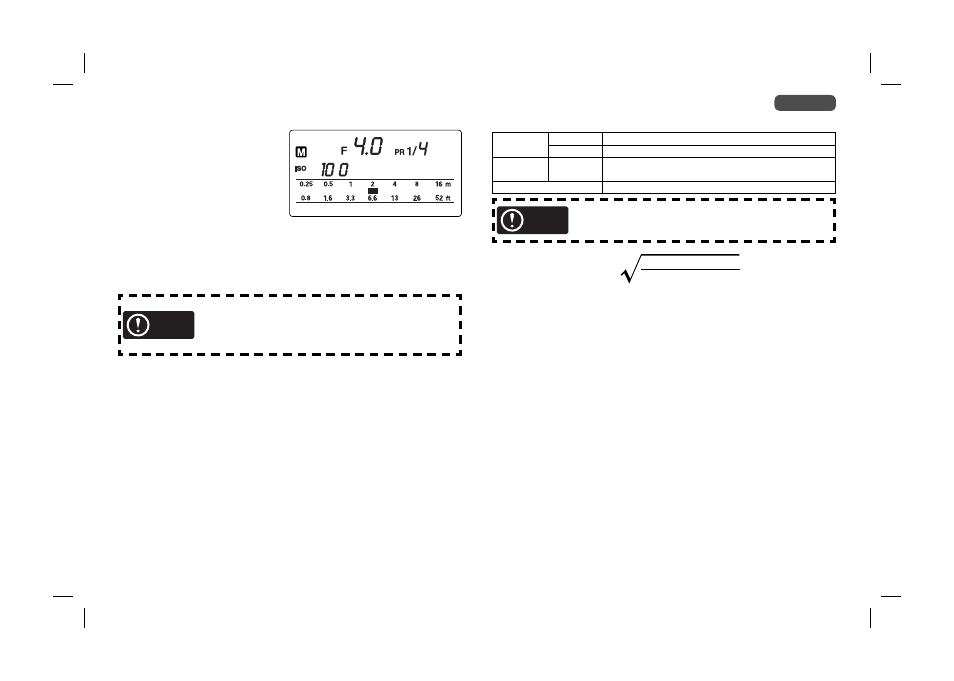
When the display is as shown above, for example, the ISO speed is set to 100, the
PR value is 1/4, the f-value is F4.0 and the fl ash fi res with the optimum power on the
subject located at about 2 meters (6.6 ft).
IMPORTANT
The value shown by the bar graph on the range indicator is
merely a reference value, and the actual value is variable
depending on the brightness of the subject and conditions
of the lens. For optimum shooting, it is recommended to
perform test shooting before determining the PR value.
Table 2 Camera Setups in Manual Mode
Mode
setting
Camera
Set to Auto or Manual mode.
Strobe
Set a PR value between 1/1 and 1/256.
f-value
setting
Camera
Manually set to Manual.
Shooting range
Displayed range
IMPORTANT
*1 When using an SLR camera, always make sure
that camera’s shutter speed is set to X second or
lower.
Shooting range =
Guide Number (P. 12) x
Film speed used
ISO 100
÷
f-value setting
z Auto signal ———————————————————————
When the subject is located within the working range of Auto mode shooting, the
“AUTO OK” indicator is displayed for about 2 seconds at the same time as the fl ash
fi res. If this indicator is not displayed, approach the subject or use an f-value with a
longer working range.
f Even when the subject is within the working range, “AUTO OK” may not be
displayed depending on the density (reflectivity) of the subject.
f if the flash is fired immediately after the Ready lamp lights, the working range
may be reduced.
z Test firing ————————————————————————
Press the TEST button after the Ready lamp is lit to perform test fi ring.
English