Banks Power Cummins Motorhomes: (Diesel ’98 - 03 ISB 5.9L) PowerPack TLC & Stinger TLC systems w_OttoMind Module 5.9L, Class-A MHExcept Comon Rail User Manual
Page 6
wire. The Banks OttoMind will not function
properly if installed incorrectly.
Locate a black tap connector in the Banks
kit. Squeeze an ample amount of dielectric
grease into the cavities of the wire tap connector.
Capture the proper black wire (identified in step
26
) in the tap connector. Squeeze the connector
closed over the wire using a pair of pliers. See
Figure 6
. Caution: do not cut or strip any wires.
The blade in the connector is designed to cut
through the insulation of the wire to make contact
with the conductors.
Plug the Manifold Absolute Pressure (MAP)
sensor into the OttoMind main wiring loom.
Locate the MAP sensor on the intake manifold.
It will be located toward the back of the engine
(toward the flywheel). Unplug the factory
connector and plug the corresponding connectors
on the OttoMind wiring loom into the sensor and
the factory wire loom. Plug the corresponding
male bullet connector on the wire loom into the
installed connector on the pump.
Remove the forward bolt on the fuel filter
mouting bracket. Install the large ring
terminal of the ground wire under the head of the
bolt and reinstall the bolt. See
Figure 7.
Determine a good mounting location for
the OttoMind. Make sure that it is in a
location that is clear of water or debris from
the road. Using the two holes in the mounting
bracket, and the sheet metal screws provided,
mount the OttoMind to a panel or crossmember
in the engine bay.
Plug the main connector from the wire
loom into the OttoMind connector. The
blue wire and the two gray connectors are not
used in motorhome applications. Route the wire
away from any exhaust or moving components.
Using the cable ties supplied, secure the wiring in
the engine bay.
GAUGE INSTALLATION
Choose a suitable location under the
lower edge of the dash panel for mounting
the instrument panel provided where it can be
conveniently viewed by the driver.
NOTE: Molded instrument consoles for top-
of-dash mounting and additional gauges are
available through Gale Banks Engineering.
Using the panel as a template, drill two
3
⁄
16
”
diameter holes in the dash and mount the
panel with two no. 10 x
1
⁄
2
” machine screws, nuts
and star washers provided.
32.
33.
31.
30.
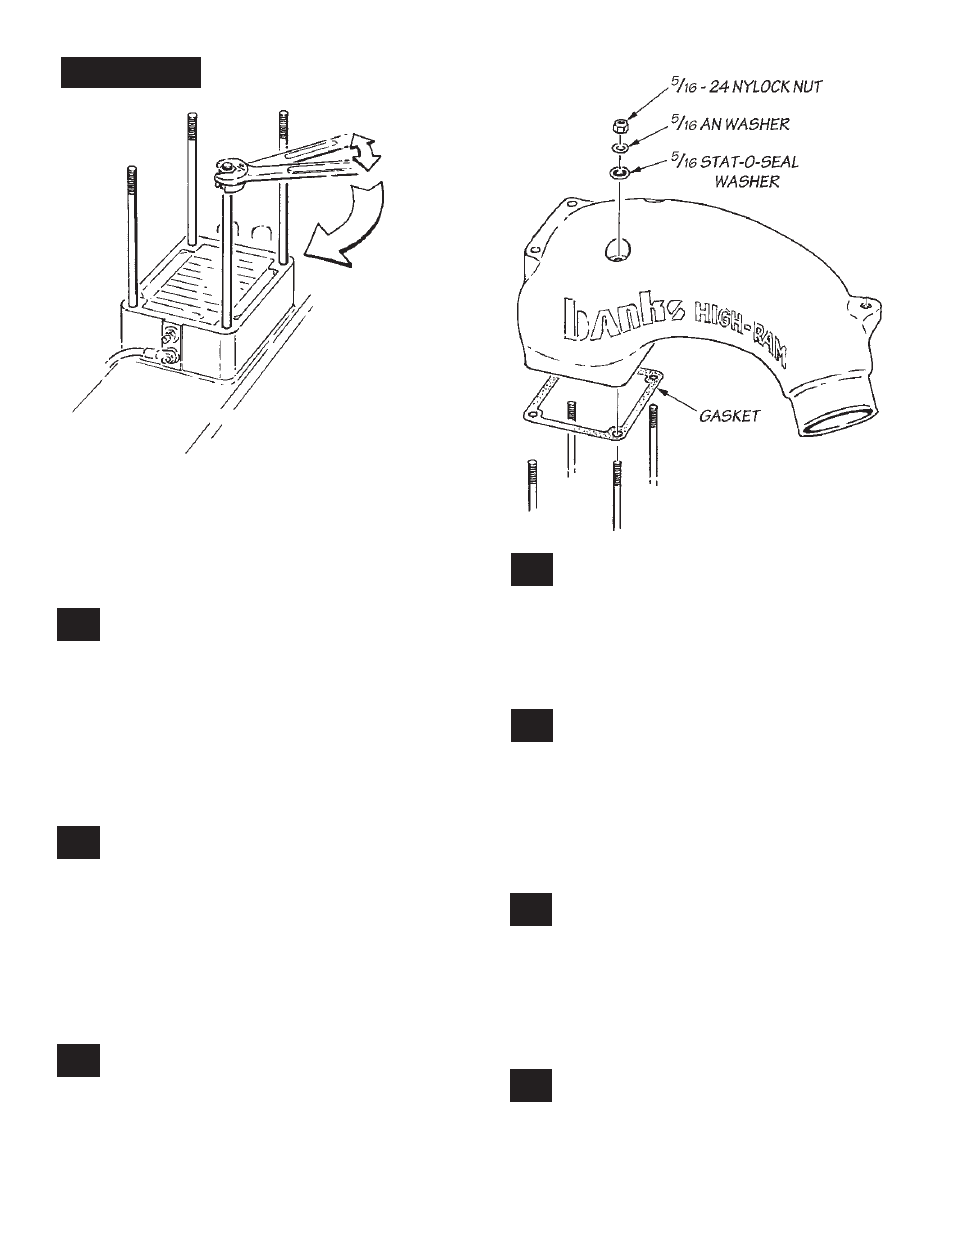
Figure 4
27.
28.
29.
P.N. 96398
6