The camera controls are – Velleman CAMIP5N1 Quick Installation Guide User Manual
Page 8
CAMIP5N1
V. 01 – 08/02/2013
8
©Velleman nv
Notes:
A visitor will see this window without the camera controls.
The Device Management settings are only availble for an administrator.
The functions and layout of the surveillance tool vary depending on the browser you are using.
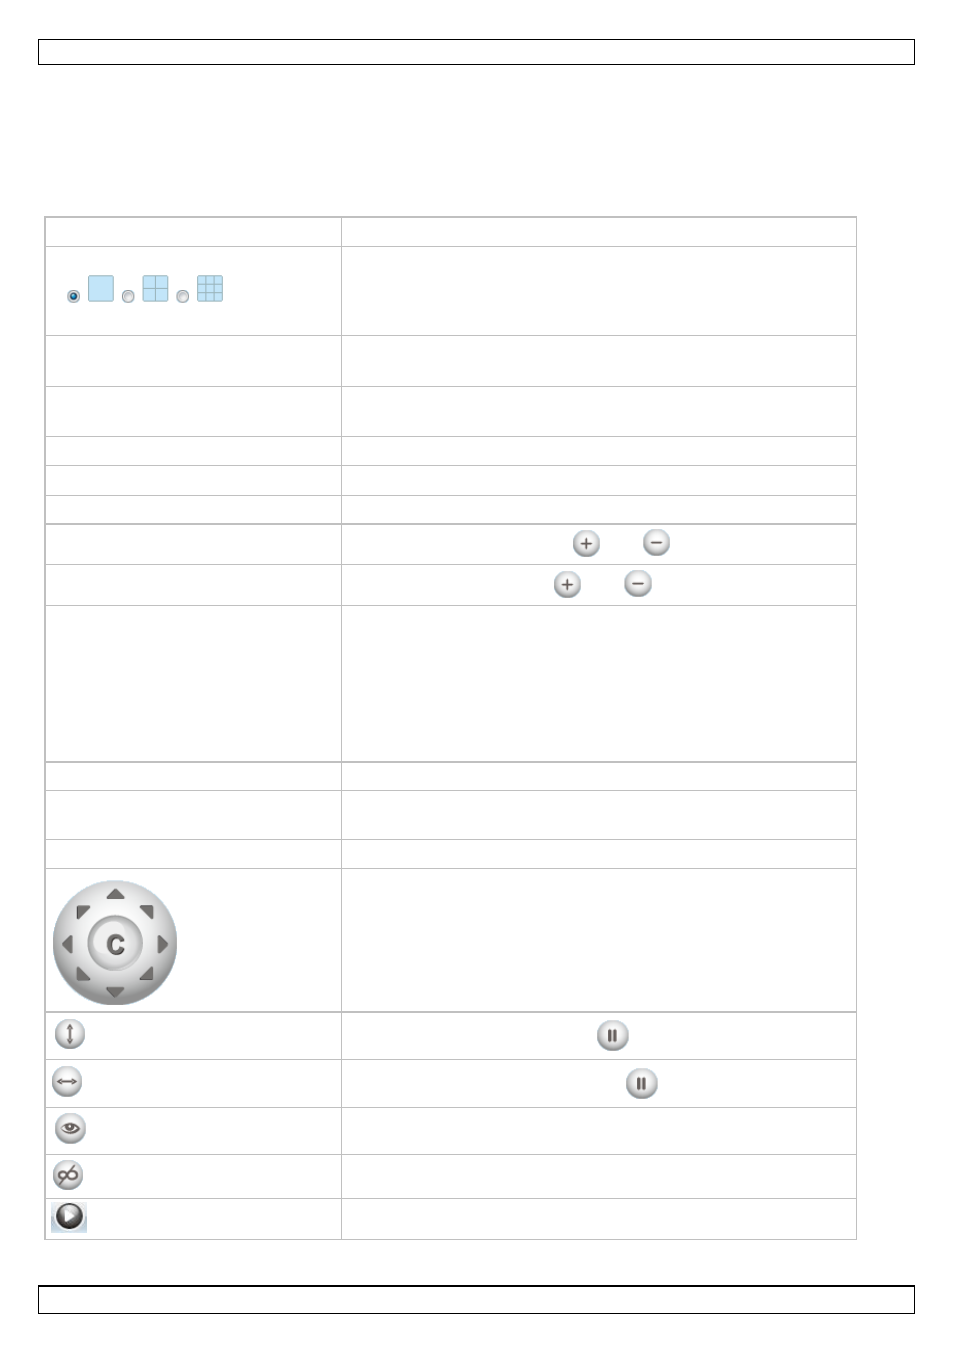
The camera controls are
Option
Use
Select the number of cameras you want to display
simultaneously (1, 4 or 9).
To learn more about setting up multiple cameras, please refer
to the full manual on the cd included in the package.
OSD (= on-screen display)
Show or hide the camera name on the display.
Add OSD on record
Show or hide the camera name when recording.
Resolution
Select a resolution from the list.
Mode
Select a refresh rate from the list.
Fps
Select a frame per second setting from the list.
Brightness
Set the brightness with the
and
buttons.
Contrast
Set the contrast with the
and
buttons.
Preset – Set - Go
You can set a pre-defined location with the Preset function.
To set a location:
Select a number from the list and click Set.
The system will save the preset.
To use a location you have preset:
Select it from the list and click Go.
Default all
Reset all settings to their default values.
Flip
Select the Flip checkbox to show the image shown upside
down.
Mirror
Select the Mirror checkbox to mirror the image.
Click an arrow to move the camera accordingly.
Click and hold to move faster.
Click C to start auto-scanning the entire area.
Start Auto tilt (vertical). Press
to stop.
Start Auto pan (horizontal). Press
to stop.
Switch IR LEDs on (for night vision).
Switch IR LEDs off.
Click to start live video.