Installation set-up – Blue Ox BRK2012 User Manual
Page 7
405-0260
Page 7 of 15
3/28/12
In Towed Vehicle
1. Open driver side door of towed vehicle and push
driver seat back as far as possible.
2. Place BRK2012 Patriot® on the floor.
3. Open “Claw” and place it on the brake pedal.
(
Fig.1)
Note: The easiest way is to place the bottom of
the claw under the pedal frst, then slide the top
of the claw over the top of the pedal. The top of
the claw has silver knobs.
If towing a VW or Ford truck there are optional
brake claws available. Please reference the
accessories information in the back of this
manual.
4. The feet can be attached for proper height
position.
Note: Do not store or transport with the feet
attached to the unit.
5. Slide the driver’s seat forward to touch push
pads. Adjust the push-pad up or down for proper
height position in relation to the seat.
Note: Seat must be as far forward as possible
without causing the brake lights to be activated.
If the seat can’t be moved forward far enough,
an arm extension is available.
Note: If using a breakaway, it must be
connected before turning on the unit.
6. Plug in power cord to cigarette lighter. Be sure
there is 12 volt power. Indicator light will glow.
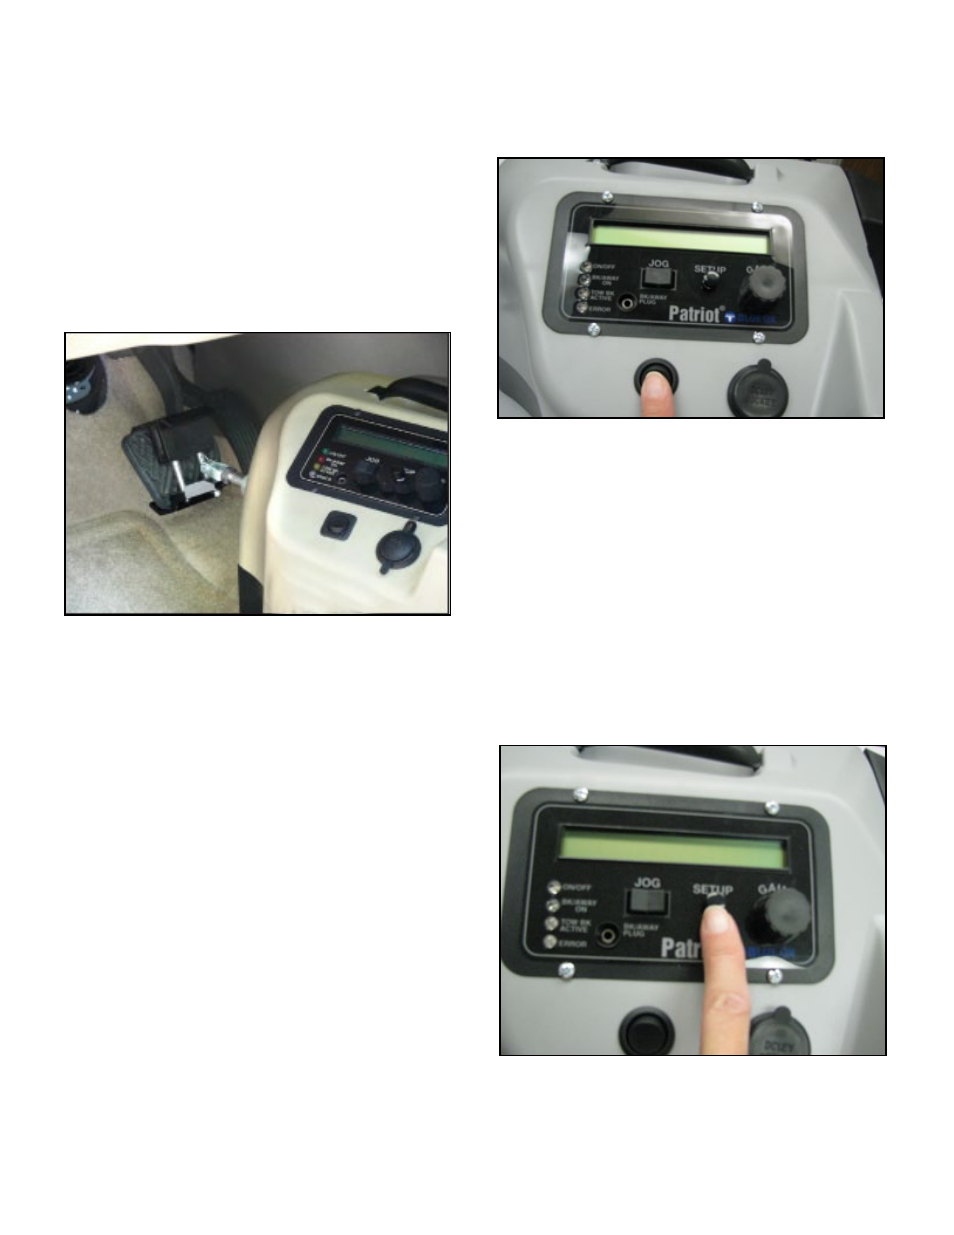
7. Turn on the power switch. (Fig. 2) Display will
read initializing.
8. Push the “SET-UP” button. (Fig. 3)
The brake will stroke three (3) times then remain
in the ready position.
Note: If the brake extends fully and remains
extended without stroking three times, the seat
is not far enough forward. Turn the brake off then
back on. Reposition the seat as far forward as
possible without causing the brake lights to be
activated then restart set-up process. A brake
rod extension can be purchased separately.
Please reference the accessories listed at the
back of the manual for additional information.
Installation Set-Up
This section will explain how to install the
Patriot®.
Note: Prepare the car for towing. Attach the tow bar.
Fig. 2 Turn on Power Switch
Fig. 3 Push the Set-Up Button
Fig. 1 Place claw on brake pedal