Replacing the batteries, Replacing the diaphragm – Activeforever Signature Series Electronic Stethoscope Adult Black (Adult, black) User Manual
Page 6
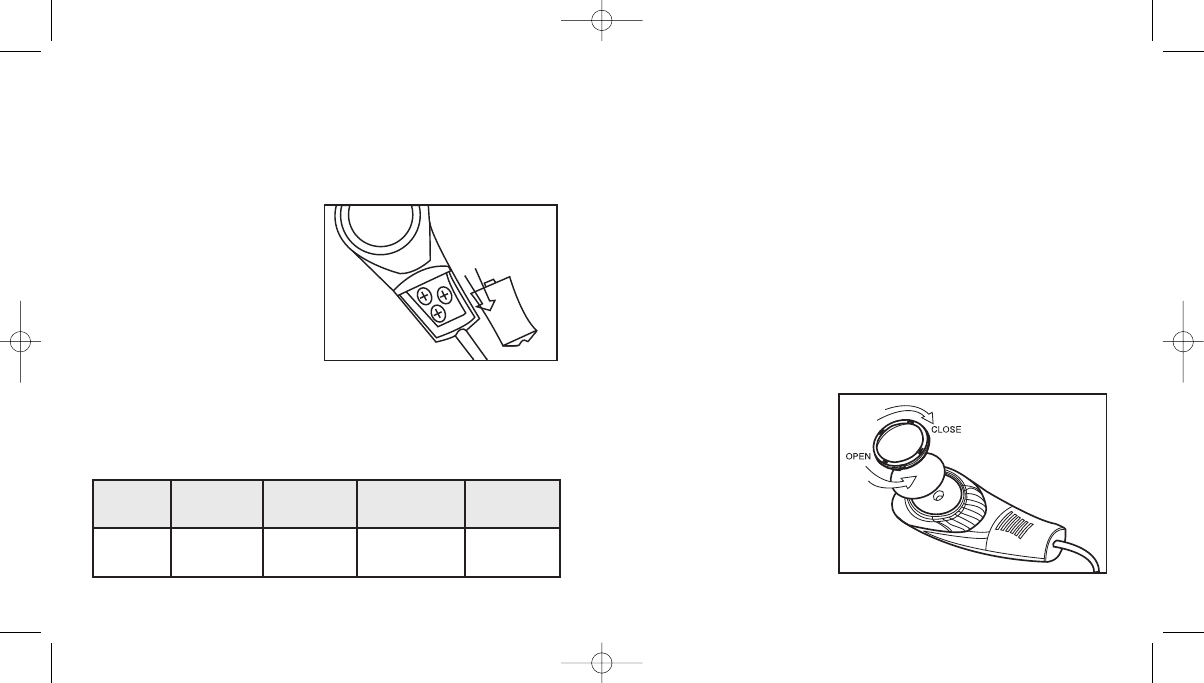
Replacing the Batteries
The batteries need to be replaced when the Yellow and Orange lights remain
illuminated when the Electronic Stethoscope is turned on. Replace the batter-
ies with three (3) LR44 batteries or equivalent.
Replacing the Diaphragm
9
10
FUNCTION
YELLOW LIGHT
(EXTENDED
MODE)
ORANGE LIGHT
(BELL MODE)
GREEN LIGHT
(DIAPHRAGM
MODE)
FLASHES
Low
battery
✷
✷
3 times
To replace the batteries in your
Electronic Stethoscope:
1. Slide the battery cover away from
the chestpiece.
2. Remove the three (3) batteries
and properly dispose.
3. Insert three (3) new batteries with
the positive (+) side facing up.
4. Carefully slide the battery cap
into place.
NOTE: We recommend that you
remove the batteries if the Electronic
Stethoscope will not be used for an
extended period of time.
Under normal conditions, it is not necessary to remove the rim and diaphragm
for cleaning since the diaphragm can easily be cleaned with an isopropyl alco-
hol wipe. If, however, it is necessary to remove the rim and diaphragm, care-
fully follow these instructions:
Rim and Diaphragm Removal:
1. Using the palm of your hand, gently press down on the rim.
2. Twist the rim counterclockwise to remove both the rim and the diaphragm
(See diagram below).
Cleaning the Rim and Diaphragm:
1. Remove the diaphragm from the ring. The diaphragm can be cleaned with
mild soapy water or isopropyl alcohol.
2. Carefully wipe down the chestpiece with isopropyl alcohol, making sure
not to saturate the chestpiece. Excess moisture will damage the electrical
components inside the chestpiece and void your warranty.
Rim and Diaphragm
Reassembly:
1. Once the rim and
diaphragm are completely
dry, place the diaphragm
into the inside of the rim.
2. Position the rim and
diaphragm onto the
chestpiece. Twist the rim
clockwise to reattach it to
the chestpiece.
91-032-400 Instruction Manual 8/30/07 8:36 AM Page 11