Print service settings, Set/change the power saver time interval – Xerox 4127 User Manual
Page 3
3
XEROX 4112/4127 Enterprise Printing System
Basic Navigation and Quick Reference for Administrators
701P48067
Version 2.0, July 2008
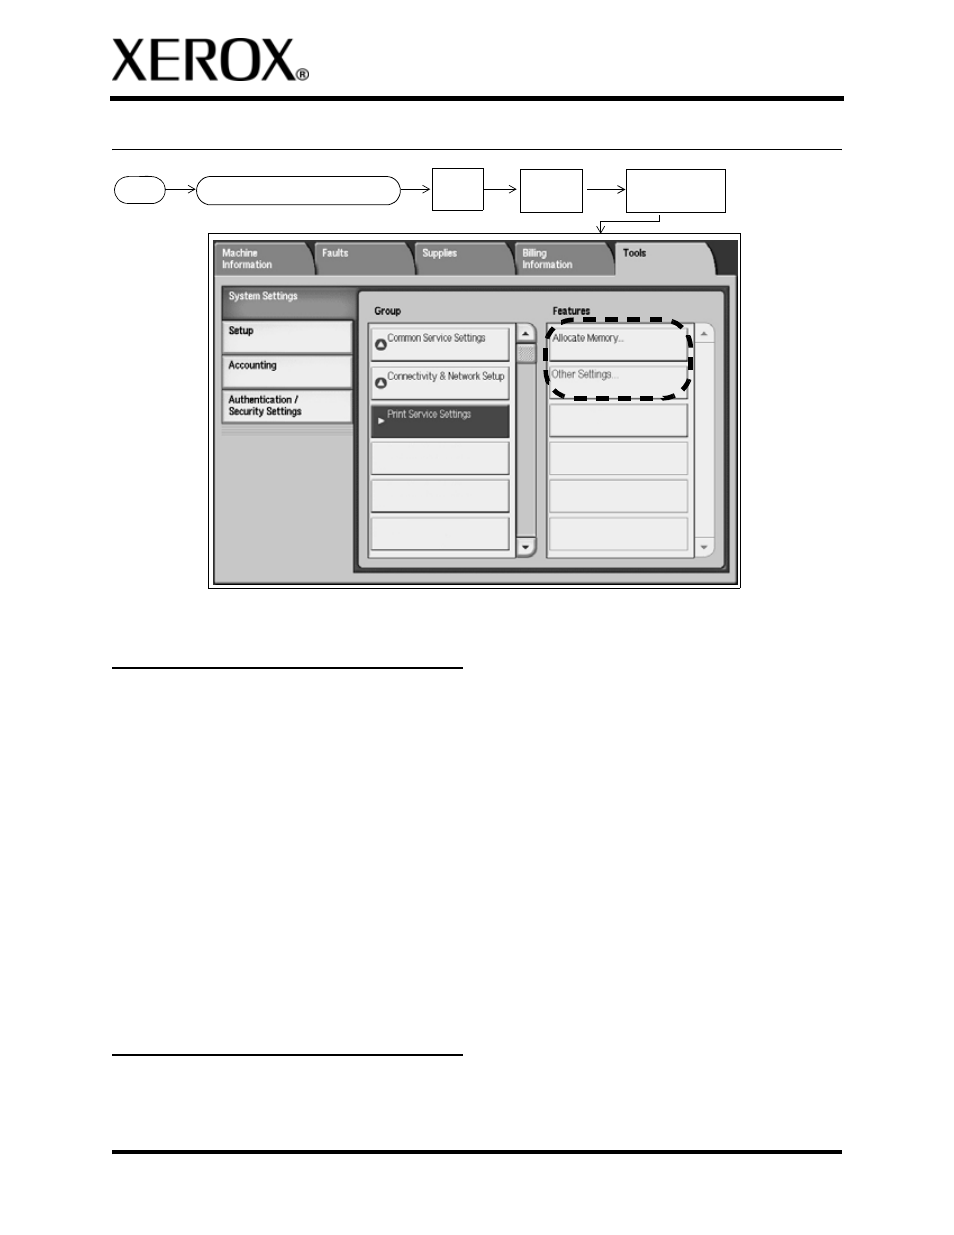
Print Service Settings
Set/change the Power Saver time
interval
1. Press the
Log In/Out
button.
2. Enter the System Administrator Login ID and
select
Enter
.
3. Press the
Machine Status
button and select
the
Tools
tab.
4. Select
System Settings
>
Common Service
Settings
>
Machine Clock/Timers
.
5. Select
Auto Power Saver / Energy Saver
>
Change Settings
.
6. Enter the desired time interval for the Low
Power Mode and the Sleep Mode (two sepa-
rate modes).
7. Select
Save
and
Close
.
Set/change the System Adminis-
trator Login ID and Password
1. Press the
Log In/Out
button.
2. Enter the System Administrator Login ID and
select
Enter
.
3. Press the
Machine Status
button and select
the
Tools
tab.
4. Select
Authentication/Security Settings
>
System Administrator Settings
>
System
Administrator’s Login ID
.
5. Select
On
and
Keyboard
.
6. Enter the new System Administrator Login ID
and select
Save
.
7. Select
Keyboard
, re-enter the new System
Administrator ID and select
Save
.
8. Select
Save
.
9. From the System Administrator Settings menu,
select
System Administrator’s Passcode
.
10. Select
Keyboard,
enter the new passcode,
and select
Save
.
11. Select
Keyboard
and re-type the passcode.
12. Select
Save
and
Close
.
Login
Machine Status button
System
Settings
Tools
tab
Print Service
Settings