E-37 english, Recording compact discs, Recording programmed tracks – Yamaha GX-70 User Manual
Page 49: Select the disc by pressing the disc skip button, Load a tape into the deck 2 cassette compartment, Follow steps 3–6 described above
E-37
English
Recording CD(s) on both sides of
a tape automatically
1
Press the CD input selector button and load the disc to be
recorded.
2
Select the disc by pressing the DISC SKIP button.
3
Load a tape into the deck 2 cassette compartment.
4
When recording with the Dolby NR system, press the
DOLBY NR button so that “
B” lights up on the display.
If not, turn it off.
*
For details, refer to the “Dolby B Type Noise
Reduction” on page 31.
5
If the reverse mode “
” is not selected, press the
reverse MODE selector button to select it.
6
Press the EDIT button. (“EDIT” appears on the display.)
CD playback and recording starts. Recording is carried
out on side A and B of the tape continuously.
*
If the tape has not rewound to the end, it is rewound to
the end rapidly before recording starts.
Recording starts from the first part of the tape on which
recording can be done.
*
“A
” (or “
B”) on the display shows the side of
the tape on which recording is being carried out.
*
When the recording on side A finishes while a track is
being played back, the sound is automatically faded
out, and then the recording stops.
The recording on side B starts from the beginning of
the same track.
Notes
•
When this CD player is in the all disc play mode, if the
tape’s total possible recording time is longer than the total
playing time of the selected disc, tracks on another disc
are recorded continuously.
In this case, as many as three discs can be recorded
automatically.
•
During recording, the DISC CHANGE button on the CD
player is disabled.
•
The CD player’s repeat play mode will be canceled during
this recording mode.
Recording programmed tracks
Programmed tracks from one or more discs can also be
recorded in the same way.
1
1
Program desired tracks from one or more discs. (Refer to
page 20 for the programming procedure.)
2
2
Follow steps 3–6 described above.
To cancel this function
Before recording, press the stop
button of the CD player
or the tape deck.
To stop recording
Press the stop
button of the tape deck.
(At this time, CD playback automatically stops.)
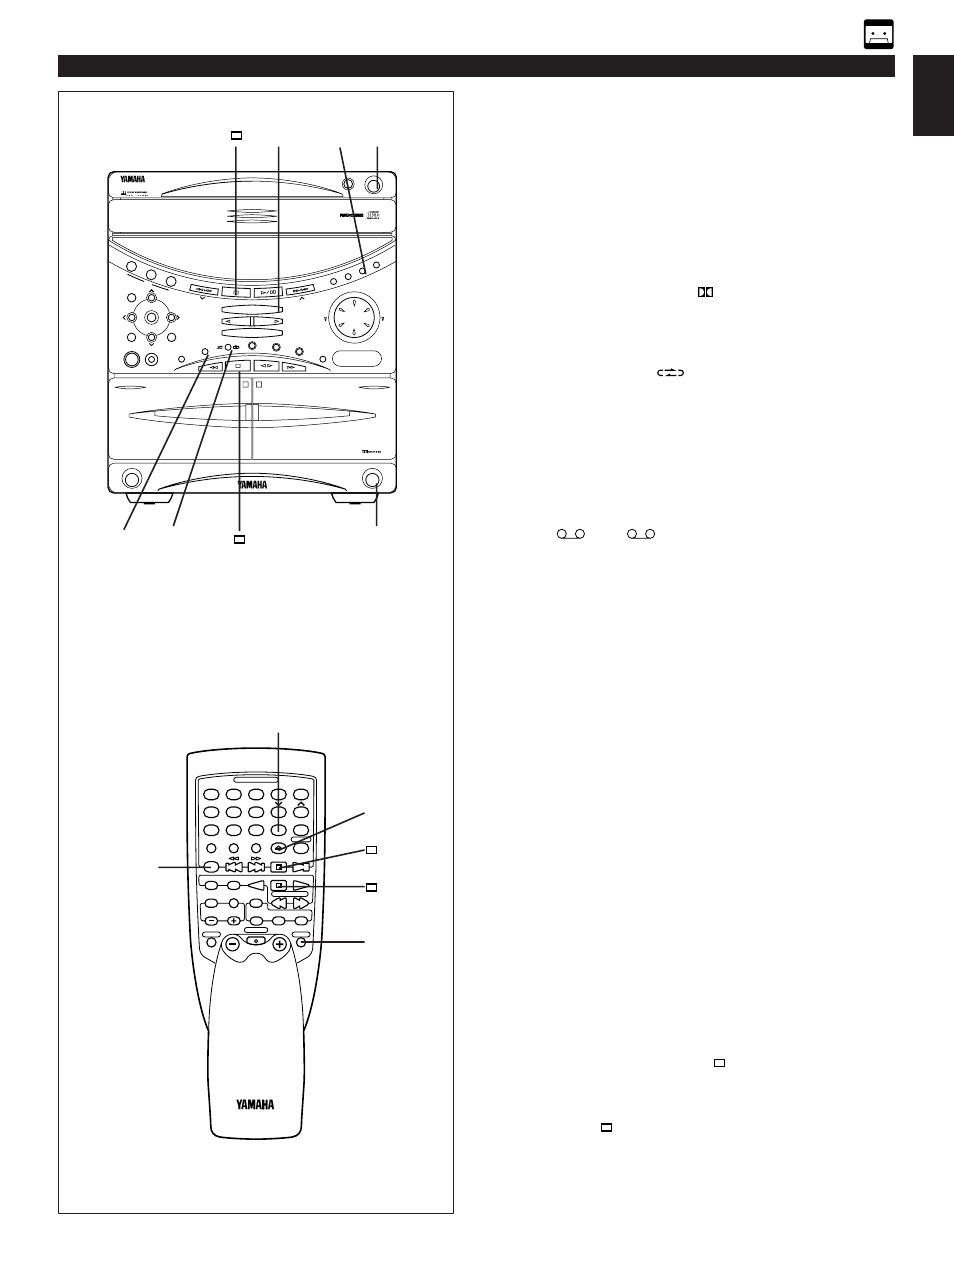
RECORDING COMPACT DISCS
1
PLAYBACK
2
REC/PLAYBACK
EJECT
OPEN/CLOSE
DISC CHANGE
Active Servo
Technology
1
2
3
DISC
PROGRAM
USER
VOLUME
DOWN
UP
MEMORY
DOWN
UP
REC/PAUSE
MODE
HOUR
MIN
NORMAL
DUBBING
HIGH
MEMORY
TIME ADJ
DOLBY NR
AUTO/MAN’L
TIMER
TIMER REC
MUSIC
POWER
PHONES
PRESET/TUNING/BAND
A/B/C/D/E
RANDOM
REPEAT
EDIT
DISPLAY
CD
INPUT
INPUT
TAPE 1/2
START
MODE
FREQ PS/PTY/RT/CT
PTY SEEK
EJECT
MINI COMPONENT SYSTEM
GX–70
4 5
3
1 6 1
1
1
2
2
3
3
4
4
5
5
TIME
A
DISC SKIP
PROG
B
TAPE
C
EDIT
D
+
I0
E
OPEN/CLOSE
RANDOM
REPEAT
MODE
6
6
7
7
8
8
9
0
CD
PRESET
TUNER
TAPE
STOP
STOP
PLAY/PAUSE
PLAY
PLAY
REC/PAUSE
TAPE 1/2
LEVEL
MUSIC
TEST
FLAT
CENTER/REAR
/DELAY
PROGRAM
USER
POWER
INPUT
SLEEP
VOLUME
6
1
1
2