D9 rough-split shakes installation – Wolverine Siding and Vinyl Carpentry Soffit and Decorative Trim User Manual
Page 81
D9 Rough-Split Shakes Installation
Important
This product is not designed for roof application. It is designed
solely for installation on vertical surfaces.
Panels must be installed with nails over a solid substrate with
nail holding strength such as plywood, oriented strand board,
or existing wood siding (minimum 7/16" thick). This product
cannot be installed with staples.
NOTE: Each panel must be nailed through the round hole
in the center of the nail hem to control the direction of
normal expansion and contraction. If you are installing a
partial panel and the center nail hole has been cut off, drill
a nail hole in the center of the nail hem of the cut panel
and nail through it.
Panel Spacing at Different Temperatures
As with any plastic siding, Restoration Shapes expands and
contracts with changes in temperature. For this reason, it is
important that you space the panels according to the panel
temperature at the time of installation. Failure to provide the
proper spacing according to these temperature ranges may
result in gaps that are too large or too small, thereby creating
the potential for side lock tabs disengaging, panel distortion,
or buckling. Spacing of panels previously installed at a
different temperature does not require adjustment.
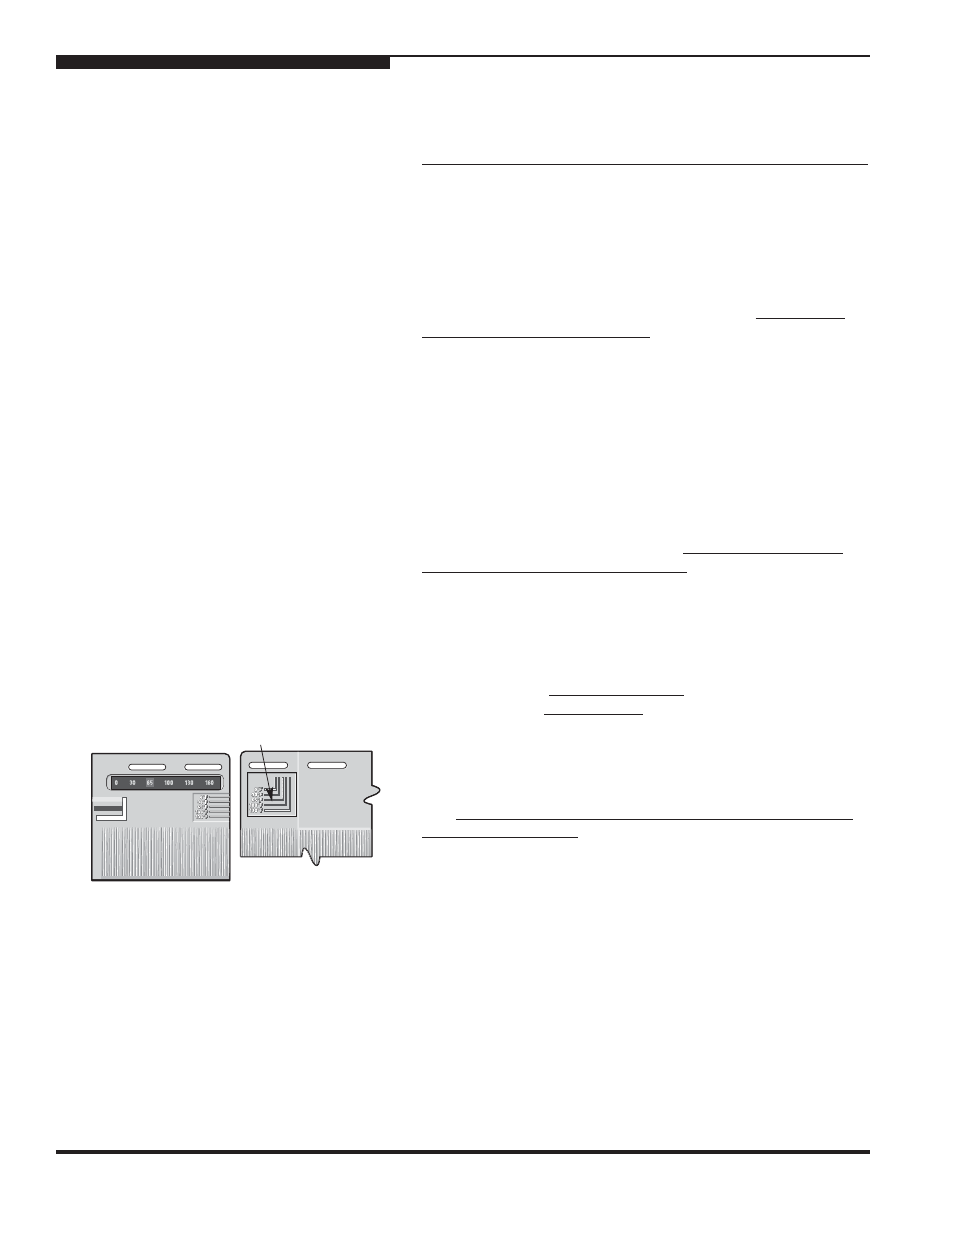
Each panel has a PanelThermometer
™
that displays panel
temperature and indicator lines that serve as guides for proper
spacing between the panels. The PanelThermometer is
located on the upper right-hand corner of the panel; the
indicator lines are on the upper left-hand corner.
Note that the panel temperature may change throughout the
day. Space the panels according to the panel temperature at
the time of installation.
The cells on the PanelThermometer will change color to
indicate the temperature of the panel.
NOTE: If two temperature cells on the PanelThermometer
show a color change, use the brighter color as the
indicator.
PanelThermometer
Temperature
Reading
Indicator Lines
0
Set to 0 line
30
Set to 30 line
65
Set to 65 line
100
Set to 100 line
130
Set to 130 line
160
Butt panels tight
80
SECTION 8 – Installing Specific Wolverine Products
Wolverine Fit and Finish Installation Guide
panel temperature indicator lines