5 using picture-in-picture (pip), 6 using the on-screen menus, Using picture-in-picture (pip) – Vidikron Vision 75 User Manual
Page 60: Using the on-screen menus
44
Vidikron Vision Model 65/Model 75 Installation/Operation Manual
4.5
Using Picture-In-Picture
(PIP)
For PIP purposes, there are two groups of inputs
separated by their display modes:
• Video (SD) group: Video and S-Video inputs.
• Graphic (HD) group: HDMI 1, HDMI 2,
Component 1 and Component 2/RGB inputs.
PIP shows one input from the Graphic group within one input from the Video group, or vice
versa.
• Press PIP to enable the PIP function. Press PIP again to turn PIP off.
• To adjust the size of the PIP window, press PIP+ or PIP-.
• When PIP is active, press ACT (Active) to display the Main and Secondary source menu.
To select a main window input source, press
or
to highlight it and press ENTER.
Then, do the same for the secondary window input source using the
,
,
and ENTER
buttons. When finished, press EXIT.
4.6
Using the On-Screen
Menus
• Press the MENU button on the remote control to display the Main Menu. To select a menu
item, use the
and
buttons on the remote control to highlight it. Press ENTER or
to
confirm your selection.
• Use the arrow buttons to select menu items or change settings.
• Press EXIT to return to the previous menu.
• Press MENU to turn off the OSD menu. (When the Main Menu is displayed, pressing EXIT
also turns off the menu.)
The Vision 65/75 OSD menus are arranged hierarchically, as shown in Figure 4-1. Depending
on the selected input source and signal characteristics, some menu options may not be
available.
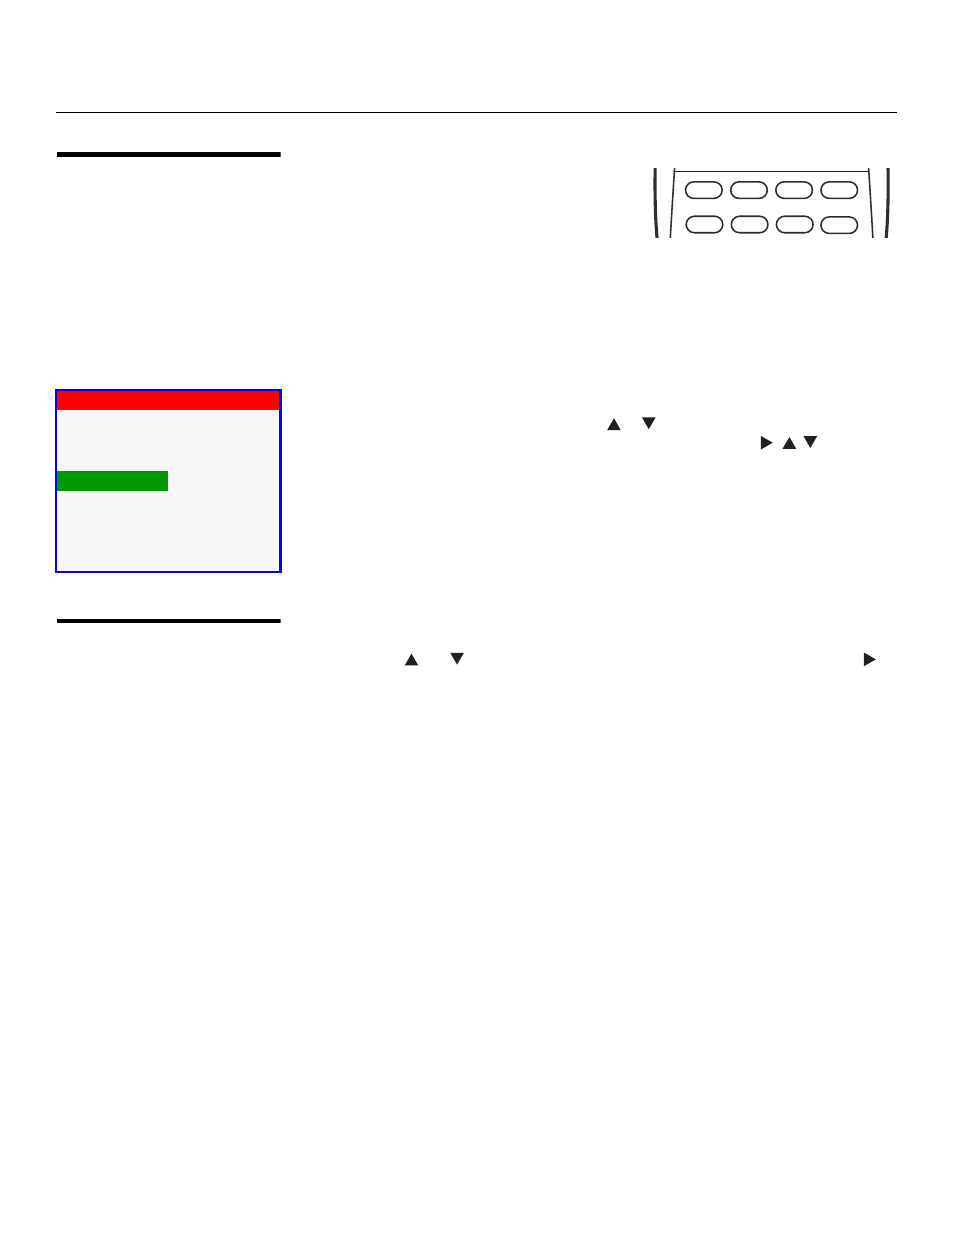
FOCUS
LENS
ZOOM
PIP ACT PIP + PIP -
LENS
Main
Secondary
> Video