Chapter 3 – Vizio VS42LF User Manual
Page 28
VIZIO VS42L FHDTV10A User Manual
Version 2/11/2008
28
www.VIZIO.com
Chapter 3
Chapter 3
Chapter 3
Chapter 3
Setting Up to Watch Television
Setting Up to Watch Television
Setting Up to Watch Television
Setting Up to Watch Television
For ‘Preparing Your LCD HDTV for Wall Mounting’, see page 6.
3.1
3.1
3.1
3.1
Basic
Basic
Basic
Basic LCD
LCD
LCD
LCD HD
HD
HD
HDTV St
TV St
TV St
TV Start Up
art Up
art Up
art Up
1. Connecting the Power Cable
Connect the power cord to the power cord connector on the back of the HDTV, and then plug the
power cord into an AC wall socket.
2. Connect Audio and Video Cables to the HDTV
(see pages 14 ~ 26 for detailed steps)
3. Turning Power On
Once all the components are connected, press the Power ON button on the side of the HDTV, or
press the Power ON (Red) button on the remote control.
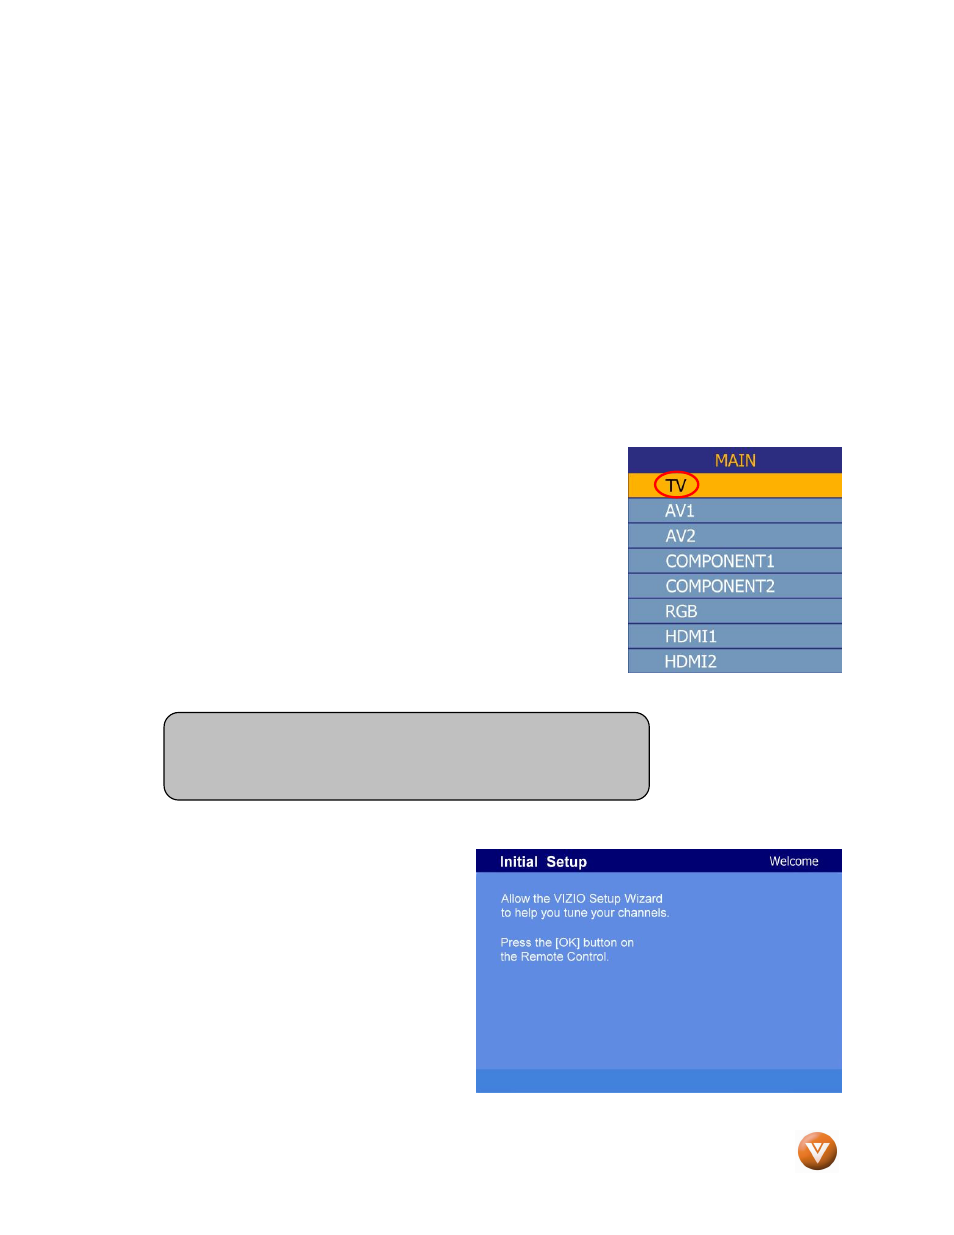
4. Select Input Source
Select the Input Source for the HDTV by pressing the INPUT
button on the side of the TV or using the Input button on the
remote control. Pressing this button will cycle you through the
following options: TV, AV1, AV2, Component1, Component2,
RGB, HDMI1 and HDMI2.
5. Using DTV and TV with an Antenna or Cable
At first power on, the HDTV will have the DTV/TV input selected
and will guide through some setup screens. If it is not the first
time the HDTV has been powered on, you will need to select TV
using the INPUT button on the remote control or the side of the
HDTV, or directly by pressing the TV button on the remote
control, and Auto Scan for the available TV channels.
a. The screen will show ‘snow’ and
the first Initial Setup OSD panel.
Press the OK button on the
remote control.
Note: If you do not see this option within the OSD, you might
have selected the wrong input in the previous steps and you will
need to repeat step 4 (above) to select the correct input source.