Uniden BC245XLT User Manual
Bc 245xlt, Channel tr unk tracking scanner
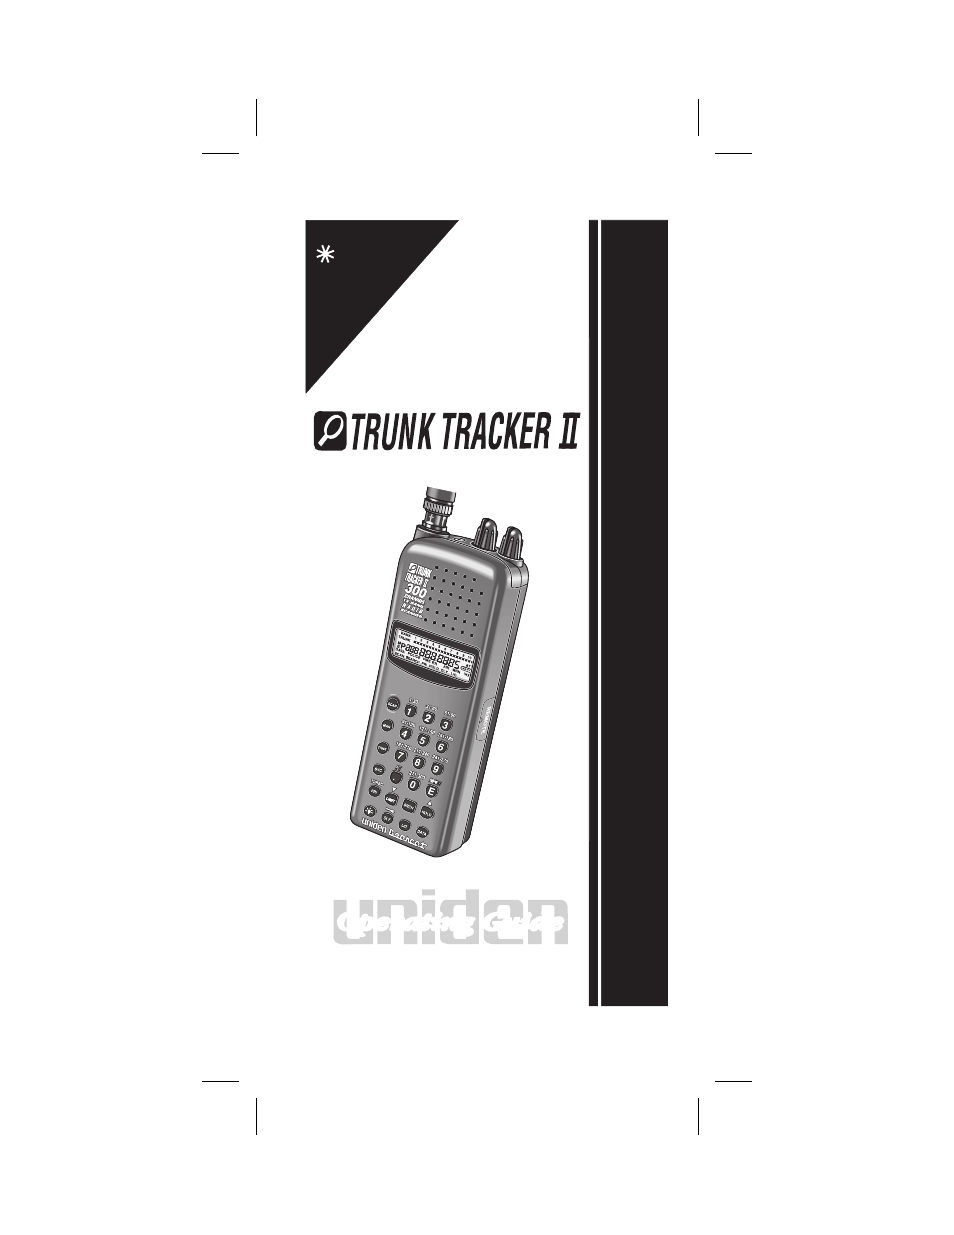
Table of contents
Document Outline
- CONTENTS
- Introduction 3
- Important Notice 4
- Terminology 5
- Feature Highlights 7
- Where to Obtain More Information 9
- Included with Your Scanner 10
- Setup 11
- Basic Operation 14
- Programming 16
- Scanning 20
- Searching 28
- SVC Scanning 32
- Trunk Tracking 36
- Types of Trunking Systems 36
- EDACS® Tracking 38
- Setting the Squelch 39
- Programming Trunking Frequencies 39
- Searching a Trunked Bank 42
- Frequency Find Mode 43
- Direct Entry ID Hold Mode 43
- ID Lockout 44
- Restore a Single ID 44
- Restore all IDs 45
- Searching Tips 45
- Channel Activity Indicators 46
- Scan Lists 48
- Programming ID Scan Lists Manually 48
- ID Scan Mode 52
- Setting Priority in Trunking Mode 53
- Programming Scan Lists During Search 54
- Deleting a Stored ID 54
- Moving between Scan List Memories 55
- Multi-Track 55
- Fleet Map Programming 56
- Selecting Trunking Programming Mode 56
- Selecting a Preset Fleet Map 57
- Programming a Fleet Map 58
- Programming a Hybrid System 59
- Setting the Base and Offset frequencies for Motorola VHF/UHF trunked systems 60
- Toggling the Status Bit 61
- Remote Interface 62
- Connecting the scanner 62
- SmartScan Mode 64
- Remote (PC Control) Mode 70
- Clone Mode 72
- Care and Maintenance 74
- General Use 74
- Location 74
- Cleaning 74
- Repairs 75
- Birdies 75
- Troubleshooting 76
- Specification 78
- Appendix 79
- Preset Fleet Maps 79
- User Defined Fleet Maps 81
- One Year Limited Warranty inside back cover
- BC245 pg31.pdf
- CONTENTS
- Introduction 3
- Important Notice 4
- Terminology 5
- What is Scanning? 5
- What is Searching? 5
- What is Trunk Tracking? 5
- Feature Highlights 7
- Where to Obtain More Information 9
- Information on the Internet 9
- Included with Your Scanner 10
- Setup 11
- Installing the Battery Pack 11
- Charging the Battery Pack 12
- Low Battery Indicator 12
- Adapter Safety Feature 12
- Flexible Antenna 13
- Belt Clip 13
- Basic Operation 14
- Turn the Scanner On 14
- Setting the Squelch 14
- Keylock 15
- LCD Back Light 15
- Auto Light 15
- Programming 16
- Duplicate Frequency Alert 18
- Programming Tips 18
- Deleting a Stored Frequency 19
- Scanning 20
- RF Attenuation Feature 21
- Setting the Delay Mode 22
- Channel Lockout 23
- Lockout Tips 24
- Restore a Locked Out Channel 25
- Restore All Locked-Out Channels 25
- Priority Scan 26
- Changing the Priority Channel 27
- Searching 28
- Setting a Search Range 28
- Turbo Search 28
- Search Hold Feature 29
- Data Skip 29
- Frequency Skip 30
- Storing Search Frequencies 30
- SVC Scanning 32
- SVC Scan Lockout 34
- Programming with SVC Scan 35
- Trunk Tracking 36
- Types of Trunking Systems 36
- EDACS® Tracking 38
- Setting the Squelch 39
- Programming Trunking Frequencies 39
- Searching a Trunked Bank 42
- Frequency Find Mode 43
- Direct Entry ID Hold Mode 43
- ID Lockout 44
- Restore a Single ID 44
- Restore all IDs 45
- Searching Tips 45
- Channel Activity Indicators 46
- Scan Lists 48
- Programming ID Scan Lists Manually 48
- ID Scan Mode 52
- Setting Priority in Trunking Mode 53
- Programming Scan Lists During Search 54
- Deleting a Stored ID 54
- Moving between Scan List Memories 55
- Multi-Track 55
- Fleet Map Programming 56
- Selecting Trunking Programming Mode 56
- Selecting a Preset Fleet Map 57
- Programming a Fleet Map 58
- Programming a Hybrid System 59
- Setting the Base and Offset frequencies for Motorola VHF/UHF trunked systems 60
- Toggling the Status Bit 61
- Remote Interface 62
- Connecting the scanner 62
- SmartScan Mode 64
- Remote (PC Control) Mode 70
- Clone Mode 72
- Care and Maintenance 74
- General Use 74
- Location 74
- Cleaning 74
- Repairs 75
- Birdies 75
- Troubleshooting 76
- Specification 78
- Appendix 79
- Preset Fleet Maps 79
- User Defined Fleet Maps 81
- One Year Limited Warranty inside back cover
- CONTENTS
- BC245pg36.pdf
- CONTENTS
- Introduction 3
- Important Notice 4
- Terminology 5
- What is Scanning? 5
- What is Searching? 5
- What is Trunk Tracking? 5
- Feature Highlights 7
- Where to Obtain More Information 9
- Information on the Internet 9
- Included with Your Scanner 10
- Setup 11
- Installing the Battery Pack 11
- Charging the Battery Pack 12
- Low Battery Indicator 12
- Adapter Safety Feature 12
- Flexible Antenna 13
- Belt Clip 13
- Basic Operation 14
- Turn the Scanner On 14
- Setting the Squelch 14
- Keylock 15
- LCD Back Light 15
- Auto Light 15
- Programming 16
- Duplicate Frequency Alert 18
- Programming Tips 18
- Deleting a Stored Frequency 19
- Scanning 20
- RF Attenuation Feature 21
- Setting the Delay Mode 22
- Channel Lockout 23
- Lockout Tips 24
- Restore a Locked Out Channel 25
- Restore All Locked-Out Channels 25
- Priority Scan 26
- Changing the Priority Channel 27
- Searching 28
- Setting a Search Range 28
- Turbo Search 28
- Search Hold Feature 29
- Data Skip 29
- Frequency Skip 30
- Storing Search Frequencies 30
- SVC Scanning 32
- SVC Scan Lockout 34
- Programming with SVC Scan 35
- Trunk Tracking 36
- Types of Trunking Systems 36
- EDACS® Tracking 38
- Setting the Squelch 39
- Programming Trunking Frequencies 39
- Searching a Trunked Bank 42
- Frequency Find Mode 43
- Direct Entry ID Hold Mode 43
- ID Lockout 44
- Restore a Single ID 44
- Restore all IDs 45
- Searching Tips 45
- Channel Activity Indicators 46
- Scan Lists 48
- Programming ID Scan Lists Manually 48
- ID Scan Mode 52
- Setting Priority in Trunking Mode 53
- Programming Scan Lists During Search 54
- Deleting a Stored ID 54
- Moving between Scan List Memories 55
- Multi-Track 55
- Fleet Map Programming 56
- Selecting Trunking Programming Mode 56
- Selecting a Preset Fleet Map 57
- Programming a Fleet Map 58
- Programming a Hybrid System 59
- Setting the Base and Offset frequencies for Motorola VHF/UHF trunked systems 60
- Toggling the Status Bit 61
- Remote Interface 62
- Connecting the scanner 62
- SmartScan Mode 64
- Remote (PC Control) Mode 70
- Clone Mode 72
- Care and Maintenance 74
- General Use 74
- Location 74
- Cleaning 74
- Repairs 75
- Birdies 75
- Troubleshooting 76
- Specification 78
- Appendix 79
- Preset Fleet Maps 79
- User Defined Fleet Maps 81
- One Year Limited Warranty inside back cover
- CONTENTS
- BC245 Part 2.pdf
- CONTENTS
- Introduction 3
- Important Notice 4
- Terminology 5
- Feature Highlights 7
- Where to Obtain More Information 9
- Included with Your Scanner 10
- Setup 11
- Basic Operation 14
- Programming 16
- Scanning 20
- Searching 28
- SVC Scanning 32
- Trunk Tracking 36
- Types of Trunking Systems 36
- EDACS® Tracking 38
- Setting the Squelch 39
- Programming Trunking Frequencies 39
- Searching a Trunked Bank 42
- Frequency Find Mode 43
- Direct Entry ID Hold Mode 43
- ID Lockout 44
- Restore a Single ID 44
- Restore all IDs 45
- Searching Tips 45
- Channel Activity Indicators 46
- Scan Lists 48
- Programming ID Scan Lists Manually 48
- ID Scan Mode 52
- Setting Priority in Trunking Mode 53
- Programming Scan Lists During Search 54
- Deleting a Stored ID 54
- Moving between Scan List Memories 55
- Multi-Track 55
- Fleet Map Programming 56
- Selecting Trunking Programming Mode 56
- Selecting a Preset Fleet Map 57
- Programming a Fleet Map 58
- Programming a Hybrid System 59
- Setting the Base and Offset frequencies for Motorola VHF/UHF trunked systems 60
- Toggling the Status Bit 61
- Remote Interface 62
- Connecting the scanner 62
- SmartScan Mode 64
- Remote (PC Control) Mode 70
- Clone Mode 72
- Care and Maintenance 74
- General Use 74
- Location 74
- Cleaning 74
- Repairs 75
- Birdies 75
- Troubleshooting 76
- Specification 78
- Appendix 79
- Preset Fleet Maps 79
- User Defined Fleet Maps 81
- One Year Limited Warranty inside back cover
- BC245 pg48 rev.pdf
- CONTENTS
- Introduction 3
- Important Notice 4
- Terminology 5
- What is Scanning? 5
- What is Searching? 5
- What is Trunk Tracking? 5
- Feature Highlights 7
- Where to Obtain More Information 9
- Information on the Internet 9
- Included with Your Scanner 10
- Setup 11
- Installing the Battery Pack 11
- Charging the Battery Pack 12
- Low Battery Indicator 12
- Adapter Safety Feature 12
- Flexible Antenna 13
- Belt Clip 13
- Basic Operation 14
- Turn the Scanner On 14
- Setting the Squelch 14
- Keylock 15
- LCD Back Light 15
- Auto Light 15
- Programming 16
- Duplicate Frequency Alert 18
- Programming Tips 18
- Deleting a Stored Frequency 19
- Scanning 20
- RF Attenuation Feature 21
- Setting the Delay Mode 22
- Channel Lockout 23
- Lockout Tips 24
- Restore a Locked Out Channel 25
- Restore All Locked-Out Channels 25
- Priority Scan 26
- Changing the Priority Channel 27
- Searching 28
- Setting a Search Range 28
- Turbo Search 28
- Search Hold Feature 29
- Data Skip 29
- Frequency Skip 30
- Storing Search Frequencies 30
- SVC Scanning 32
- SVC Scan Lockout 34
- Programming with SVC Scan 35
- Trunk Tracking 36
- Types of Trunking Systems 36
- EDACS® Tracking 38
- Setting the Squelch 39
- Programming Trunking Frequencies 39
- Searching a Trunked Bank 42
- Frequency Find Mode 43
- Direct Entry ID Hold Mode 43
- ID Lockout 44
- Restore a Single ID 44
- Restore all IDs 45
- Searching Tips 45
- Channel Activity Indicators 46
- Scan Lists 48
- Programming ID Scan Lists Manually 48
- ID Scan Mode 52
- Setting Priority in Trunking Mode 53
- Programming Scan Lists During Search 54
- Deleting a Stored ID 54
- Moving between Scan List Memories 55
- Multi-Track 55
- Fleet Map Programming 56
- Selecting Trunking Programming Mode 56
- Selecting a Preset Fleet Map 57
- Programming a Fleet Map 58
- Programming a Hybrid System 59
- Setting the Base and Offset frequencies for Motorola VHF/UHF trunked systems 60
- Toggling the Status Bit 61
- Remote Interface 62
- Connecting the scanner 62
- SmartScan Mode 64
- Remote (PC Control) Mode 70
- Clone Mode 72
- Care and Maintenance 74
- General Use 74
- Location 74
- Cleaning 74
- Repairs 75
- Birdies 75
- Troubleshooting 76
- Specification 78
- Appendix 79
- Preset Fleet Maps 79
- User Defined Fleet Maps 81
- One Year Limited Warranty inside back cover
- CONTENTS
- CONTENTS