1 menu, 2 drv8811 gpio control signals, Signals – Texas Instruments Laser And Motor Drives DRV8811EVM User Manual
Page 9: Frame
3.1
Menu
3.2
DRV8811 GPIO Control Signals
www.ti.com
Windows Application
The menu at the top of the application offers a series of quick options for how the COM port is to behave.
1. File
→
Exit - Terminates the application
2. Settings
→
Port - Selects from COM1 to COM4. Default is COM4.
The serial port's actual port number defaults to what we have specified on
“USB_Drivers_Install_Readme.pdf”. However, any port between COM 1 and COM 4 are equally
usable.
3. Connect: Opens the serial port. When this menu item is pressed, its caption changes to “Disconnect”.
4. Disconnect: Closes the serial port. When this menu item is pressed, its caption changes to “Connect”.
After opening the application, the order of events should be:
1. Go to Settings
→
Port and choose the COM port where the USB virtual COM port device has been
configured to work. If the COM port is 4, then this step can be skipped as application defaults to
COM4.
2. Press Connect. If the port is available, the menu changes the “Connect“ caption to “Disconnect“. Press
Disconnect to disable the serial communications.
<1><4><0> should return on the text box as an acknowledgement. The text box also changes from red to
green, as shown in
Figure 4. Acknowledgement Text Box
The application is ready for use.
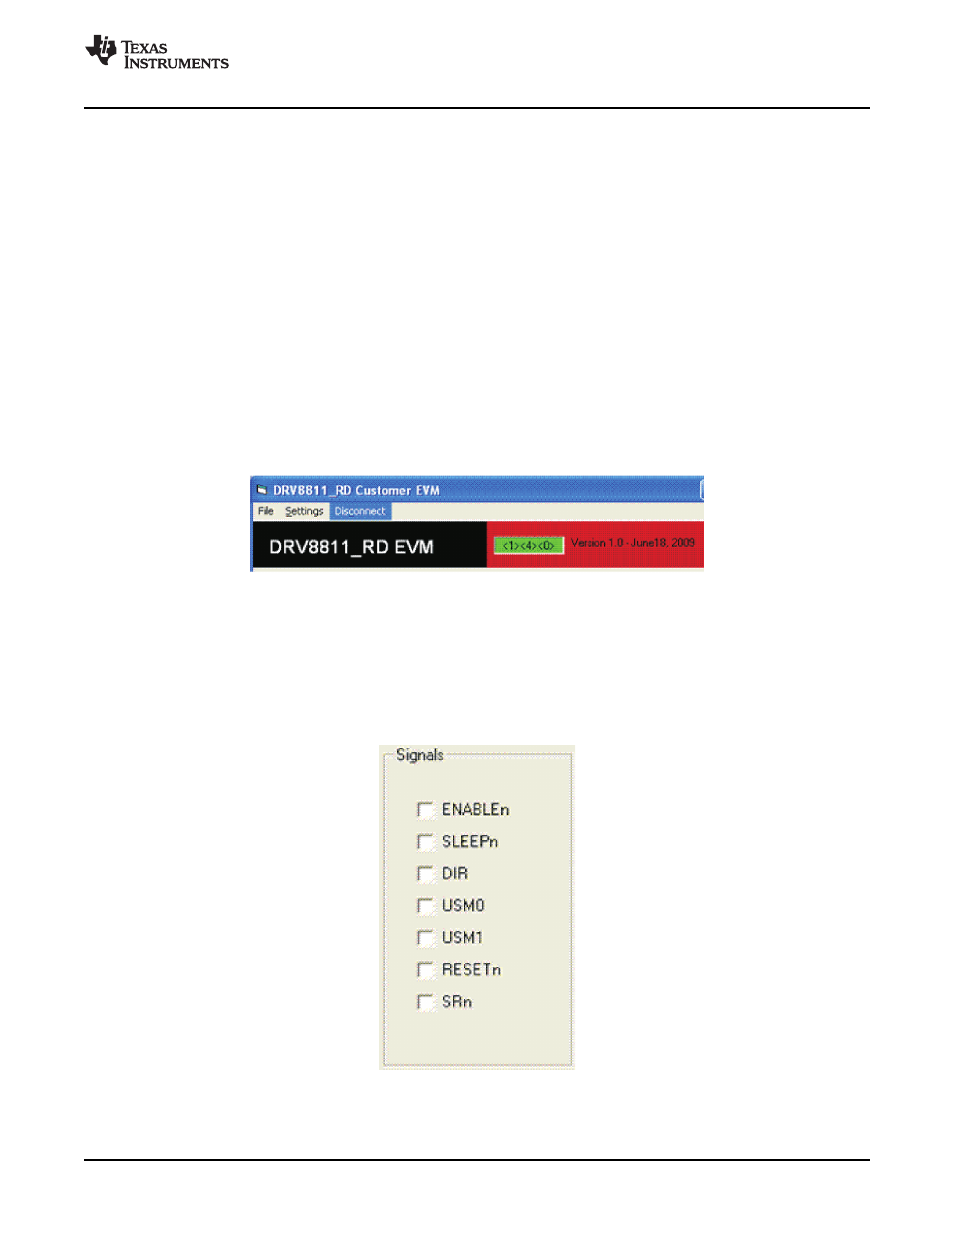
Once the application is communicating with the interface board, the control signals can be actuated by
checking or un-checking check boxes on the Signals frame.
Figure 5. Signals Frame
SLVA344A – July 2009 – Revised September 2009
Laser and Motor Drives
9