Onkyo R-801A User Manual
Page 25
25
4
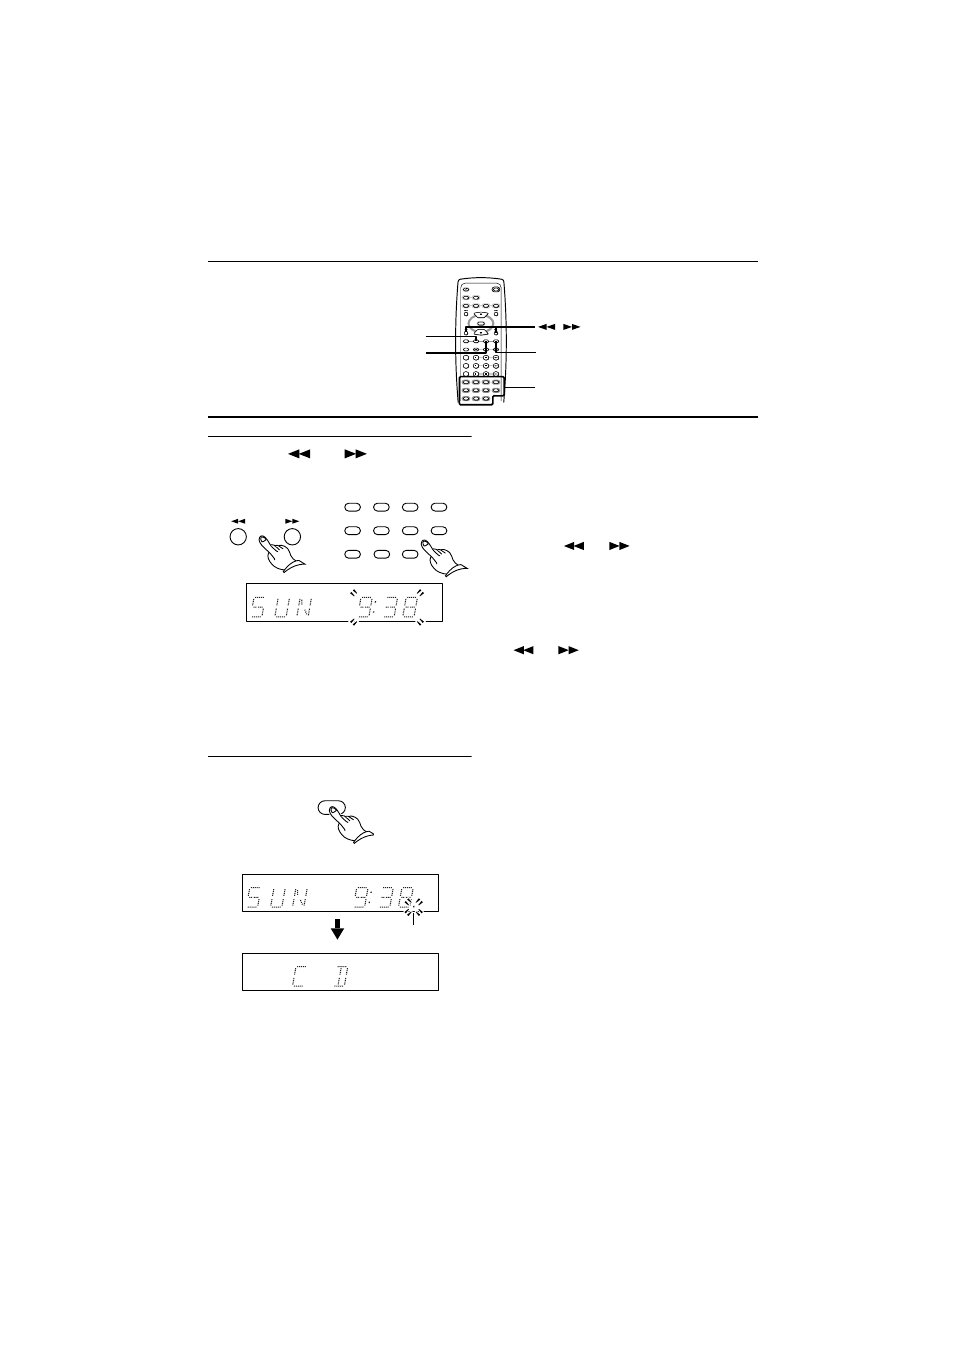
Use the
or
button or the
number buttons to set the desired
time.
Entering the time value using the number
buttons on the remote controller:
To set 9:38 am, press 10/0, 9, 3, 8, then
ENTER.
To set 11:00 am, press 1, 1, 10/0, 10/0,
then ENTER.
* “10/0” stands for “0.”
5
Press the ENTER button.
The clock will start operating.
After you set the clock while the unit is in
Stand-by Off mode, pressing the ENTER
button causes the display indicator to
turn off.
Tip
Switching between the 24 hour and 12 hour
display settings:
1. Press the TIMER button repeatedly to dis-
play “24H/12H.”
2. Press the ENTER button.
3. Use the
or
button to select 24H
(24 hour display) or 12H (12 hour display).
4. Press the ENTER button to confirm the
setting.
Notes
• To use the number buttons instead of the
or
button to set the desired day
of the week and time, select the 24-hour
display. If you select the 12-hour display,
you cannot use the number buttons to set
the day and time.
• The ACCUCLOCK function is disabled if
you set the clock manually. If you wish to
enable the ACCUCLOCK function, refer to
the previous section “Confirming/chang-
ing the RDS station used by ACCU-
CLOCK”.
REPEAT
STANDBY/ ON
TAPE
TAPE REW
TAPE FF
SLEEP
TIMER
ENTER
CLOCK
MODE
CLEAR
SCROLL
CDR/PC
CD/ DVD
MD
FM
AM
ACOUSTIC
PRESENCE
INPUT SELECTOR
TAPE
CDR/PC
CD/DVD
MD
VOLUME
MUTING
7
8
9
10/0
4
5
6
2
3
1
--/---
UP
DOWN
TIMER
CLOCK
ENTER
,
Number buttons
7
8
9
10/0
4
5
6
2
3
1
--/---
or
ENTER
Lit
The day/time indicator on the display
changes to the input indicator.