Onkyo TX-DS474 User Manual
Onkyo Acoustics
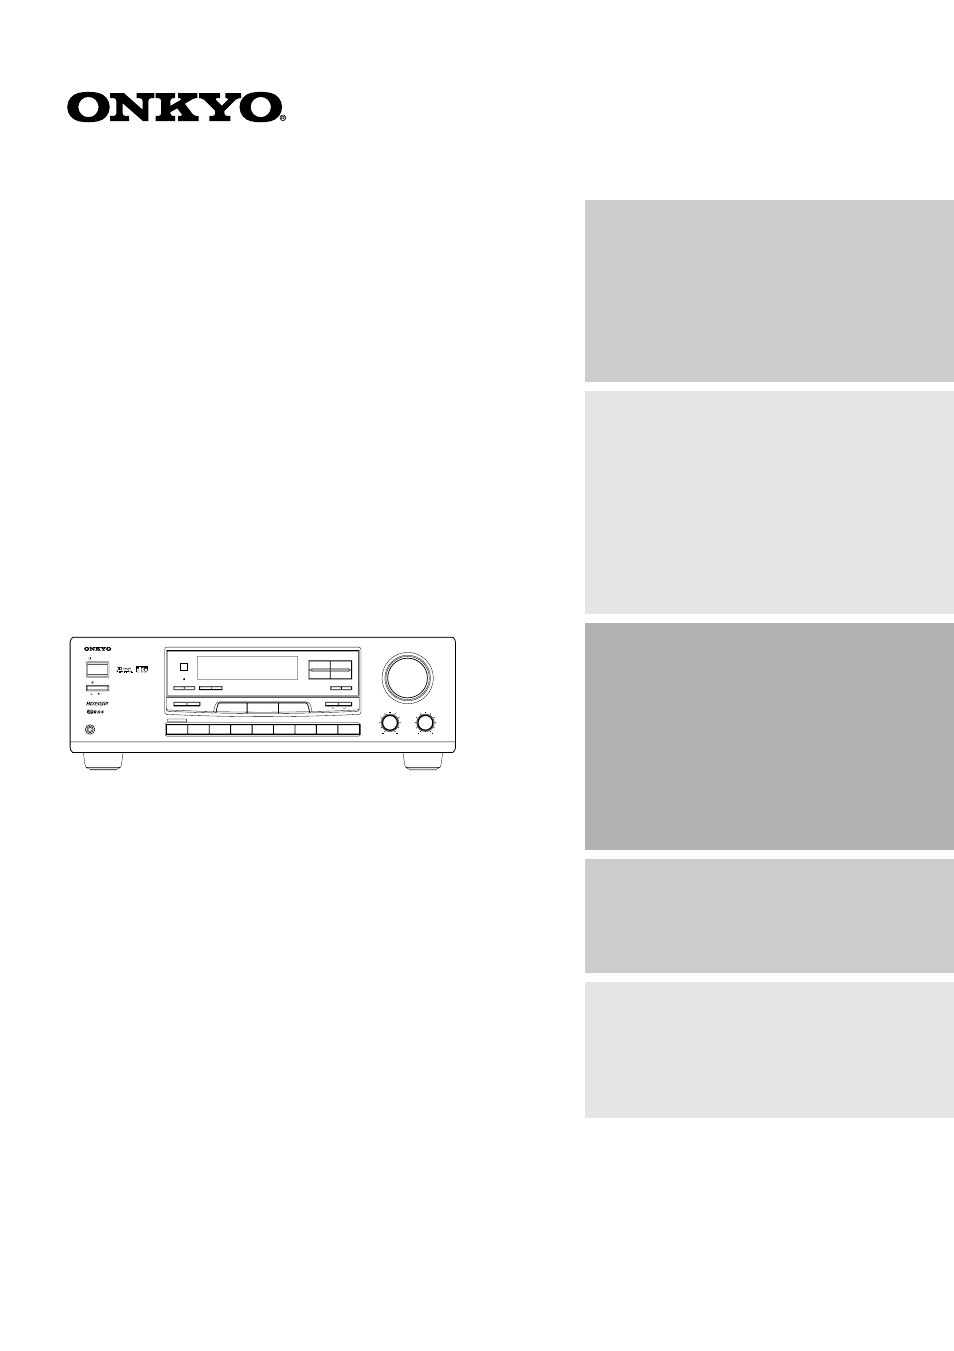
Table of contents
Document Outline
- Contents
- TX-DS363_E1.pdf
- Before operating this unit
- Audio equipment connections
- Video equipment connections
- Connecting other devices
- Connecting speakers
- Positioning speakers
- Connecting the power
- Making antenna connections
- 1. With your fingernail or a small screwdriver, pr...
- 2. Remove the transformer wire A from slit B and i...
- 3. Prepare the coaxial cable as shown in the diagr...
- 4. Re-install the cover.
- 1. Press down the lever.
- 2. Insert the wire into the hole.
- 3. Release the lever to replace it.
- Making antenna connections
- Important Safeguards
- 1. Read Instructions – All the safety and operatin...
- 2. Retain Instructions – The safety and operating ...
- 3. Heed Warnings – All warnings on the appliance a...
- 4. Follow Instructions – All operating and use ins...
- 5. Water and Moisture – The appliance should not b...
- 6. Carts and Stands – The appliance should be used...
- 6A. An appliance and cart combina6A. tion should b...
- 7. Wall or Ceiling Mounting – The appliance should...
- 8. Ventilation – The appliance should be situated ...
- 9. Heat – The appliance should be situated away fr...
- 10. Power Sources – The appliance should be connec...
- 11. Polarization – If the appliance is provided wi...
- 12. Power-Cord Protection – Power-supply cords sho...
- 13. Cleaning – The appliance should be cleaned onl...
- 14. Power Lines – An outdoor antenna should be loc...
- 15. Nonuse Periods – The power cord of the applian...
- 16. Object and Liquid Entry – Care should be taken...
- 17. Damage Requiring Service – The appliance shoul...
- A. The power-supply cord or the plug has been dama...
- B. Objects have fallen, or liquid has been spilled...
- C. The appliance has been exposed to rain; or
- D. The appliance does not appear to operate normal...
- E. The appliance has been dropped, or the enclosur...
- Precautions
- Features
- Supplied accessories
- TX-DS363_E2.pdf
- Speaker setup
- 1. Press the PARAMETER SELECTOR® button once to di...
- 2. Press the PARAMETER CONTROLLER Ã/® buttons to 2...
- 3. Press the PARAMETER SELECTOR® button to display...
- 4. Press the PARAMETER SELECTOR® button to display...
- 5. Press the PARAMETER SELECTOR® button to display...
- Speaker setup
- 6. Press the PARAMETER SELECTOR® button to display...
- 7. Press the PARAMETER SELECTOR® button and use th...
- 8. Press the PARAMETER SELECTOR® button and use th...
- 9. Press the PARAMETER SELECTOR® button to display...
- 10. Press the PARAMETER CONTROLLER Ã/® buttons to ...
- 11. Press the PARAMETER SELECTOR® button to return...
- 1. Press the TEST TONE button.
- 2. To adjust the level of each speaker, press the ...
- 3. Press the TEST TONE button to complete adjustme...
- Selecting a sound source
- To enjoy Surround mode or Stereo mode
- Tuning in a radio station
- Using preset radio stations
- 1. Select the frequency that you want to store in ...
- 2. Press the MEMORY button.
- 3. While the MEMORY indicator is lit, press the GR...
- 4. Select the desired memory number using PRESET Ã...
- 5. Press the MEMORY button.
- 1. Select the tuner as the source by pressing the ...
- 2. Press the GROUP button until the desired group ...
- 3. Enter the desired preset number using the PRESE...
- 1. Select the tuner as the source by pressing the ...
- 2. Press the GROUP button until the desired group ...
- 3. Press the PRESET (Ã or ®) button.
- 1. Select the preset station you wish to remove as...
- 2. Press the FM MUTE/MODE button while holding dow...
- Speaker setup
- TX-DS363_E3.pdf
- MEMO
- Recording a source
- 1. Insert a blank tape into the tape deck.
- 2. Press the input selector button for the source ...
- 3. Set the tape deck in recording mode. Start play...
- Recording a source
- 1. Load a disc in the video disc player or DVD pla...
- 2. Press the VIDEO-1 or DVD button.
- 3. Start playing the video disc player and recordi...
- 1. Insert the disc or tape that you want to record...
- 2. Insert a blank video tape in the VCR connected ...
- 3. Press the VIDEO-1 button.
- 4. Select the audio program source (FM, AM, PHONO,...
- 5. Start playing the video connected to the VIDEO-...
- Troubleshooting guide
- Specifications
- Control positions and names
- 1. STANDBY/ON button[9, 11]
- 2. POWER switch [9, 11]
- 3. SPEAKERS A/B button [16, 18]
- 4. STANDBY indicator [5, 11]
- 5. Remote control sensor [5]
- 6. TUNER operation buttons 6. SCAN button [23] 6. ...
- 7. Display (Refer to the “Display” illustration.)
- 8. PARAMETER SELECTOR buttons [14, 15]
- 9. PARAMETER CONTROLLER buttons [14, 15]
- 10. MASTER VOLUME control knob [16]
- 11. TREBLE control knob [16, 18]
- 12. BASS control knob [16, 18]
- 13. DIMMER button [16]
- 14. MIDNIGHT-THEATER button [20, 21]
- 15. SURROUND MODE button [20, 21]
- 16. Input selector buttons [16, 20, 21]
- 17. MULTI CHANNEL INPUT button [17]
- 18. PHONES jack [18]
- a. MIDNIGHT THEATER indicator
- b. Surround Mode indicators
- c. Tape Monitor indicator
- d. Speakers A/B indicators
- e. Audio Mute indicator
- f. Video input selector indicators
- g. FM Mute On/Off indicator
- h. Tuned indicators
- i. FM Stereo indicator
- j. RDS station received indicator j. (European mod...
- k. Memory indicator
- l. Group indicators
- m. Sleep indicator
- n. Multi function display n. (Frequency and Preset...
- Remote controller RC-385S
- 1. Power button (POWER) [11]
- 2. Sleep button (SLEEP) [16, 19]
- 3. Input selector buttons [16]
- 4. CD operation buttons [30]
- 5. Tape operation buttons [30]
- 6. Level up/down button (LEVEL ¹/†) [14, 15, 17]
- 7. DIMMER button (DIMMER) [16]
- 8. Surround mode button (SUR MODE) [20]
- 9. Multi channel input button [17]
- 10. Tuner operation buttons (TUNER) [23, 30]
- 11. DVD operation buttons [30]
- 12. Channel selector button (CH SEL) [14, 15, 16]
- 13. Test tone button (TEST TONE) [14, 15]
- 14. Volume buttons (VOLUME ¹/†) [16]
- 15. Audio muting button (MUTING) [16, 19]
- Using the remote controller