Speaker setup – Onkyo TX-DS696 User Manual
Page 24
24
Speaker setup
About the other settings
The factory settings for your TX-DS696 are given in the table on
page 12. If you connect your system in accordance with these factory
settings, there is no need to change them. However, if you do not,
you will need to change the settings that do not match. If you do not,
signals may not be properly received resulting in poor sound or
image quality, no digital output, or no output at all.
Changing a digital input setting:
1. Press the input selector button for the source that
you want to change.
2. Press the SETUP button.
3. Turn the jog dial to display “2. Input Setup.”
4. Press the jog dial.
“Audio Setup?” appears.
5. Press the jog dial again.
“D.Input: xxx” appears.
6. Turn the jog dial and select the connector to which
the digital source is connected.
7. Press RETURN repeatedly or press SETUP to exit the
setting mode.
Changing the multichannel setting:
1. Press the input selector button for the source that
you want to change.
2. Press the SETUP button.
3. Turn the jog dial to display “2. Input Setup.”
4. Press the jog dial.
“Audio Setup?” appears.
5. Press the jog dial twice.
“Multich: xxx” appears.
6. Turn the jog dial to select “Yes” or “No.”
7. Press RETURN repeatedly or press SETUP to exit the
setting mode.
Changing the Component Video Input setting:
1. Press the input selector button for the source that
you want to change.
2. Press the SETUP button.
3. Turn the jog dial to display “2. Input Setup.”
4. Press the jog dial.
“Audio Setup?” appears.
5. Turn the jog dial to display “Video Setup?”
6. Press the jog dial.
“Cmponent: xxx” appears.
7. Turn the jog dial to select the connectors to which
the source is connected (“Input 1” or “Input 2”).
8. Press RETURN repeatedly or press SETUP to exit the
setting mode.
Level Calibration submenu
This submenu allows you to set the volume levels of each speaker
individually so that they all sound at the same level when heard from
the listening position. If you are continuing from setting the speaker
distances and are still in the setting mode, skip directly to step 2.
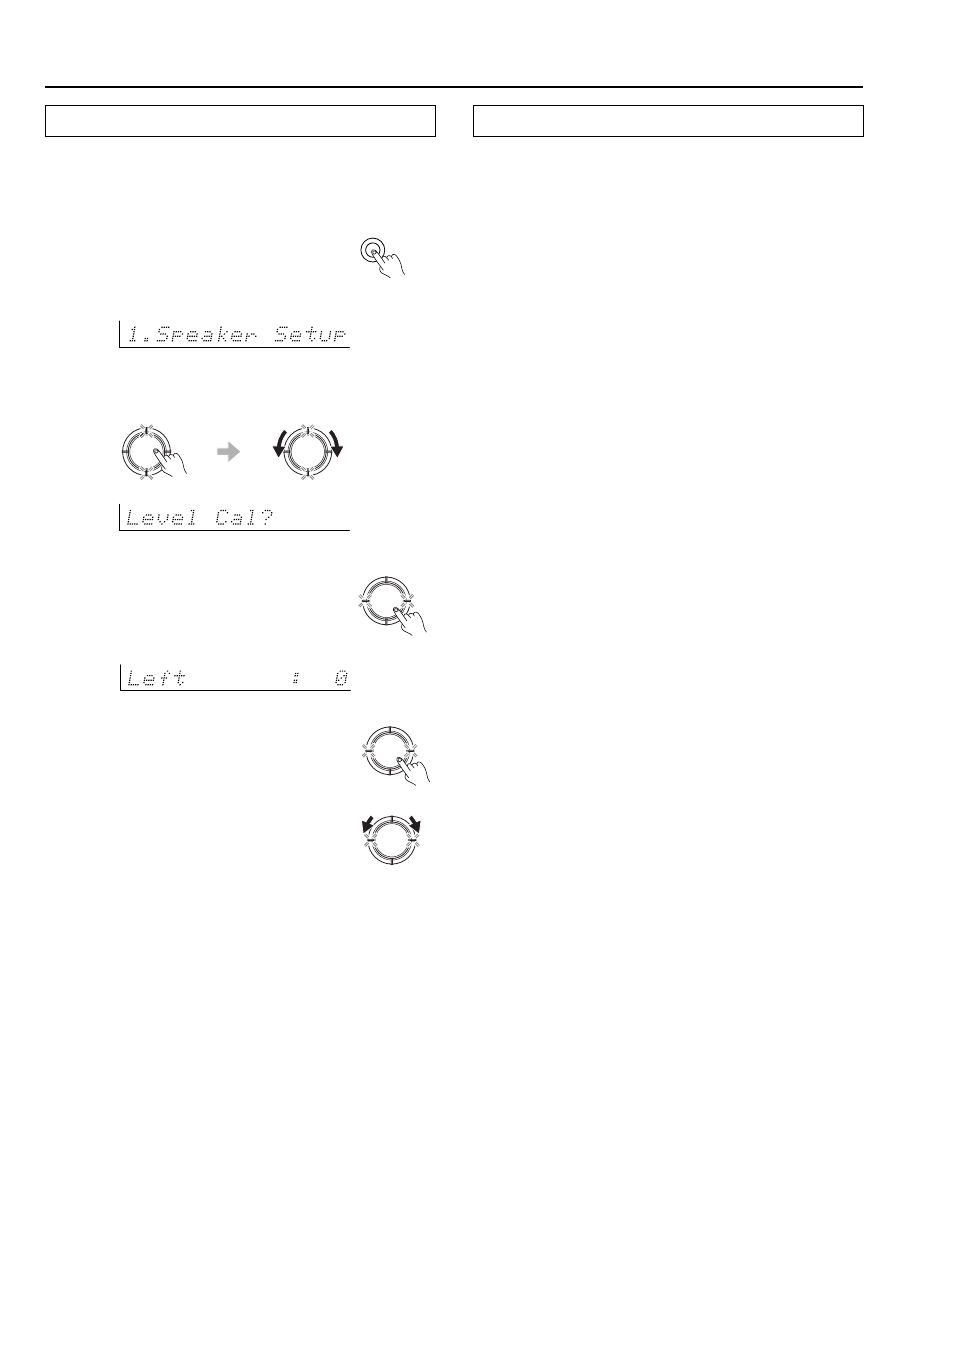
1. Press the SETUP button.
If a menu other than “1. Speaker Setup”
appears, turn the jog dial until “1. Speaker
Setup” does appear.
7. Press the RETURN button.
You return to the “Level Cal?” display.
Notes:
• If you press the RETURN button again, you go back up one
more level.
• To exit the setting mode immediately, press the SETUP button.
6. Repeat the procedure in step 4 and 5 until the volume
of the test sound from all speakers is the same level.
Each time you press the jog dial, the test sound will be heard
from a different speaker. The speaker order for calibration is
front left
→ center → front right → surround right → surround
left
→ subwoofer.
4. Press the jog dial again.
The test sound will now be heard from a
different speaker.
3. Press the jog dial.
A test sound (pink noise) will be heard from
the left front speaker. At this point, it is not
necessary to adjust the volume of the test
sound.
2. Press the jog dial and then turn it to display the
“Level Cal?”
5. Turn the jog dial to adjust the
volume of the test sound from this
speaker to the same level that you
heard from the previous speaker.
PUSH TO ENTER
DSP / MODE ADJ
PUSH TO ENTER
DSP / MODE ADJ
PUSH TO ENTER
DSP / MODE ADJ
PUSH TO ENTER
DSP / MODE ADJ
PUSH TO ENTER
DSP / MODE ADJ
SETUP
db