System configuration, Setup for display options, Table 3. display options – Omega DPS3100 User Manual
Page 15: Setup for display time, Setup for relay latch/non-latch, Relay latched mode
Page 14
Example #2: Use of the LOW SCALE Parameter
Setup for a 4-20ma transducer signal corresponding to 500-2000 degrees Fahrenheit temperature i.e. 500 degrees at 4ma
and 2000 degrees at 20ma (one degree resolution):
DECIMAL
POINT
=
9999
HIGH
SCALE
=
2000
LOW
SCALE
=
500
OFFSET =
4.00
TARE
=
0.000
Example #3: Use of the TARE Parameter
Setup for a 0-5Vdc transducer signal corresponding to 0-10.00 pounds of material being packaged in a box weighing 0.50
pounds with display reading in 0.01 lb. increments. DSP3200 should display the weight of the material only (not the box
as well):
DECIMAL
POINT
=
99.99
HIGH
SCALE
=
10.00
LOW
SCALE
=
00.00
OFFSET =
0.00
TARE
= 0.50
SYSTEM CONFIGURATION
After entering the correct pass-code and selecting the blinking 'SYS' (ref. SETUP section), DPS3000 Series goes into
SYSTEM CONFIGURATION mode. This mode allows setting up parameters that affect all the channels or the
instrument in general.
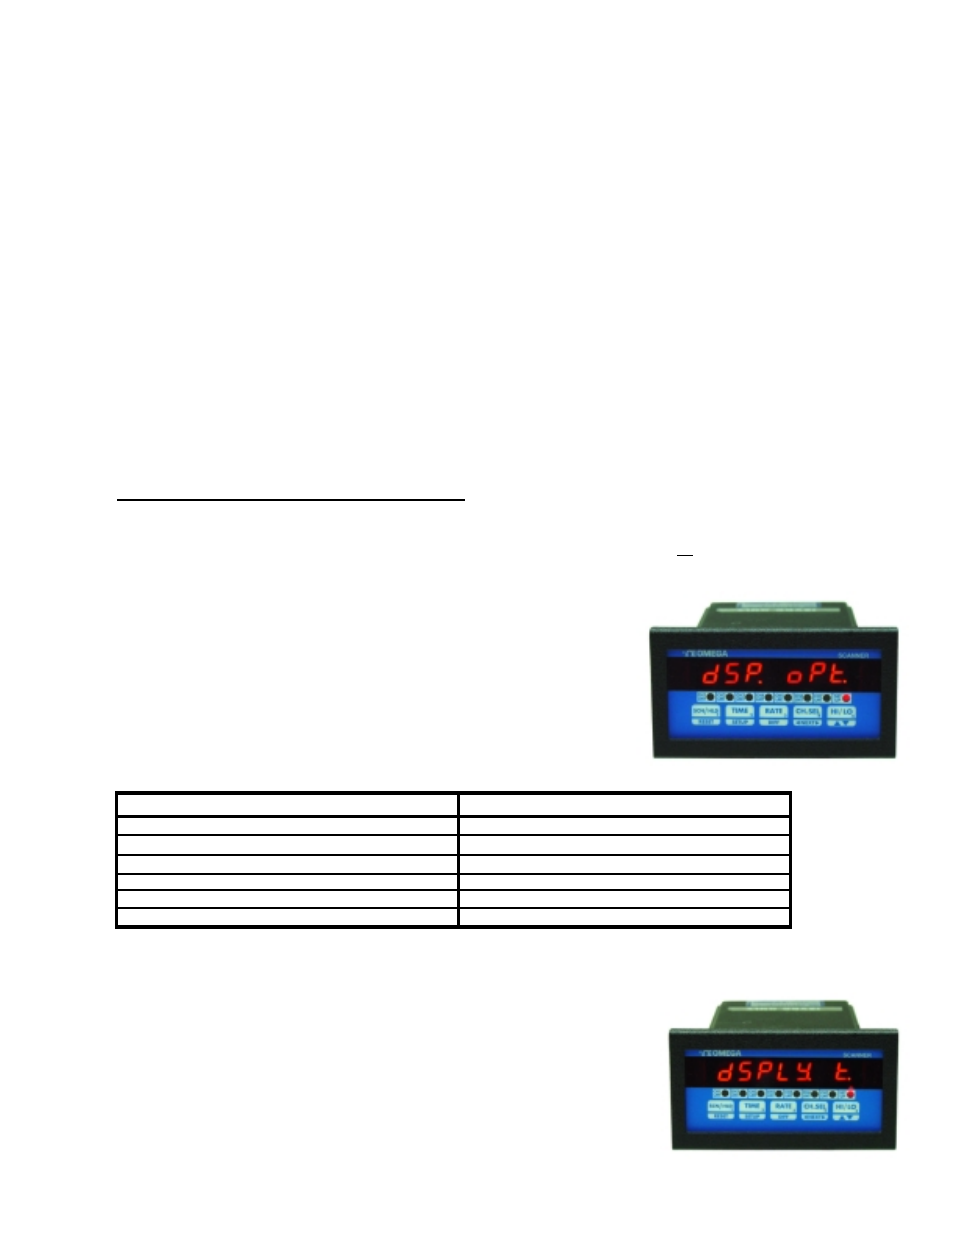
Setup For Display Options
After pushing SETUP key while SYS is blinking, the display briefly shows
'dSP OPt' (for display option) and then the present Display Option setting.
Table 3 below lists all 6 display options available. Use ^v key to step thru the
options. Once the desired Display Option is shown, push SETUP key to enter
the setting and go to Setup For Display Time.
Table 3. Display Options
DISPLAY OPTION
DISPLAY WINDOW READS
1) Display elapsed time
ELPSEd
t
2) Scan active channels
SCAn
3) Display channel with highest reading
HI CHAN
4) Display channel with lowest reading
LO CHAN
5) Display deviation from SETPOINT
dSP dEN
6) Display channel differential
CH1 dIF
The channel numbers in Display Option #6 start with 'CH1 dIF' and go up to 'CH7 dIF' (CH4 dIF for 4 channel units).
Following this the display jumps back to Option #1 (elapsed time), and the cycle is repeated.
Setup For Display Time
The next parameter to be set is DISPLAY TIME. This determines the number of
seconds a channel's reading is displayed before moving to the next channel. The
display will first show 'dSPLy t' (for Display Time), and then the current setting
in seconds. Use ^v key (ref. Setup For High Scale) to set the desired DISPLAY
TIME. Once the desired DISPLAY TIME value is displayed, push SETUP key to
enter that value and go to setup Relay as Latching or Non-Latching.