Connections & setup, Plug in the tv, Put batteries in the remote – RCA LCDS2022B User Manual
Page 12: Turn on the tv, Adjust the tv screen, Mounting the tv to the wall, Set up your tv
Connections & Setup
8
Chapter 1
Graphics contained within this publication are for representation only.
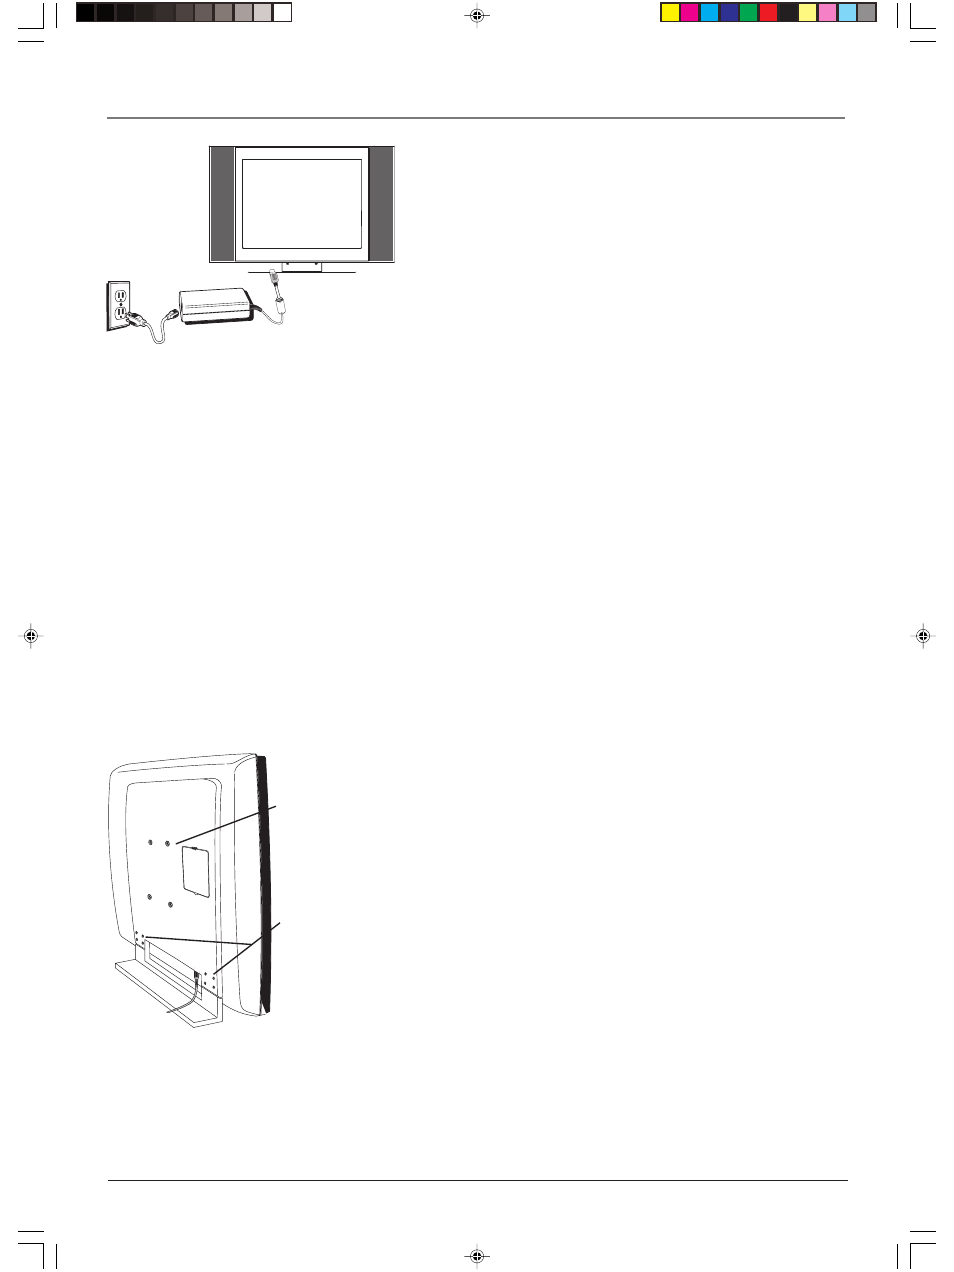
Plug in the TV
Plug the end of the cord from the power adapter into the 19V DC In
Power jack on the bottom panel of the TV. Then connect the end of
the power cord into the other end of the power adapter. Plug the end
of the power cord into an appropriate wall outlet. Be sure to insert the
plug completely. Do not plug into an outlet controlled by a light
switch.
Put batteries in the remote
•
Remove the battery compartment cover from the back of the remote by pushing down on
and sliding off the cover.
•
Insert 2 fresh “AAA” batteries. Make sure the polarities (+ and -) are aligned correctly.
•
Replace the cover.
Turn on the TV
Press TV on the remote, or press POWER on the TV’s side panel.
Note: Pressing the TV button turns on the TV and puts the remote into TV mode. “TV
mode” means that the buttons on the remote control operate the TV’s functions.
Adjust the TV Screen
The TV’s screen is adjustable simply by pushing on the top, front part of the screen, while your
other hand holds the base of the TV.
Mounting the TV to the Wall
Your LCD TV can be mounted to the wall using a compatible VESA
100 wall mount, which can be purchased at most electronic stores. To
mount the LCD TV you must first remove the stand.
1.
Remove the four screws on either end of the bottom back panel.
2.
Carefully lift up on the monitor until it slides out of place from the
stand.
3.
Attach the wall mount to the four holes on the back middle part of
the TV.
4.
Follow the directions that came with your wall mount.
Set Up Your TV
There are several options you might need to set up in order for your
TV to work properly. Turn on your TV, then press the MENU button
on your remote control. Follow the instructions on the next page.
Remove these
screws
Wall mount
holes
16278150.01 Connections
12/11/03, 2:04 PM
8