Chapter 5: the menu system – RCA DRS7000N User Manual
Page 49
46
Chapter 5: The Menu System
Installation: The submenus contained in Installation menu pertain to the way
you’ve connected the Digital Media Recorder to other components such as your TV,
satellite receiver, and or cable box. If you move, or change any of the information
you gave the Digital Media Recorder when you set it up initially, you need to
change the information in these menus.
Interactive Setup: The first time you turned on your Digital Media
Recorder, you had to complete an interactive setup so your Digital Media
Recorder could have the information it needs to function properly. For
details about the Interactive Setup, go to page 12. To go through this
procedure again to change settings, highlight Interactive Setup and press the
OK button.
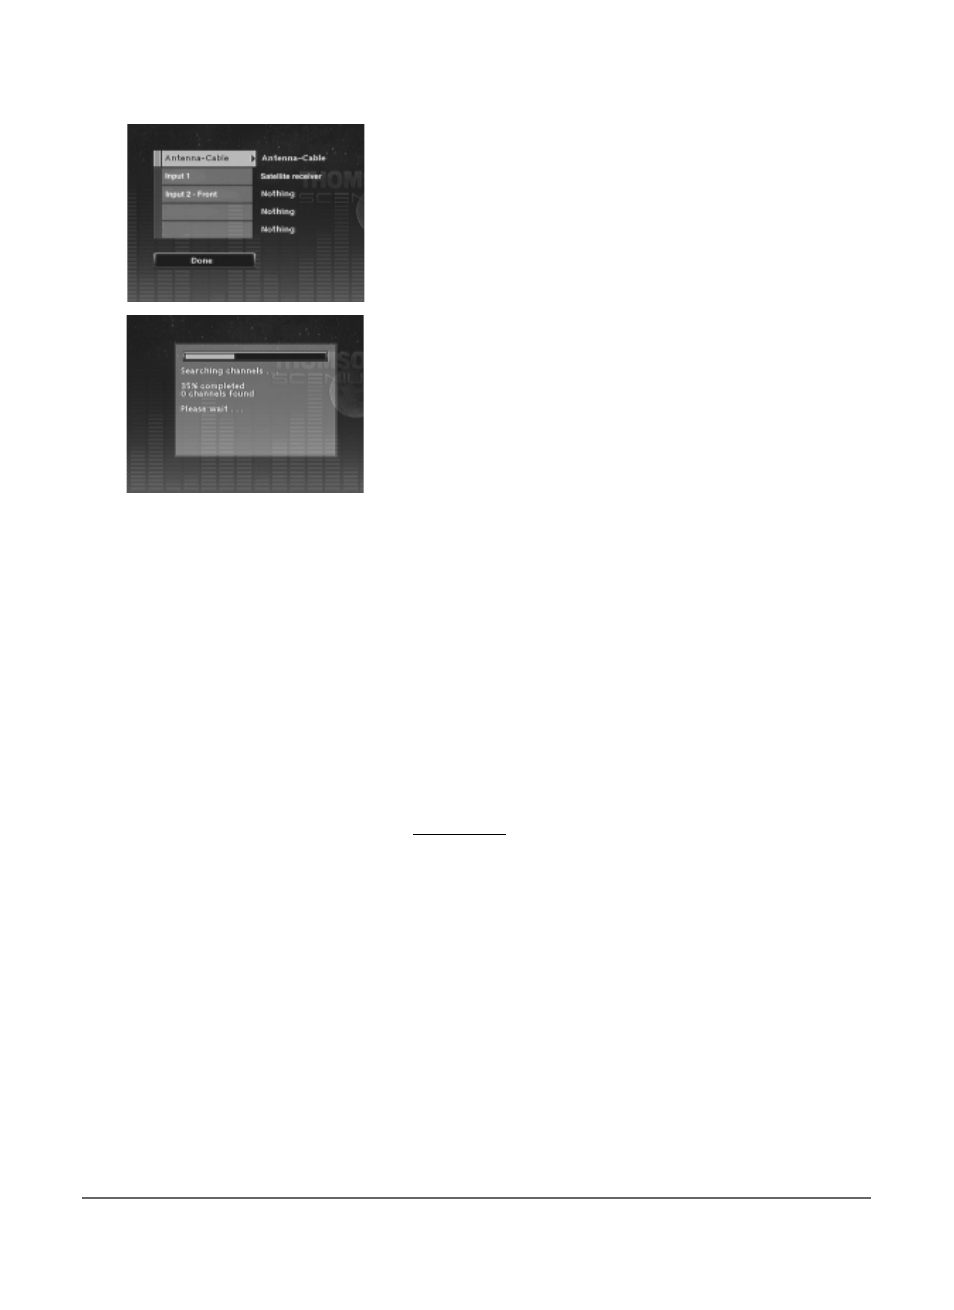
Channel Search: If you’ve changed program providers (cable and/or
satellite), the Channel Search will automatically search the signal and put
the latest channels in the Digital Media Recorder’s channel list. Use the
arrow buttons to highlight Channel Search, and press OK to begin (a
progress indicator appears to let you know how quickly the search is being
completed.
Manual Clock: If the clock is incorrectly set or you skipped this step during
the initial setup, you can set the Digital Media Recorder’s clock using the
number buttons on the remote and the arrow buttons to navigate. Follow
the on-screen instructions.
Note: In order for Timer Recordings to work, you must set the clock to the correct
time and date.
Channel List: Enables you to change what channels are accessed when you
press the Digital Media Recorder’s channel up and down buttons (if you
delete a channel from the channel list, you can still access it by using the
number buttons on the remote).
GUIDE Plus+: Enables you to change settings that pertain to the on-screen
programming guide that’s built into your Digital Media Recorder.
Setup: The first time you turned on your Digital Media Recorder, you
had to complete an interactive setup so your Digital Media Recorder
could have the information it needs to function properly — part of this
initial setup included information for the GUIDE Plus+ programming
guide. If any of your information has changed (you moved, or you’ve
changed cable or satellite components or service provider), access this
menu to complete the GUIDE Plus+ Setup again.
Label: If you choose On, the station name appears when you change
channels. If your set Label to Off, the station name doesn’t appear
when you change channels.
Memory Card
Access the Memory Card menu to copy or play content that’s stored on a compact
flash card. You must insert the flash card into a Class Compatible Mass Storage
Device that you’ve connected to the Digital Media Recorder’s USB port on the front
of the unit. The card reader (Class Compatible Mass Storage Device) must be
compatible with the Digital Media Recorder. Go to page 59 for compatible
equipment that works for this unit.