Manual clock setting tv operation – RCA 19V400TV User Manual
Page 13
13
You must set the date and time manually for Timer
Recordings, ON/OFF Timer and Daylight Saving Time
if the Auto Clock process did not set them correctly.
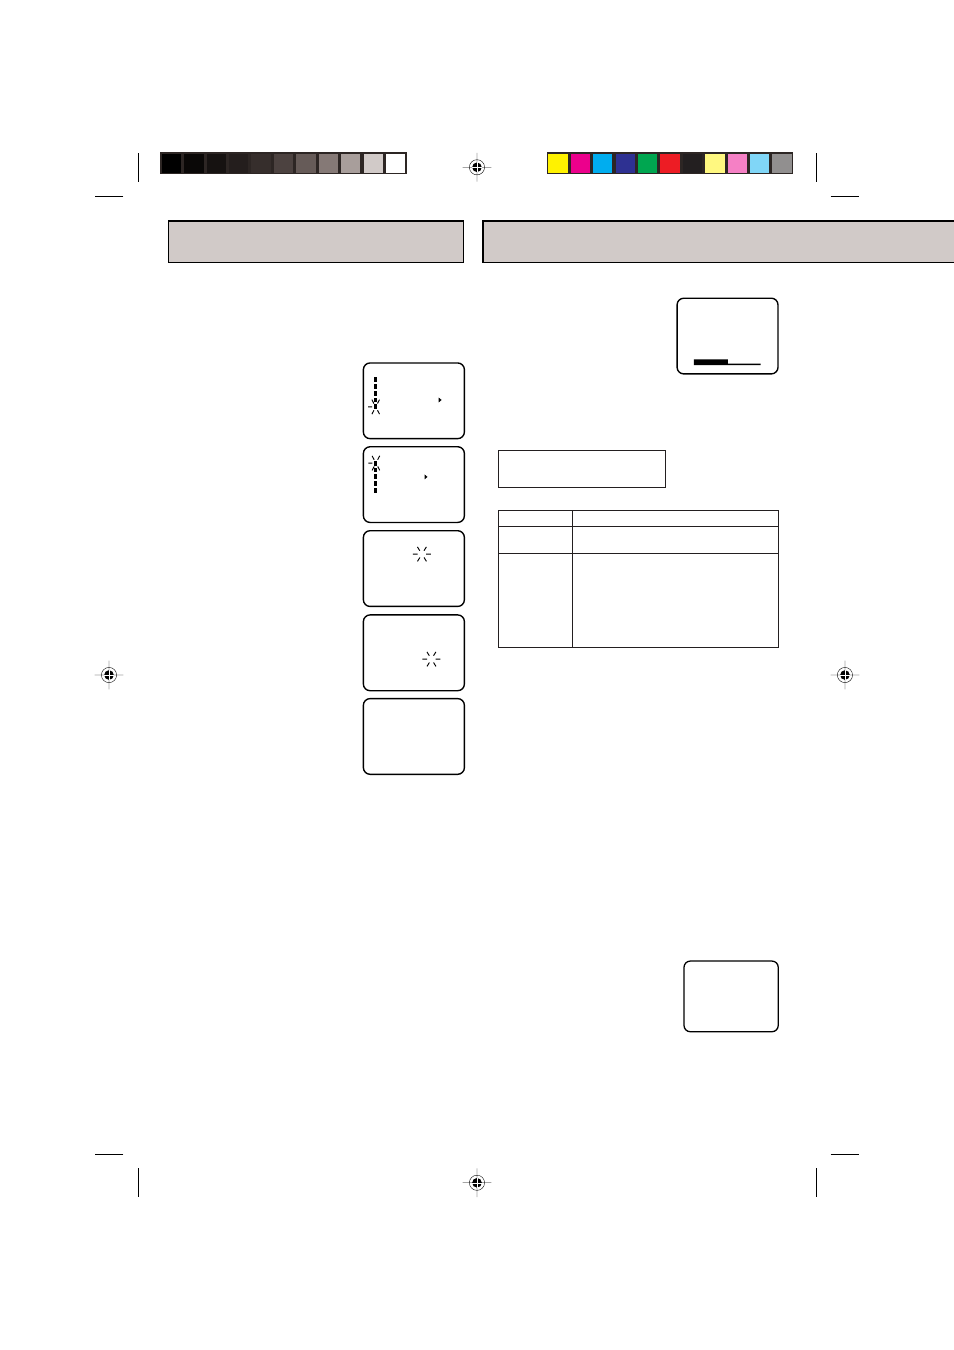
EXAMPLE: Setting the clock to “8:30 AM”, 27th (SAT)
March, 2004.
1
Press the MENU button.
Press the SET + or – button to
select the SYSTEM SET-UP
option, then press the ENTER
button.
2
Press the SET + or – button to
select the CLOCK SET option,
then press the ENTER button.
3
Press the SET + or – button to set
the month, then press the ENTER
button.
4
Set the day, year and time as in
step 3.
After setting the clock, date and time
starts functioning automatically.
SYSTEM SET-UP
CLOCK SET
LANGUAGE/IDIOMA/LANGUE
AUTO CLOCK ON OFF
STANDARD TIME
DAYLIGHT SAVING TIME
〈
+/–/ENTER/MENU
〉
M E N U
TIMER REC SET
TV SET-UP
CH SET-UP
AUTO REPEAT ON OFF
SYSTEM SET-UP
〈
+/–/ENTER/MENU
〉
NOTES:
•
After a power failure or disconnection of the
power plug, the time display will be lost. In
this case, set the present time again if the
Auto Clock did not set correctly.
•
To move cursor backward, press the CANCEL
button.
CLOCK SET
〈
+/–/ENTER/ CANCEL/MENU
〉
MONTH
DAY
YEAR
TIME
3
1 (MON)
2005
12 : 00 AM
CLOCK SET
á
+/–/ENTER/CANCEL/MENU
ñ
MONTH
DAY
YEAR
TIME
3
27 (SAT)
2004
8 : 30 AM
NOTES:
•
If a channel with no broadcast is selected,
the sound will automatically be muted.
•
If a station being viewed stops broadcasting,
the TV will automatically shut itself off after
15 minutes.
1
To turn on the TV/VCR, press the POWER button.
2
Adjust the volume level by
pressing the VOL + or – button.
The volume level will be indicated
on the screen by green bars. As
the volume level increases, so do
the number of bars. If the volume
decreases, the number of green
bars also decreases.
3
Set the TV/CATV menu option to the appropriate
position (See page 15).
VOLUME
32
NOTE FOR CHANNELS 1-12:
If only 1 or 2 buttons are pressed,
the corresponding channel will be
selected in 2 seconds.
CH 012
VHF/UHF/CATV CHANNELS
MANUAL CLOCK SETTING
TV OPERATION
TV
- VHF/UHF Channels
CATV - CABLE TV Channels
TV
CATV
VHF
2-13
UHF
14-69
VHF
2-13
STD/HRC/IRC
14-36 (A) (W)
37-59 (AA) (WW)
60-85 (AAA) (ZZZ)
86-94 (86) (94)
95-99 (A-5) (A-1)
100-125 (100)(125)
01 (5A)
4
Press the Direct Channel selection buttons to select
the channel.
• TV mode direct channel selection
When the TV/CATV menu option is in the TV
position, all channels can be instantly selected by
using two buttons (for example, to select channel 2,
press "0", then "2". If you press only "2", channel
selection will be delayed for a few seconds). For
channels 10 and above, press the 2 digits in order.
• CATV mode direct channel selection
When the TV/CATV menu option is in the CATV
position, channels can be selected as follows:
• TO SELECT CATV CHANNELS:
1-9
Press "0" twice, then 1-9 as needed.
Example, to select channel 2, press "002".
10-12
Press "0", then the remaining 2 digits.
Example, to select channel 12, press "012".
13-99
Press the 2 digits in order.
Example, to select channel 36, press "36".
100-125 Press the 3 digits in order.
Example, to select channel 120, press "120".
8
:
30 AM SAT
5J70101B E P09-16
4/11/03, 5:39 PM
13