Flue manifold installation – Rinnai ENERGYSAVER ES38 User Manual
Page 22
Rinnai Corporation ES38 Manual
Flue Manifold Installation
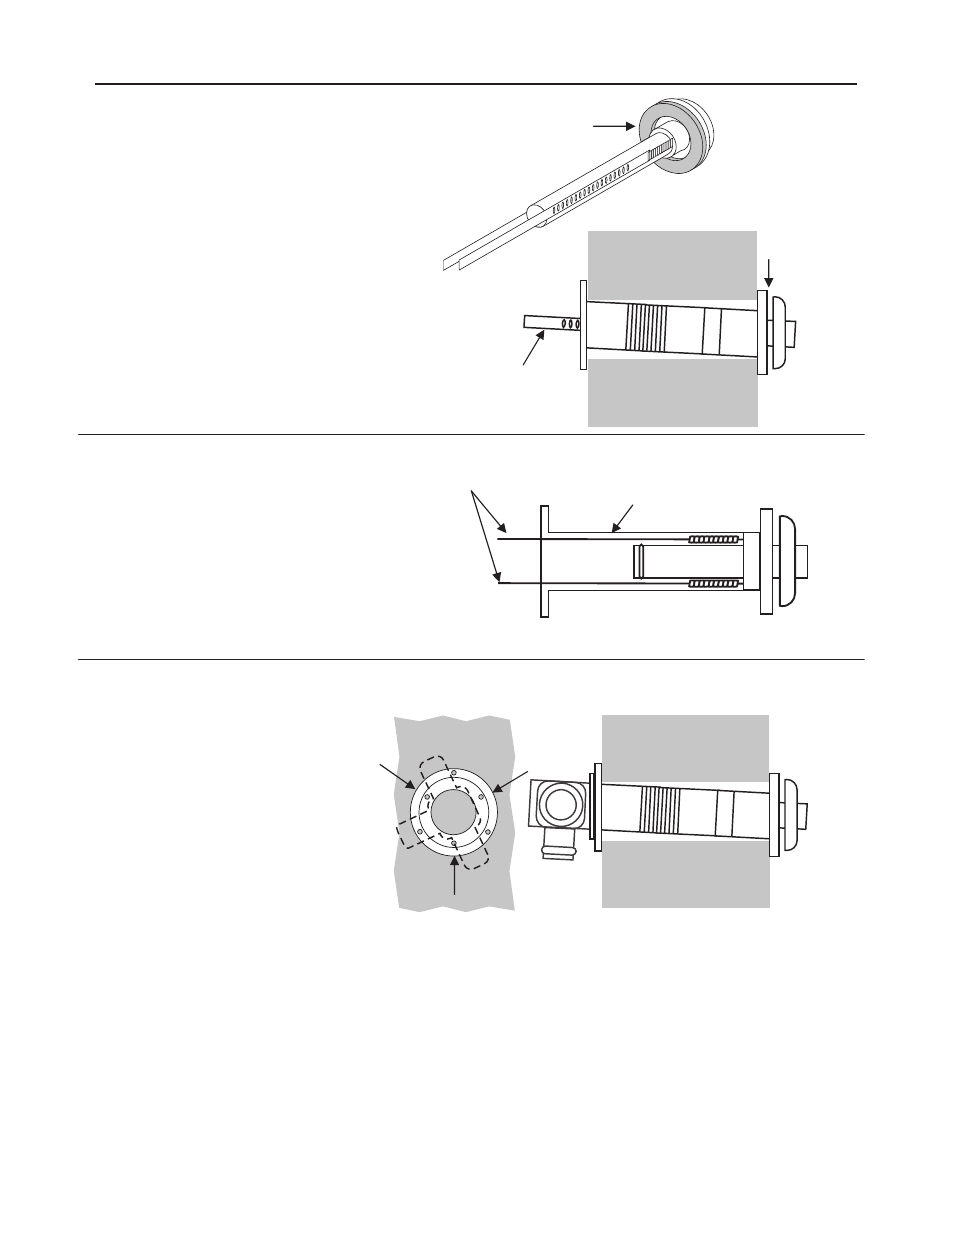
5. Lock the ties
Pulling hard on the left and right hand ties,
clip the ties over the notches inside the
sleeve. You should be able to pull the ties 2
or 3 notches past the starting point. Cut the
ties, leaving about 3/4 inch (20 mm) past the
notch. Bend the ties back into the sleeve and
parallel to the wall.
6. Insert Inside Connection Assembly
Push the assembly into the terminal tube,
ensuring that the seal is in place on the
inner tube.
Attach the inside connection with 3
screws. The inner connection can still
be turned to install the screws.
4.Install the Terminal
Check that the terminal seal is in place. For
weatherboard walls, add the second seal next
to the terminal seal to compensate for
weather board angle.
From the outside insert the terminal into the
sleeve with the marking “TOP” at the top.
The left hand side locking tie should be
marked “LEFT”.
Terminal seal
Locking tie
Terminal
Locking ties
Sleeve
3 screws