Settings, Screen brightness, Volume – Navman iCN 600series User Manual
Page 25: Route settings
25
iCN 600 series | User Manual
15. Settings
You can modify the following settings to suit your preferences.
Screen Brightness
1. Press and hold the Zoom/Brightness button to display the brightness indicator bar.
2. Press + or - on the Zoom/Brightness button to adjust the brightness. The iCN can heat up when display
brightness is set at over 70%. Use low screen brightness when possible.
Volume
1. Press and hold the Volume button to display the Volume bar.
2. Press + or - on the Volume button to adjust the volume.
Route Settings
1. From the Main Menu, select the Settings option.
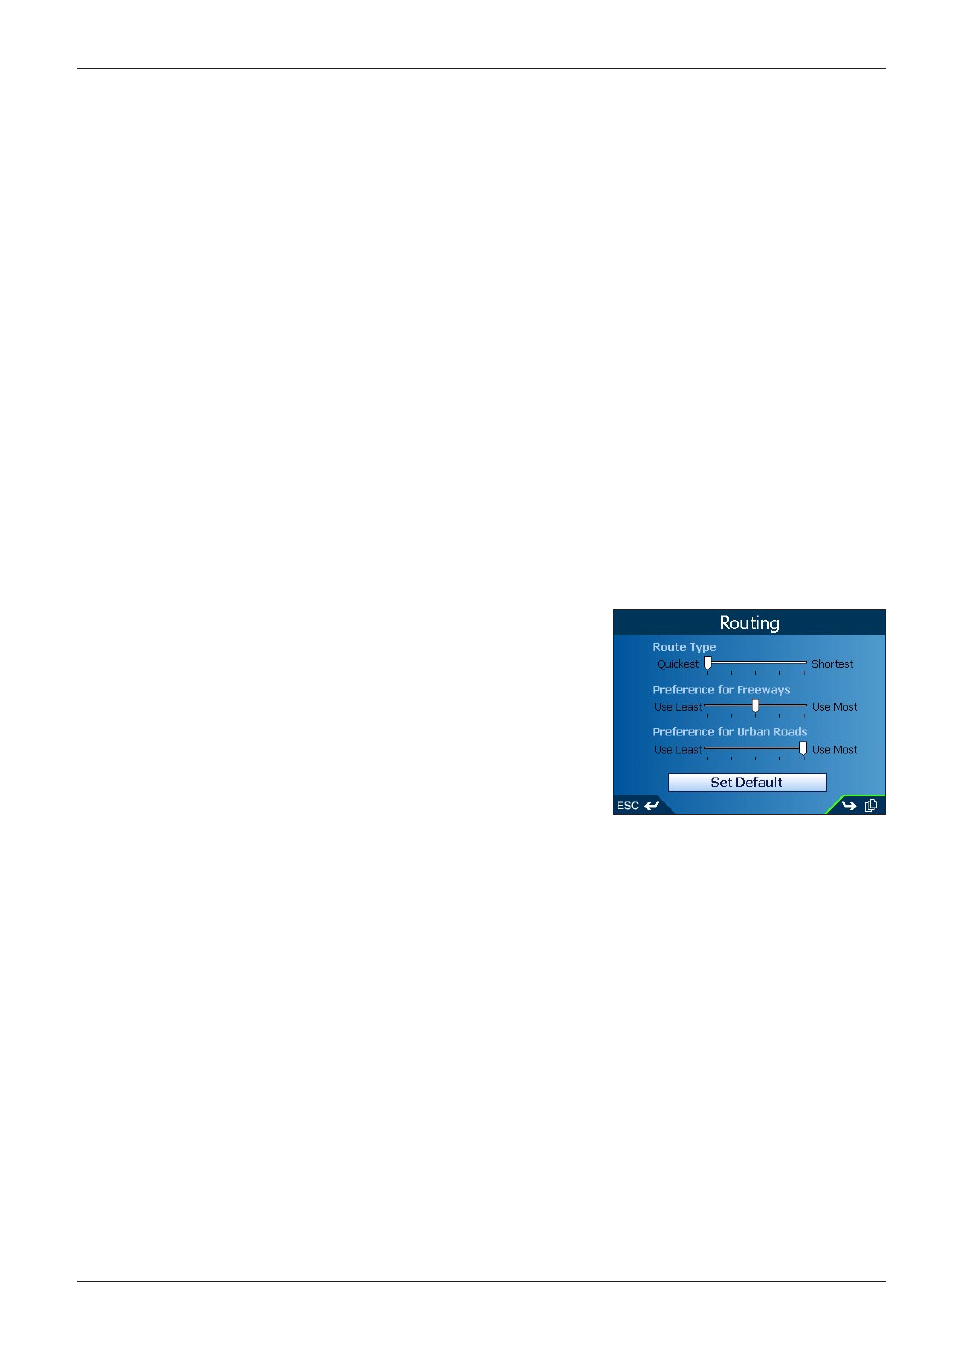
2. From the Settings screen, select the Routes option. The Routing screen will display.
3. Move the Route Type slider towards Shortest to give more weighting
to the shortest distance when calculating a route; Move the Route
Type slider towards Quickest to give more weighting to the fastest
time when calculating a route.
4. Move the Preference for Freeways slider towards Use Less to use
freeways less often when calculating a route; Move the Preference
for Freeways slider towards Use More to use freeways more often
when calculating a route.
5. Move the Preference for Urban Roads slider towards Use Less to
use urban roads often when calculating a route; Move the Preference
for Urban Roads slider towards Use More to use urban roads more
often when calculating a route.
6. Press the Page button.
7. Select the Avoid Toll Roads, Avoid Unsealed Roads and Avoid Ferries check boxes to avoid these areas
when your route is calculated.
8. Select the Warn when using Toll Roads, Warn when using Unsurfaced Roads and Warn when using
Ferries check boxes to display a warning message at the start of your trip if your route will include these areas
9. To enable Back on Track™ automatic rerouting, select the Automatic Rerouting check box . Automatic
rerouting will update the calculated route if you take a wrong turn.
10. Press the Page button.
11. To enable the Route Demonstrator, allowing you to plan and view a route
without a GPS fix, select the Demonstrate Route check box.
12. To enable the route demonstrator to be repeatedly played, select the Repeat check box.
13. To enable the Smart demonstration to be played, select the Smart Demonstration check box.
The demonstration will navigate between the first and second Favorite after a ten second delay.
14. To enable GPS datalogging, select Track Recording. The Data Logging Enabled screen will display.
Note: A memory card is required for datalogging.
• Select the Name of log file box and press OK. The Enter Text screen will display.