Connect span ports to director, Director, Port numbering for span dnm models figure 18 – Net Optics Director User Manual
Page 26: Span port connections figure 19
Director
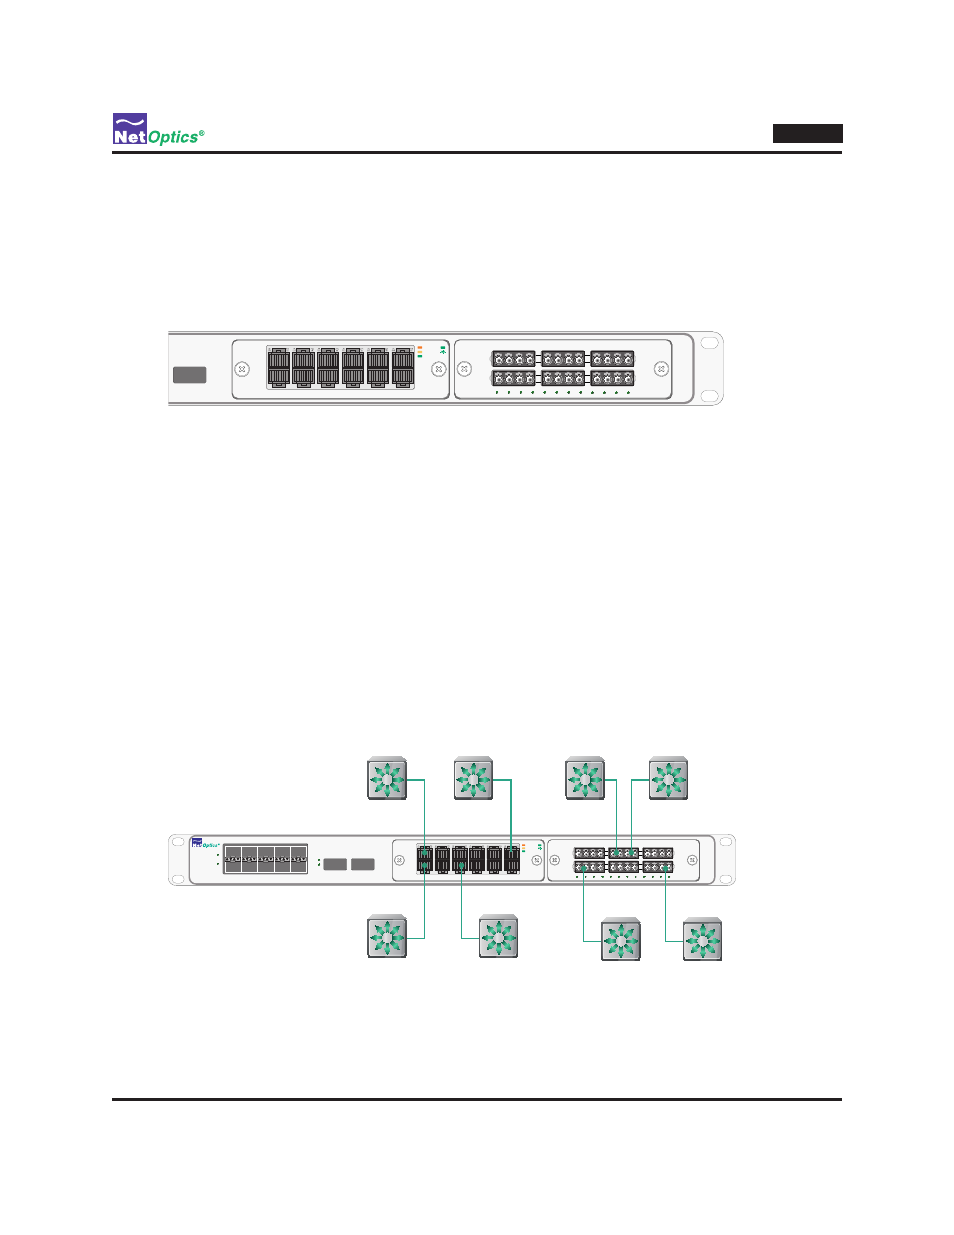
22
Connect Span Ports to Director
To connect Director to the network using Span ports, be sure that at least one of your DNMs is a Span model. Use ports
in that DNM to connect to the network.
Span port numbering is shown in the following diagram. It is the same for Span DNMs and in-line DNMs.
www.netoptics.com
™
Director
1
2
B
A
1
6
2
7
3
8
5
10
4
9
A
B
Span
10/100/1000
10
100
1000
LINK
ACT
Port # n2.1 .2 .3 .4 .5 . 6
Port # n2.7 .8 .9 .10 .11 .12
Span
GigaBit
1
2
3
4
5
6
7
8
9
10
11
12
Port numbers in purple
Port # n1.1 .2 .3 .4 .5 . 6
Port # n1.7 .8 .9 .10 .11 .12
Port numbering for Span DNM models
Figure 18:
Note: __________________________________________________________________________________________________
DNM 1 is on the left and DNM 2 is on the right. In the CLI, the Network ports are designated using the letter "n"
followed by the DNM number, a dot, and then the port number. For example, the Network port on the upper left is n1.1
and the Network port on the lower right is n2.12.
________________________________________________________________________________________________________
To connect a Span port:
Plug the appropriate cable into a Director Span port.
1.
Plug the other end of the cable into the Span port of the switch. The Link LED for the port illuminates after a short
2.
delay to indicate that a link has been established. If the traffic if flowing from the Span port, two Link LEDs blink.
Repeat for all desired Span port connections.
www.netoptics.com
™
Director
1
2
B
A
1
6
2
7
3
8
5
10
4
9
A
B
Spn
10/100/1000
10
100
1000
LINK
ACT
Span
GigaBit
1
2
3
4
5
6
7
8
9
10
11
12
Span port connections
Figure 19: