Nikon ASTRO XTS-5000 User Manual
Page 56
ASTRO XTS 5000 Model II
43
Common Radio Features
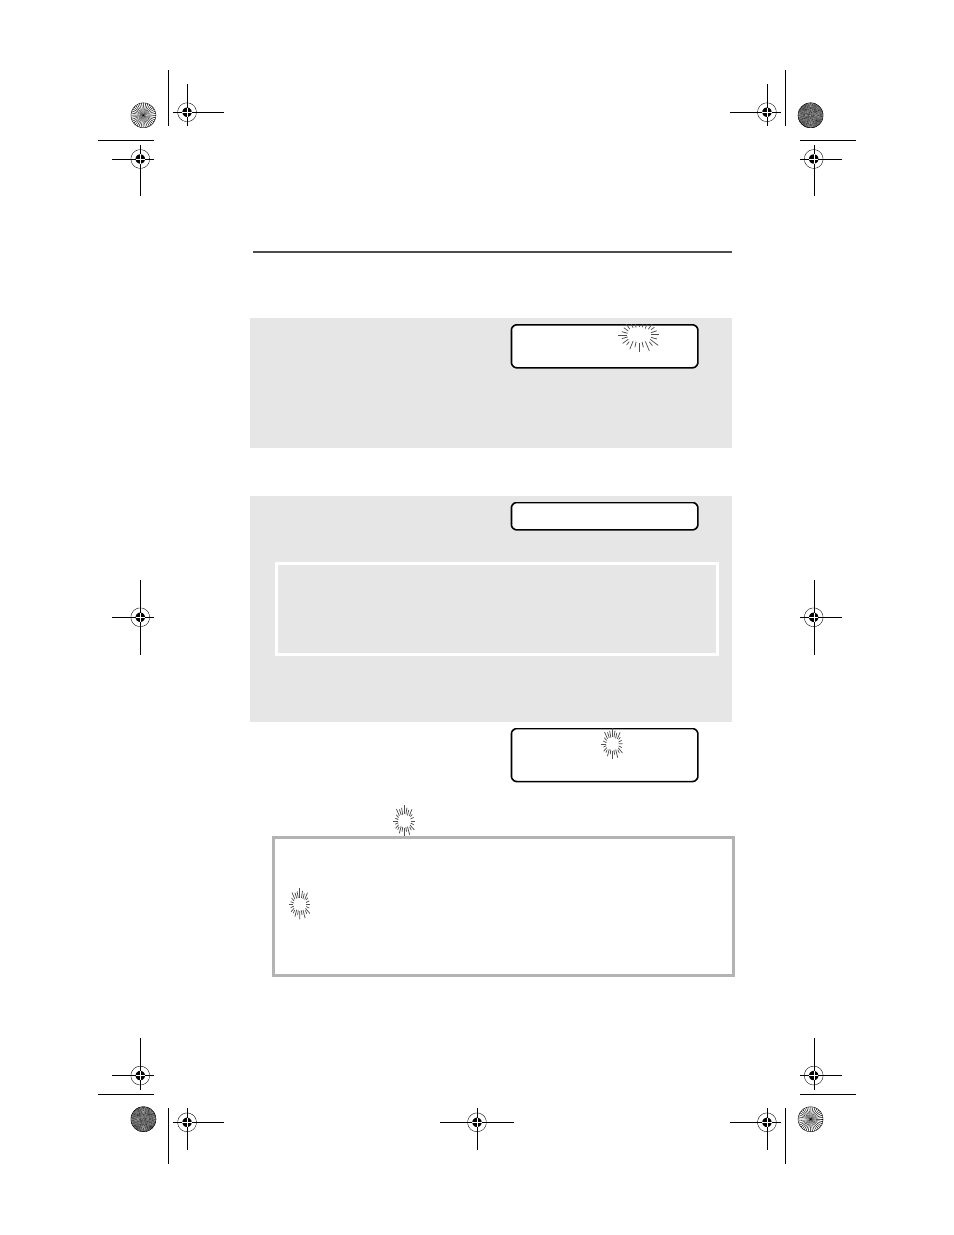
Use the Preprogrammed Scan List Programming Switch and the
Menu
1
Move the Scan List
Programming switch to the
Programming position. You
see the first list member.
p (blinking) indicates the
programming mode.
2
Press
v or u to find the
member you want to change.
3
Press
D, E, or F
directly below SEL or DEL or
RCL.
SEL = add and/or change the priority of the currently displayed
channel in the scan list.
DEL = delete the currently displayed channel from the scan list.
RCL = view the next member of the scan list.
Note: The maximum number of members for a trunking priority
monitor scan list is 15; for a conventional scan list, 15; and
for a talkgroup scan list, 10.
4
To change the priority of the
currently displayed channel,
press
D, E, or F
below SEL additional times to
see
T
or
S
or
S
or no icon.
T
= this channel is in the scan list as a non-priority channel.
S
= this channel is in the scan list as the priority 2 channel.
S
(dot blinking) = this channel is in the scan list as the priority 1
channel. You will hear all traffic on the priority 1 channel,
regardless of traffic on non-priority channels.
no icon = this channel is deleted from the scan list.
Note: You cannot delete a priority channel from a scan list. In a
talkgroup scan list, priority cannot be assigned.
FIRE DISP NW p
SEL DEL RCL
SEL DEL RCL
T
or
S
or
S
or no icon
94C26-K_XTS5000Mdl2.book Page 43 Friday, April 25, 2008 9:48 PM