Nikon ASTRO XTS-5000 User Manual
Page 54
ASTRO XTS 5000 Model II
41
Common Radio Features
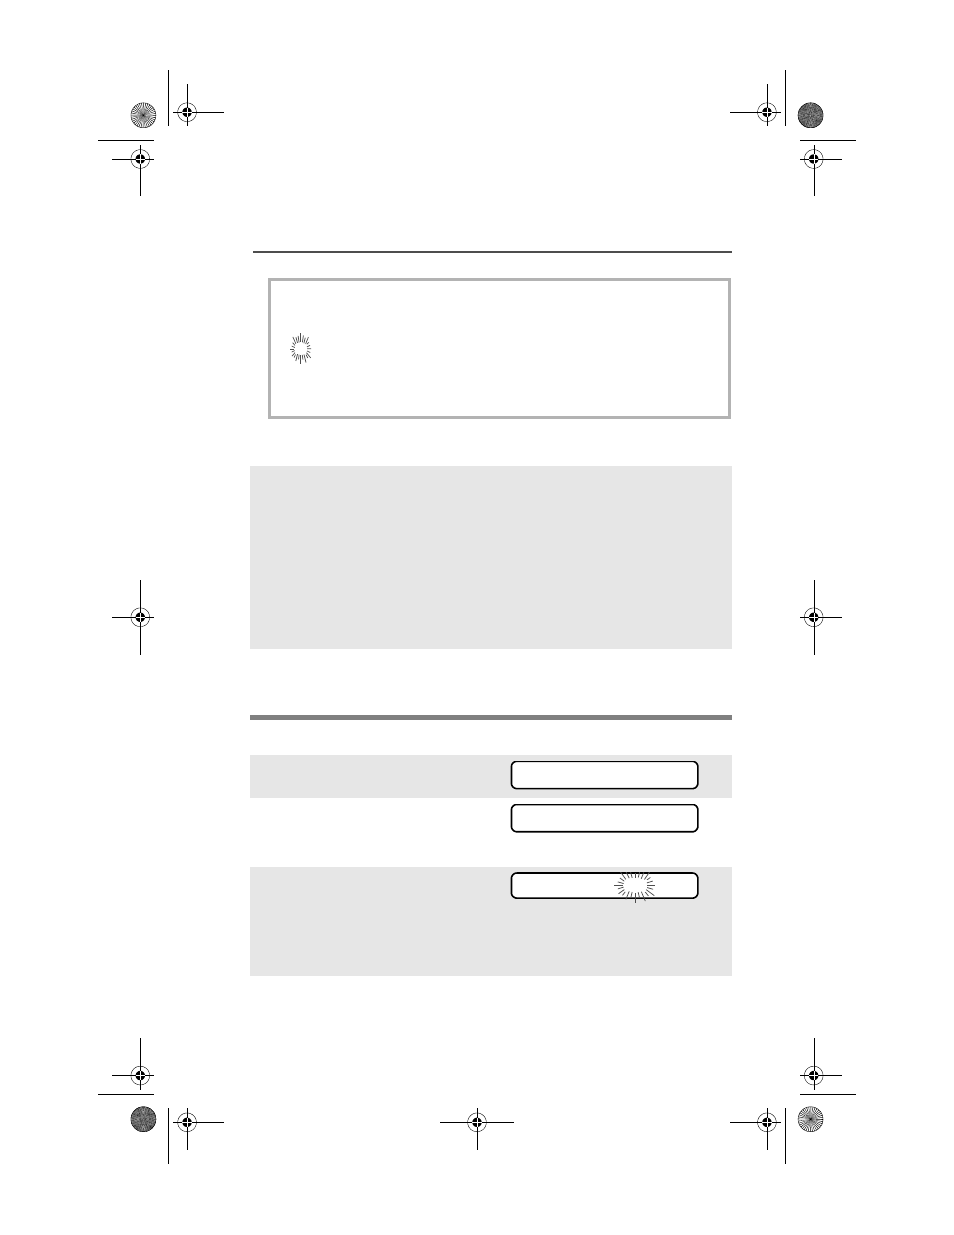
Use the Menu and the Preprogrammed Select (Top Side) Button
T
= this channel is in the scan list as a non-priority channel.
S
= this channel is in the scan list as the priority 2 channel.
S
(dot blinking) = this channel is in the scan list as the priority 1
channel. You will hear all traffic on the priority 1 channel,
regardless of traffic on non-priority channels.
no icon = this channel is deleted from the scan list.
Note: You cannot delete a priority channel from a scan list. In a
talkgroup scan list, priority cannot be assigned.
7
Press
v or u to select more
channels to be added or
deleted.
OR
Use the 16-Position Select
knob to select additional
channels to be added or
deleted.
8
Press
h to exit scan list
programming and return to
the home display.
1
Press
u to find PROG.
2
Press
D, E, or F
directly below PROG. You see
SCAN.
3
Press
D, E, or F
directly below SCAN. You see
the first list member.
p (blinking) indicates the
programming mode.
4
Press
v or u to find the
member you want to change.
PROG
SCAN
FIRE DISP NW p
94C26-K_XTS5000Mdl2.book Page 41 Friday, April 25, 2008 9:48 PM