Panasonic DMC-FZ7 User Manual
Page 45
Advanced
45
VQT0V63
– [STARRY SKY] (P63):
15 seconds, 30 seconds, 60 seconds
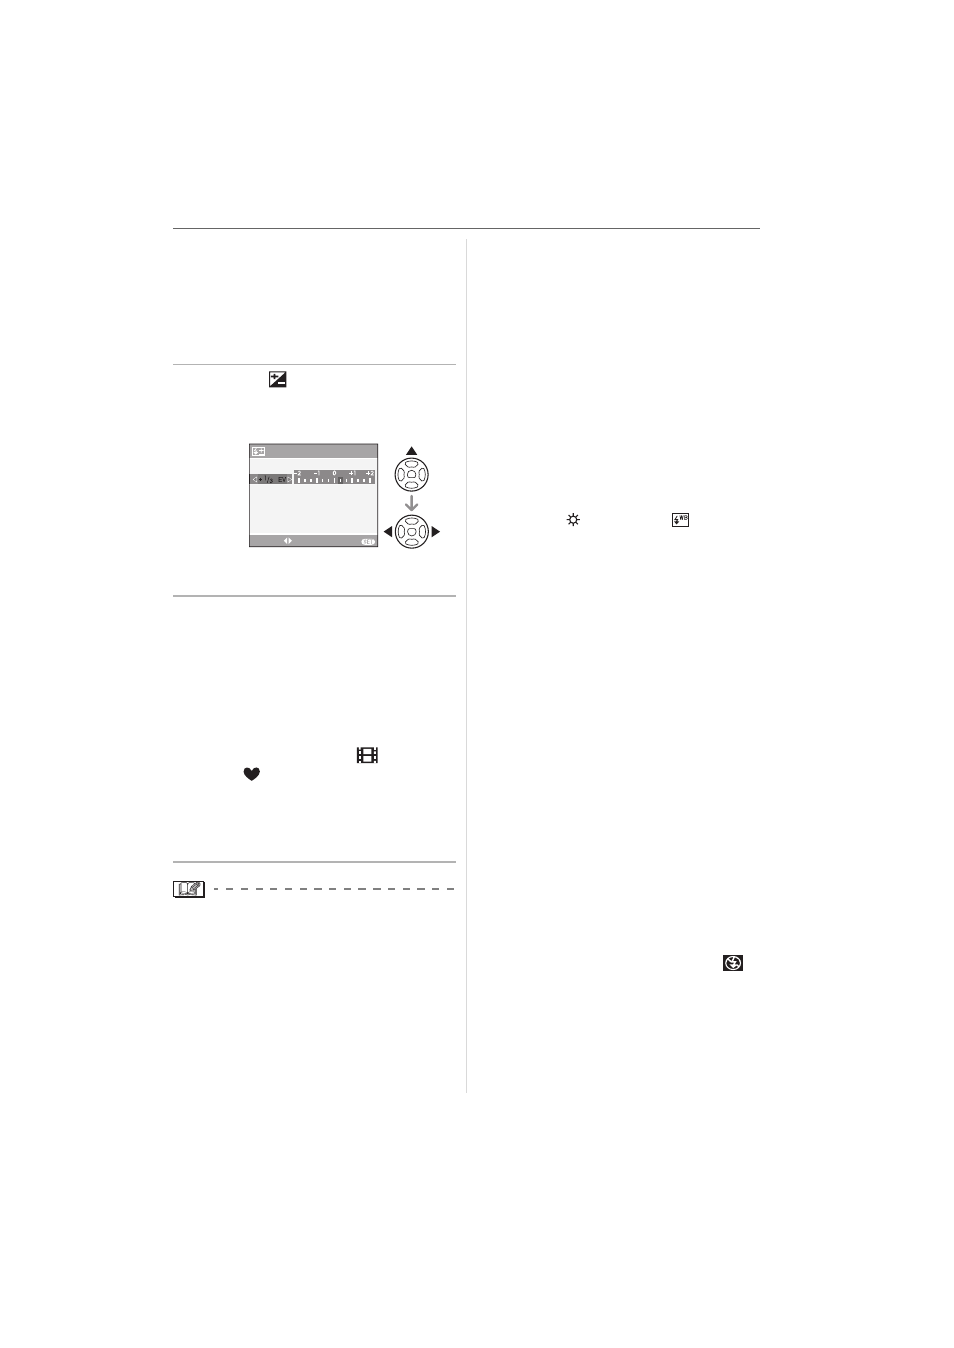
∫ Adjusting flash output
Adjust the flash output when the subject is
small or reflection ratio is extremely high or
low.
1 Press
3 (
) several times until
[FLASH] appears and then press
2/1 to set the flash output.
• Select [0] to return to the original flash
output.
2 Press [MENU/SET] to finish.
• You can adjust from [
j2 EV] to [i2 EV]
in steps of [1/3 EV].
• When the flash output is adjusted, the
flash output value appears on the upper
left of the screen.
• The flash output setting is memorized
even if the camera is turned off.
• In motion picture mode [
], simple
mode [
] and [SCENERY] (P60),
[NIGHT SCENERY] (P61),
[FIREWORKS] (P63) or [STARRY SKY]
(P63) in scene mode, you cannot adjust
the flash output.
• Do not look directly at the flash at
close range when it is activated.
• Do not bring the flash too close to
objects or close the flash while it is
activated. The objects may be
discolored by its heat or lighting.
• Do not cover the photo flash with your
fingers or other objects.
• If you press the shutter button halfway
when the flash is activated, the flash icon
turns red.
• When the jitter alert appears, we
recommend using a tripod.
• When you take a picture beyond the
available flash range, the exposure may
not be adjusted properly and the picture
may become bright or dark.
• When the flash is being charged, the flash
icon blinks red, and you cannot take a
picture even when you press the shutter
button fully.
• When taking a picture with the flash, the
white balance is automatically adjusted
[except for [
] (Daylight), [
] (Flash)].
However, the white balance may not be
properly adjusted if the flash level is
insufficient. (P75)
• When the shutter speed is fast, the flash
effect may not be sufficient.
• If you repeat taking a picture, it may not
actually be taken even if the flash is
activated. Take a picture after the access
indication disappears.
• When taking a picture with the flash,
we recommend removing the lens
hood. In some cases it may not allow
the scene to be illuminated properly.
• Do not close the flash soon after the flash
is activated prior to taking pictures due to
AUTO/Red-eye reduction etc. It causes a
malfunction.
• The red-eye reduction effect differs
between people. Also, if the subject was
far away from the camera or was not
looking at the first flash, the effect may not
be evident.
• When using a conversion lens, the built-in
flash setting is fixed to Forced OFF [
].
• When you set burst mode or auto bracket,
only 1 picture is recorded for every flash
activated.
FLASH
SELECT
EXIT
MENU