Clock set (initial settings menu item), Initial settings menu, Turn unit off to access menus – Pioneer DEH-P5900IB User Manual
Page 25: Navigating the menus, Display language, Clock set, Faceplate removal warning tone, Initial settings, Operating this unit, Adjusting initial settings
Initial Settings
Adjusting initial settings
Using the initial settings, you can customize
various system settings to achieve optimal per-
formance from this unit.
1
1
1
1 Function display
Shows the function status.
1
Press SOURCE and hold until the unit
turns off.
2
Press MULTI-CONTROL and hold until
Language select appears in the display.
# You can also perform this operation by press-
ing and holding
FUNCTION on the remote con-
trol.
3
Turn MULTI-CONTROL to select one of
the initial settings.
Turn
MULTI-CONTROL to switch between the
functions in the following order:
Language select (language selection)
—Clock
(clock)
—Warning tone (warning tone)—
AUX1 (auxiliary input 1)
—AUX2 (auxiliary
input 2)
—Dimmer (dimmer)—Brightness
(brightness)
—S/W control (rear output and
subwoofer controller)
—Mute (sound muting/
attenuation)
—Demonstration (feature demo)
—Reverse mode (reverse mode)—Ever-scroll
(ever scroll)
—BT AUDIO (Bluetooth audio)—
Pin code input (pin code input)
Use the following instructions to operate each
particular setting.
# You can also select the function by pressing
FUNCTION on the remote control.
# BT AUDIO and Pin code input can be se-
lected only when Bluetooth adapter (e.g., CD-
BTB100) is connected to this unit.
# To cancel initial settings, press BAND.
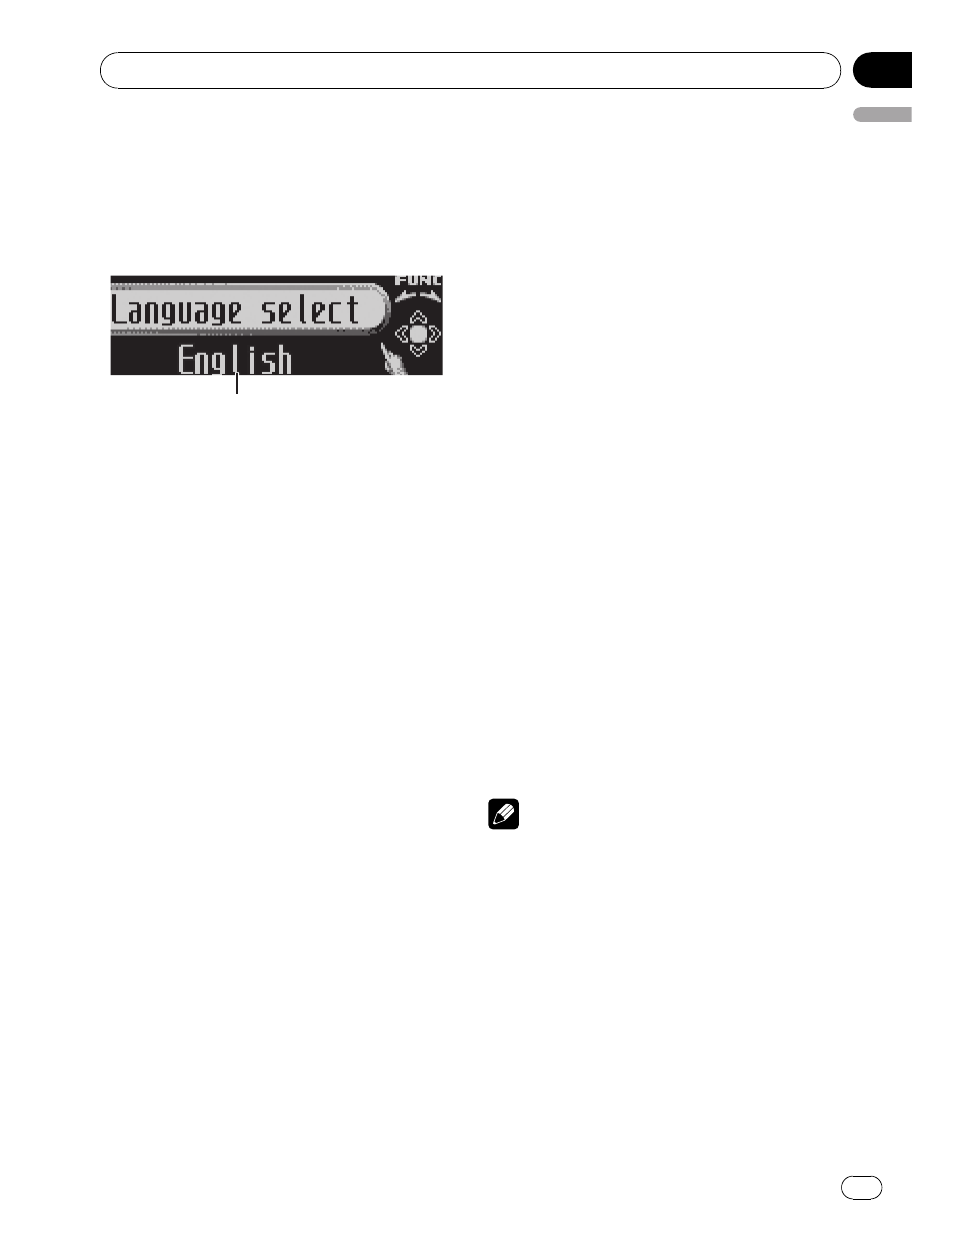
Selecting the display language
For your convenience, this unit equips multi-
ple language display. You can select the lan-
guage best suited to your first language.
1
Use MULTI-CONTROL to select
Language select.
2
Press MULTI-CONTROL to select the lan-
guage.
Each press of
MULTI-CONTROL selects lan-
guages in the following order:
English
—Français—Español
Setting the clock
Use these instructions to set the clock.
1
Use MULTI-CONTROL to select Clock.
2
Push MULTI-CONTROL left or right to
select the segment of the clock display you
wish to set.
Pushing
MULTI-CONTROL left or right will se-
lect one segment of the clock display:
Hour
—Minute
As you select segments of the clock display
the segment selected will blink.
3
Push MULTI-CONTROL up or down to
put a clock right.
Note
You can match the clock to a time signal by
pressing
MULTI-CONTROL.
! If the minute is 00 to 29, the minutes are
rounded down. (e.g.,
10:18 becomes 10:00.)
! If the minute is 30 to 59, the minutes are
rounded up. (e.g.,
10:36 becomes 11:00.)
Switching the warning tone
If the front panel is not detached from the
head unit within four seconds of turning off
the ignition, a warning tone will sound. You
can turn off the warning tone.
Operating this unit
En
25
English
Section
02