Important safeguards and warnings, Description, Installation – Pelco CAMCLOSURE C2410M-G User Manual
Page 4: 1install back box
[ 4 ]
Pelco Manual C2410M-G (1/04)
IMPORTANT SAFEGUARDS AND WARNINGS
1. Installation and servicing should be done only by qualified service personnel and conform to all local
codes.
2. Unless the unit is specifically marked as a NEMA Type 3, 3R, 3S, 4, 4X, 6 or 6P enclosure, it is
designed for indoor use only and must not be installed where exposed to rain and moisture.
3. Use only installation methods and materials capable of supporting four times the maximum specified
load.
4. Use stainless steel hardware to fasten the enclosure to outdoor surfaces.
5. To prevent damage from water leakage when installing an enclosure outdoors, apply sealant around
the bolt holes between the enclosure and mounting surface.
DESCRIPTION
The 150 Series Camclosure
®
Integrated Camera System is an in-ceiling dome incorporating a camera
and lens package into a small, discreet, high-security enclosure designed for areas subject to heavy
vandalism.
INSTALLATION
1
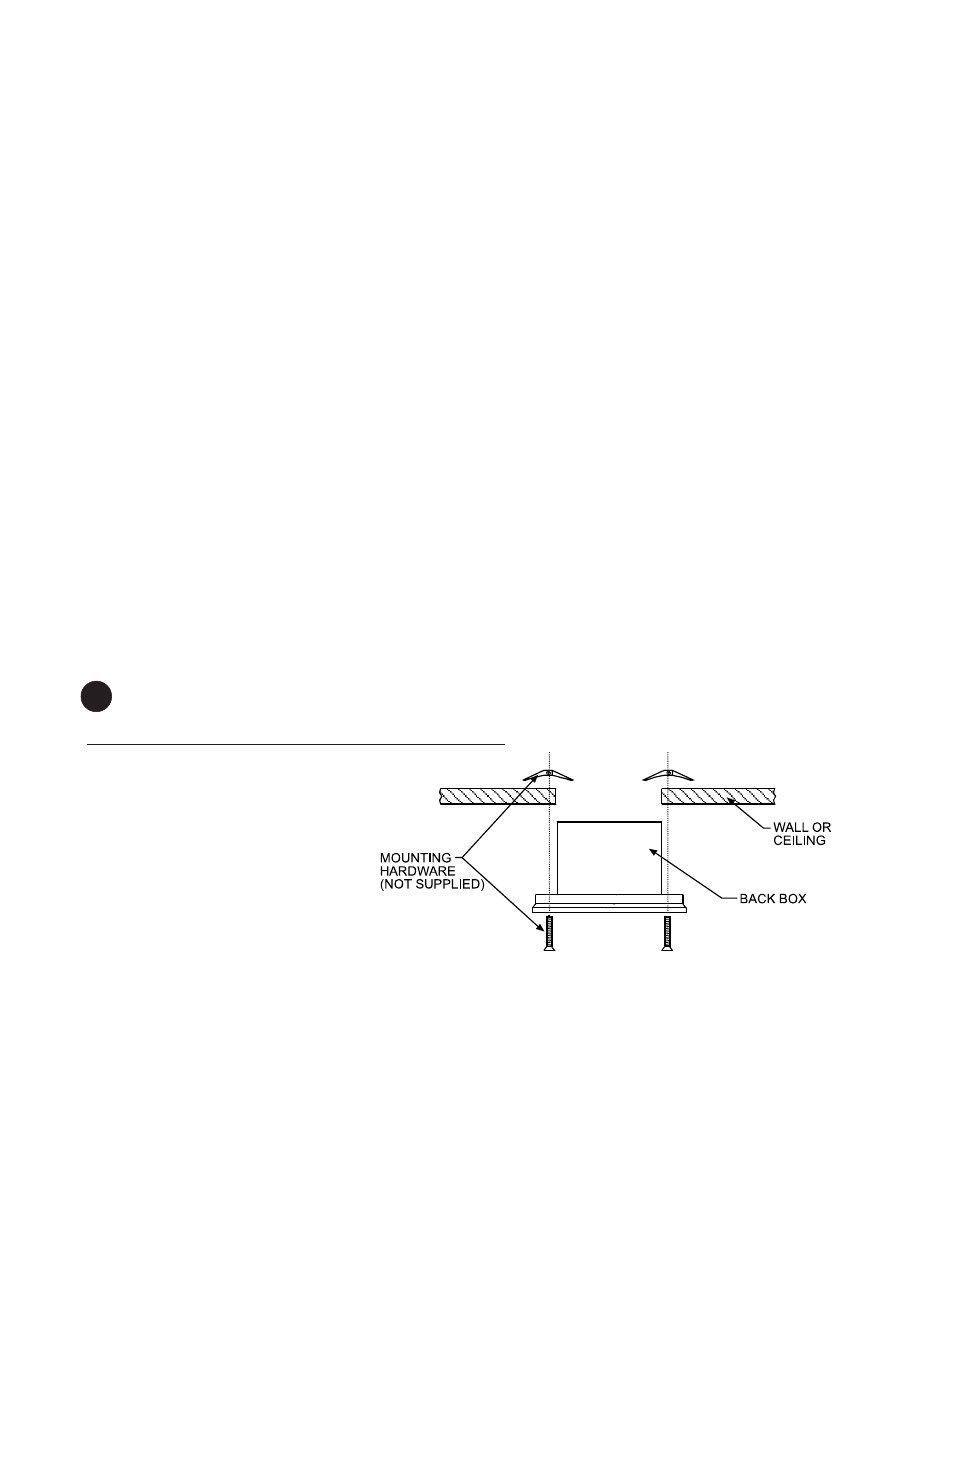
Install Back Box
Mounting Directly to Wall or Ceiling
1. Cut a hole 3.5 inches (9 cm) in
diameter in the ceiling or wall using
the adapter plate as a template.
2. Connect the video cable.
3. Connect the power wires.
•
For 12 VDC, connect the
24 VAC/12 VDC (red) and GND (black)
wires to input power.
•
For 24 VAC, connect the 24 VAC/12 VDC (red)
and 24 VAC (blue) wires to input power.
4. Attach the back box to the wall or ceiling.