Tuning the tv to your vcr, Pre-programmed tv channels (nv-fj600a/australia), Plug in auto tuning (nv-fj600ea/new zealand) – Panasonic NV-FJ600 User Manual
Page 8
8
The VCR supplies a signal to the TV via the RF coaxial cable
on channel AU28-69, or NZ21-69.
It is possible to view the video picture on your TV in the same
way that you watch TV broadcasts.
If you have connected the VCR to the TV through the Audio/
Video input sockets, then you do not need to follow the
procedure below.
Pre-programmed TV Channels
(NV-FJ600A/Australia)
The local TV broadcast channels 2, 7, 9, 10 and 28 are
factory-preset in this VCR.
That is, if you can receive television broadcasts on VHF
channels 2, 7, 9, 10 and UHF channel 28, these are already
tuned on the programme positions with the matching
numbers. However, it is possible to cancel these settings and
tune the local TV broadcast channels to any desired
programme position.
Preparations
≥
Turn on the TV and the VCR.
Operation
1
Hold down MENU button
V
for 5 seconds or more.
2
Set the TV to an unused position which you wish to
use for your video playback.
≥
Tune the TV until the display
shown on the right appears on
the screen. (Please refer to the
TV manufacturers operating
instructions regarding tuning.)
3
Press the MENU button
V
.
Panasonic VCR
END:MENU
RF SELECT BG I
≥
DK
RF SELECT:
On Screen Display
Plug in Auto Tuning
(NV-FJ600EA/New Zealand)
When the VCR is turned on after connecting the aerial cable
and the mains lead, Auto Tuning starts.
Auto tuning searches for TV stations from VHF minimum to
UHF maximum and memorizes every tuned programme
position.
≥
If you turn the VCR off during Auto Tuning, Auto Tuning will
stop halfway.
≥
If the VCR starts playback during Auto Tuning, Auto Tuning
will stop halfway.
Preparations
≥
Turn on the TV and the VCR.
Operations
1
Set the TV to an unused position which you wish to
use for your video playback.
≥
Tune the TV until the display shown below appears on
the screen. (Please refer to the TV manufacturers
operating instructions regarding tuning.)
2
Press the MENU button
V
.
Notes:
≥
If the VCR is turned on with the aerial not connected, all
channels are skipped. Therefore, firmly connect the aerial
and then turn the VCR off and on again to execute Plug in
Auto Tuning.
≥
Auto Tuning takes five or more minutes to complete its
search.
To Cancel Auto Tuning Mid-Operation:
Press the MENU button V during Auto Tuning. Auto Tuning is
cancelled.
To Restart Plug in Auto Tuning:
1
Press the EJECT button Y and remove the video
cassette.
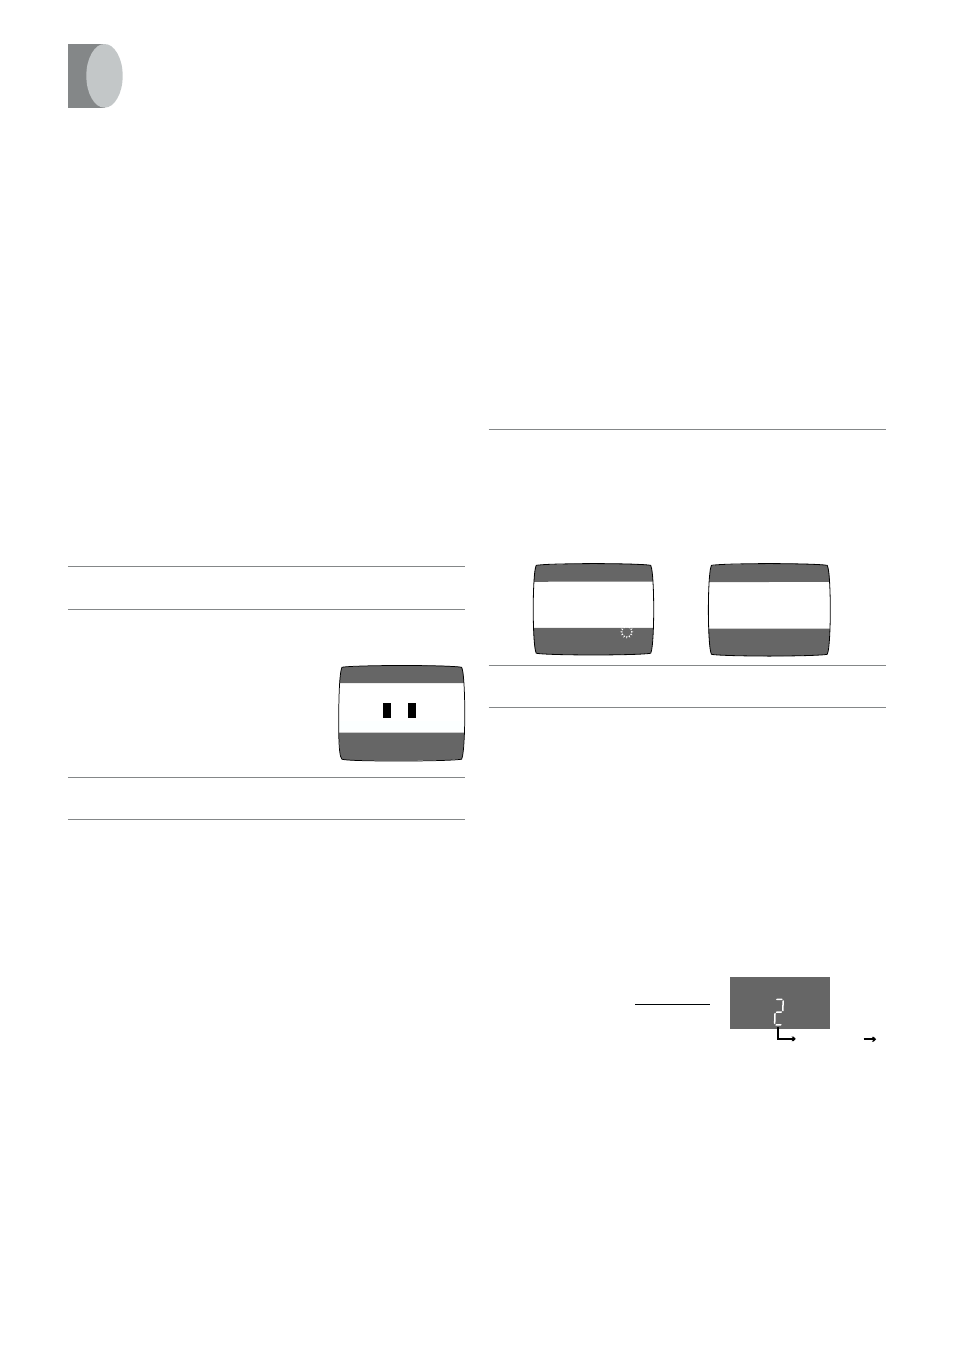
2
Keep the Channel buttons P
I (j) and J (i) on the VCR
pressed simultaneously for 3
seconds or more during the
VCR on.
≥
The channel displayed on the VCR display disappears
for a moment then changes to 1.
3
Disconnect the mains lead and then reconnect it.
4
Turn off the VCR and then turn it on.
≥
Auto Tuning commences.
If Auto Tuning stops halfway by turning the VCR off,
playback or a power failure:
1
Disconnect the mains lead and then reconnect it.
2
Turn off the VCR and then turn it on.
≥
Auto Tuning commences.
END: MENU
AUTO TUNING IS
COMPLETED.
RF SELECT
BG I
¡
DK
RF SELECT:
CH 22
SEARCH
END: MENU
21
µ
AUTO TUNING
IN PROGRESS,
PLEASE WAIT.
During Plug in Auto Tuning
After Plug in Auto Tuning
Disappears
1
VCR display
Tuning the TV to Your VCR