Set the clock manually, Press [functions, Press [ e , r ] to select “setup” and press [enter – Panasonic DMR-ES15EB User Manual
Page 41: Press [ e , r ] to select “others” and press [ q, Press [ e , r ] to select “clock” and press [enter, Press [ e , r ] to change the setting, Press [enter] when you have finished the settings
RQT8320
41
Refer to the control reference on page 35.
• In the case of a power failure, the clock setting remains in
memory for approximately 60 minutes.
1
While stopped
Press [FUNCTIONS].
2
Press [e,r] to select “To Others” and
press [ENTER].
3
Press [e,r] to select “Setup” and
press [ENTER].
4
Press [e,r] to select “Others” and
press [q].
5
Press [e,r] to select “Clock” and
press [ENTER].
6
Press [e,r] to select “Off” of
“Automatic” and press [ENTER].
7
Press [w,q] to select the item you
want to change.
The items change as follows:
8
Press [e,r] to change the setting.
You can also use the numbered buttons for setting.
9
Press [ENTER] when you have
finished the settings.
The clock starts.
To exit the screen
Press [RETURN] several times.
To return to the previous screen
Press [RETURN].
Note
If a TV station transmits a time setting signal, and when
“Automatic” in the Clock setting menu is set to “On”, the
automatic time correction function checks the time and if
necessary it is adjusted several times every day.
Tabs
Menus
Options (Underlined items are the factory presets.)
Connection
(Continued)
AV2 Settings
Set to match the connected equipment.
• Press [ENTER] to show the following setting.
AV2 Input
This setting is according to the output signal of
the connected equipment.
• Video
• S Video
Ext Link
This setting cannot be made when the “TV
System” is set to “NTSC” (Ô page 43).
• Ext Link 1:When a satellite/digital terrestrial receiver (SKY
Digital STB etc.) which transmits a special
control signal recordings via the 21-pin Scart
lead is connected.
Start and stop timings of recording are
controlled by the control signal (SKY Digital
STB/digital terrestrial receiver using the “SKY
Personal Planner” function).
• Ext Link 2:When an external equipment with a timer
function is connected.
When it turns on, recording starts.
When it turns off, recording stops.
Others
Remote Control (Ô page 15)
• DVD 1
• DVD 2
• DVD 3
Clock (Ô below)
Owner ID (Ô page 12)
In order to prevent another person from using this
unit if it is stolen, you can set a PIN number and input
your personal information.
Once the PIN number has been set, you cannot
return to the factory preset. Make sure not to forget
this.
• PIN number
• House No.
• Name
• Postcode
Initialize
• Press [ENTER] to show the following setting.
Shipping Condition
All the settings except for the ratings level, ratings
password, Owner ID and time settings return to
the factory preset. The timer recording
programmes are also cancelled.
• Yes
• No
Default Settings
All the settings except for the programmed
channels, time settings, disc language settings,
ratings level, ratings password, Owner ID and
remote control code return to the factory presets.
• Yes
• No
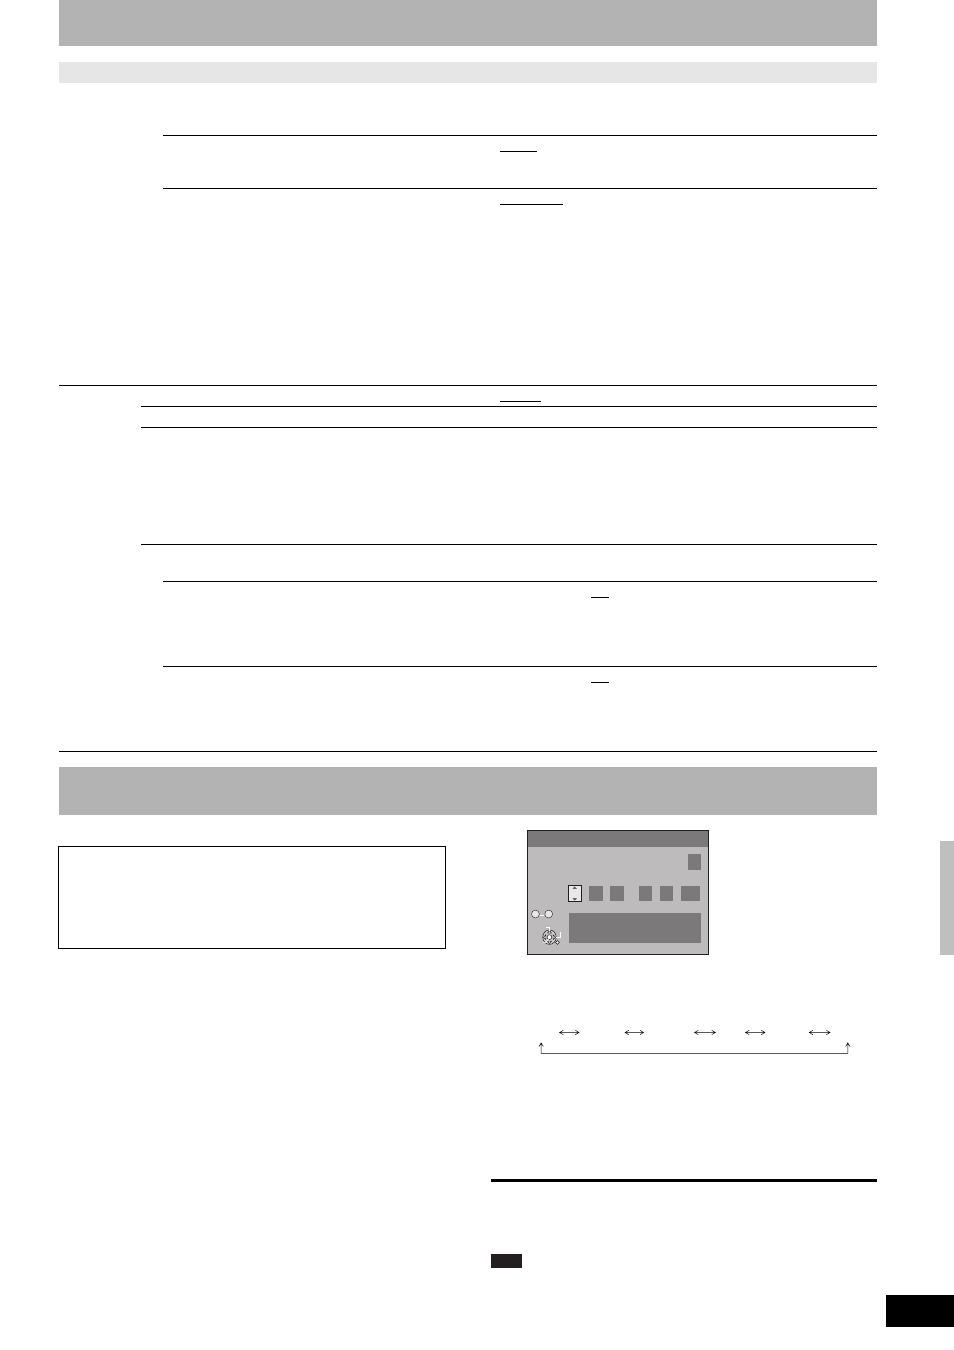
Set the clock manually
• Usually, the unit’s channel reception setting function
(Ô page 12) automatically adjusts the clock to correct
time. Under some reception conditions, however, the unit
cannot set the clock automatically.
• In this case, follow the operation steps below to manually
set the clock.
Clock
Automatic Off
Time
Date
15
: 45 : 39
Please set clock manually.
0 9
7
5
/
/ 2006
ENTER
RETURN
CHANGE
SELECT
Number
ENTER : store
RETURN : leave
Hour
Minute
Second
Day
Month
Year
Cha
nging th
e unit’s
s
ett
ings
/S
et
the
c
loc
k
ma
nua
lly