Setups, Manually enter your ssid, Wireless router status – Philips BDP5010 User Manual
Page 62: Advanced settings, Standard (wireless), Manual (wireless), Disable
62
SETUPS
EN
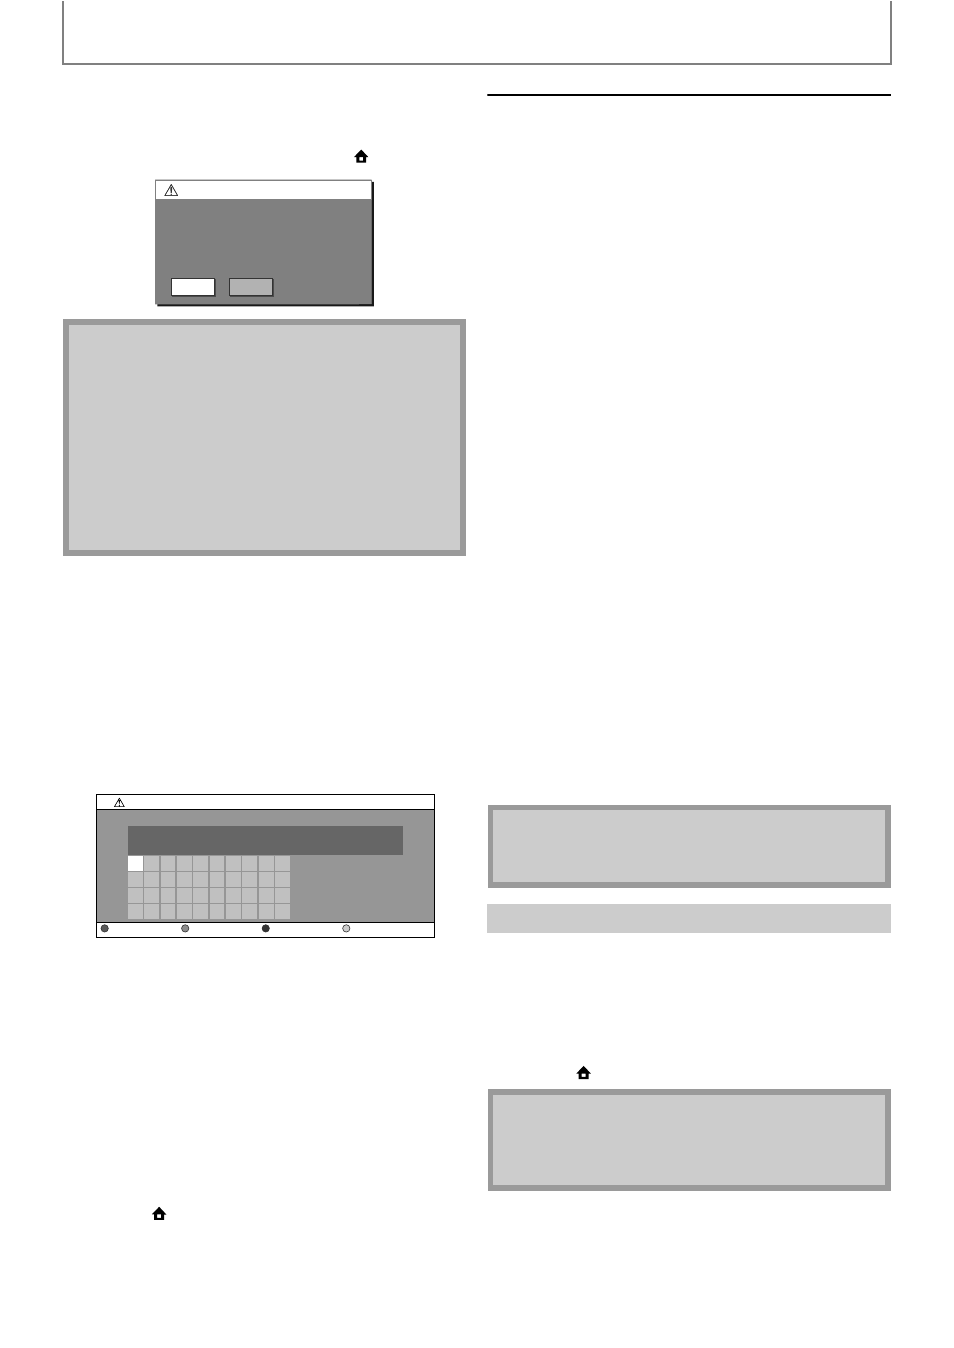
7) Following screen will appear. Use [s / B] to select
"Yes", then press [OK] to go to “Advanced Settings”.
• For further operation, refer to “Advanced Settings” on
• To go back to the home menu, press [
(home)].
Manually enter your SSID
Set up the connection to the wireless router manually by
entering the wireless network name (SSID).
1) Follow steps 1) to 3) in “Find wireless network” on
2) Use [K / L] to select “Manually enter your SSID”,
then press [OK].
• Wireless Router Name (SSID) entry screen will appear.
Enter the wireless network name (SSID) using cursor
buttons, number buttons and color key, then press
[YELLOW].
3) Follow steps 6) to 7) in “Find wireless network” on
Wireless Router Status
You can check the current status of “Wireless Router”
setting.
1) Follow steps 1) to 3) in “Find wireless network” on
2) Use [K / L] to select “Wireless Router Status”, then
press [OK].
• The list of current wireless router setting will be
displayed.
3) Press [BACK
U] to go back to the previous screen,
or press [
(home)] to go back to the home menu.
Advanced Settings
After you set up the “Wireless Router” setting, set the
network setting to “Standard” (wireless) or
“Manual”(wireless).
Standard (wireless)
To set the network setting to “Standard”(wireless), follow
the following procedure. For details of this setting, refer to
“Standard (Wired)” on page 58.
• If you select “Yes” in step 7) of “Find wireless network” on
pages 61-62, skip to step 3).
1) Follow steps 1) to 2) in “Find wireless network” on
2) Use [K / L] to select “Advanced Settings”, then
press [OK].
3) Use [K / L] to select “Standard”, then press [OK].
Manual (wireless)
To set the network setting to “Manual”(wireless), follow
the following procedure.
• If you select “Yes” in step 7) of “Find wireless network” on
pages 61-62, skip to step 3).
1) Follow steps 1) to 2) in “Find wireless network” on
2) Use [K / L] to select “Advanced Settings”, then
press [OK].
3) Use [K / L] to select “Manual”, then press [OK].
• For details of each setting, refer to following pages.
“IP Address Setting” / “DNS Setting”:
Refer to “IP Address Setting / DNS Setting” on page 59.
“Proxy Setting”:
Refer to “Proxy Setting” on page 60.
“BD-Live Setting”:
Refer to “BD-Live Setting” on page 61.
“Network Status”:
Refer to “Network Status” on page 61.
Deactivate all the network connection and settings.
1) Follow steps 1) to 2) in “Standard (Wired)” on page
2) Use [K / L] to select “Disable”, then press [OK].
3) Use [K / L] to select “Yes”, then press [OK].
4) Press [BACK
U] to go back to the previous screen,
or press [
(home)] to go back to the home menu.
Note
• For a wireless network with authentication setting,
key icon appears to the right hand of the wireless
network name (SSID).
• Signal icon shows the strength of the signal.
• WEP/WPA key appears as asterisks on the
confirmation screen.
• The supplied USB wireless LAN adaptor supports
following specifications.
- Wifi standards
: IEEE 802.11 b/g/n
- Frequency spectrum : 2.4GHz
- Security protocol
: WEP / WPA / WPA2
Network Connection
Wireless router settings are incomplete.
Please use "Advanced Settings"
to complete your setup.
Yes
No
1
a
k
u
2
b
l
v
3
c
m
w
4
d
n
x
5
e
o
y
6
f
p
z
7
g
q
.
8
h
r
-
9
i
s
_
0
j
t
OK
a/A/@
Manually enter your SSID
Wireless Router Name (SSID)
Clear
All Clear
OK
Note
• You cannot select “Advanced Settings” if “Wireless
Router” setting is not completed.
Disable
Note
• The network connection can be reactivated by
setting the network connection to “Enable (Wired)”
or “Enable (Wireless)”.