Global section mic/ aux section midi section, Operating dj software using the midi function – Pioneer DJ Mixer DJM-T1 User Manual
Page 22
22
DRB1558-A
En
22
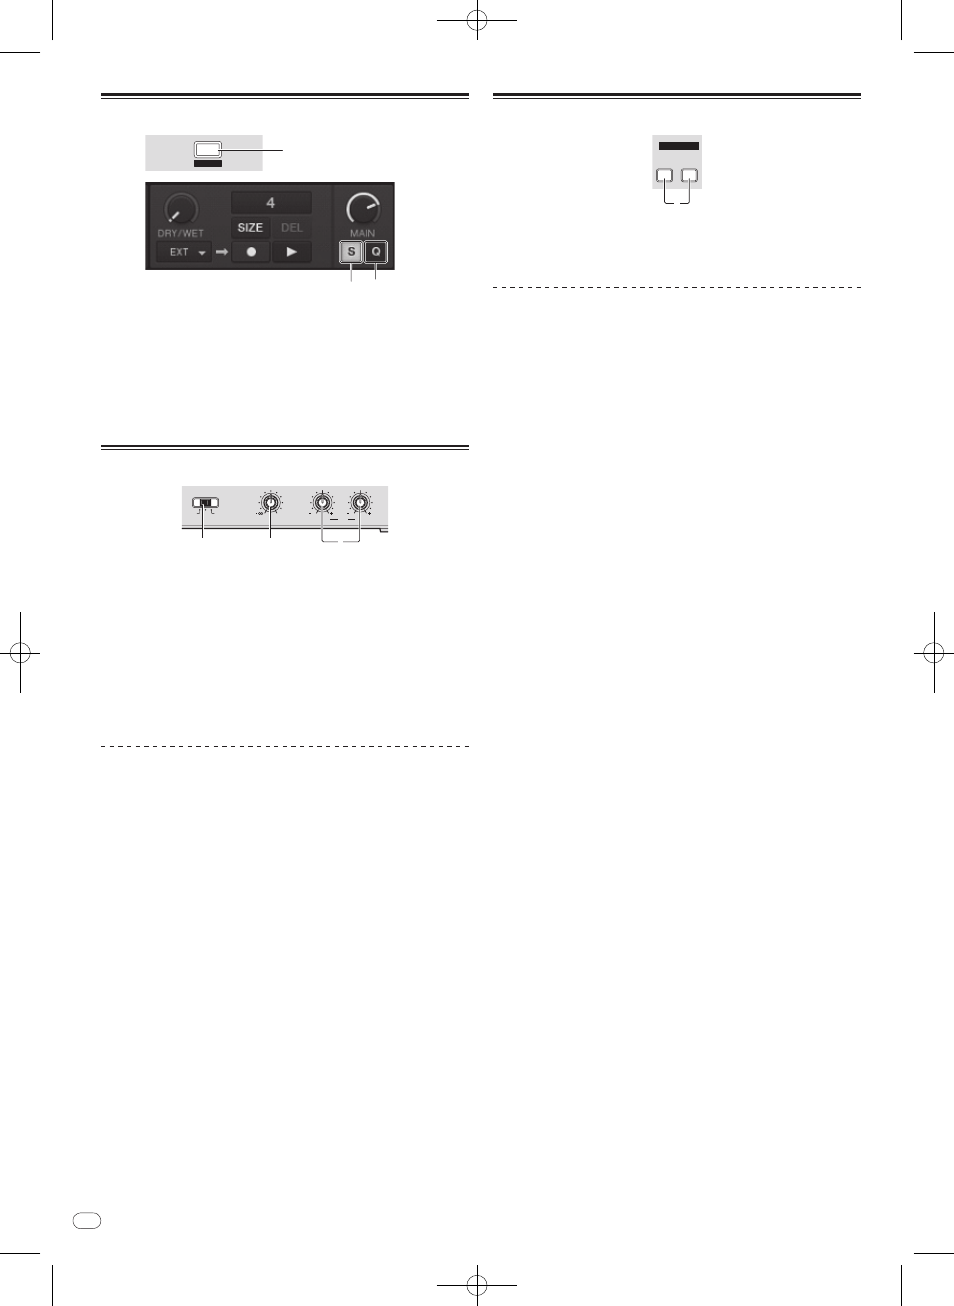
Global section
SNAP
QUANTIZE
1
1
(SHIFT)+
1
1
SNAP (QUANTIZE) button
! Press:
Turns the TRAKTOR snap function on and off.
When the snap function is on, the cue and loop points are set to the same
position as the nearest [Beat Grid].
! [SHIFT] + press:
Turns the TRAKTOR quantize function on and off.
When the quantize function is on, movement to the cue and loop points is
synchronized with the timing of the beats.
MIC/ AUX section
LOW
LEVEL
INPUT SELECT
MIC
AUX
OFF
EQ
HI
12
12
12
12
0
2
1
3
1
INPUT SELECT switch
Switches the audio input between the external device and the microphone.
— [AUX]: The external device connected to the [AUX] terminals is selected.
— [OFF]: The [MIC/ AUX] channel is turned off.
— [MIC]: The microphone connected to the [MIC] terminal is selected.
! The sound input to the [MIC] and [AUX] terminals is mixed with the [CH 1]
and [CH 2] sound that has passed through the crossfader.
2
LEVEL control
Adjusts the audio level input to the [MIC] and [AUX] terminals.
3
EQ (HI, LOW) controls
These adjust the tone of the [MIC/ AUX] channel.
Inputting the sound of a microphone or
external device
1 Connect the external device to the [MIC] or [AUX] terminal.
2 Switch the [INPUT SELECT] switch.
3 Turn the [LEVEL] control.
Adjust the audio level input to the [MIC] or [AUX] terminal.
! Pay attention that rotating to the extreme right position outputs a very loud
sound.
Adjusting the sound quality
Turn the [EQ (HI, LOW)] controls.
Refer to Specifications on page 30 for the range of sound that can be adjusted by
each control.
MIDI section
MIDI
CH1
CH2
ON/OFF
1
This unit outputs the operation information of buttons and controls in universal MIDI
format.
When connected by USB cable to a computer on which a MIDI-compatible DJ soft-
ware program is installed, the DJ software can be operated from this unit.
Operating DJ software using the MIDI function
Install the DJ software on your computer in advance. Also, adjust audio and MIDI
settings for the DJ software.
! For MIDI channel setting instructions, see Setting the MIDI channel on page 24.
! For the messages output by this unit, see List of MIDI Messages on page 26.
1 Connect this unit’s [USB] terminal to the computer.
For instructions on connections, see Connecting the input/ output terminals on page 10.
2 Start the DJ software.
3 Press the [CH 1] or [CH 2] button.
The mixer section’s MIDI function turns on.
Transmission of the mixer section’s MIDI messages begins.
! When a fader or control is moved, a message corresponding to the position is
sent.
! When the [CH 1] or [CH 2] button is pressed again, transmission of the mixer
section’s MIDI messages stops.
! The MIDI messages of the browse section, transport section, effect section and
hot cue/ sampler section are transmitted regardless of the [CH 1] and [CH 2]
buttons.