Philips WAC5 User Manual
Page 25
25
English
HD
Important!
– It takes some time to convert the ripped tracks
into MP3 files.
– If power failure occurs during the conversion,
you will lose all the ripped tracks not converted
yet..
To find your ripped tracks
After MP3 conversion is completed, you can find
and playback the ripped tracks in
Albums
1
Select
HD source
2
In
Albums, use the navigation controls 3 or 4
and 2 to enter the album of recorded tracks.
– Only the completely ripped track can be
found on Center’s harddisk
Importing MP3/WMA tracks from PC
The supplied PC Installer CD contains Digital
Media Manager (DMM) software. It will help
you organize the music files on your PC and
import them to WAC5 Center. For details, see
DMM’s help file. Refer to the manual
Connect
to your PC to learn how to install DMM
software.
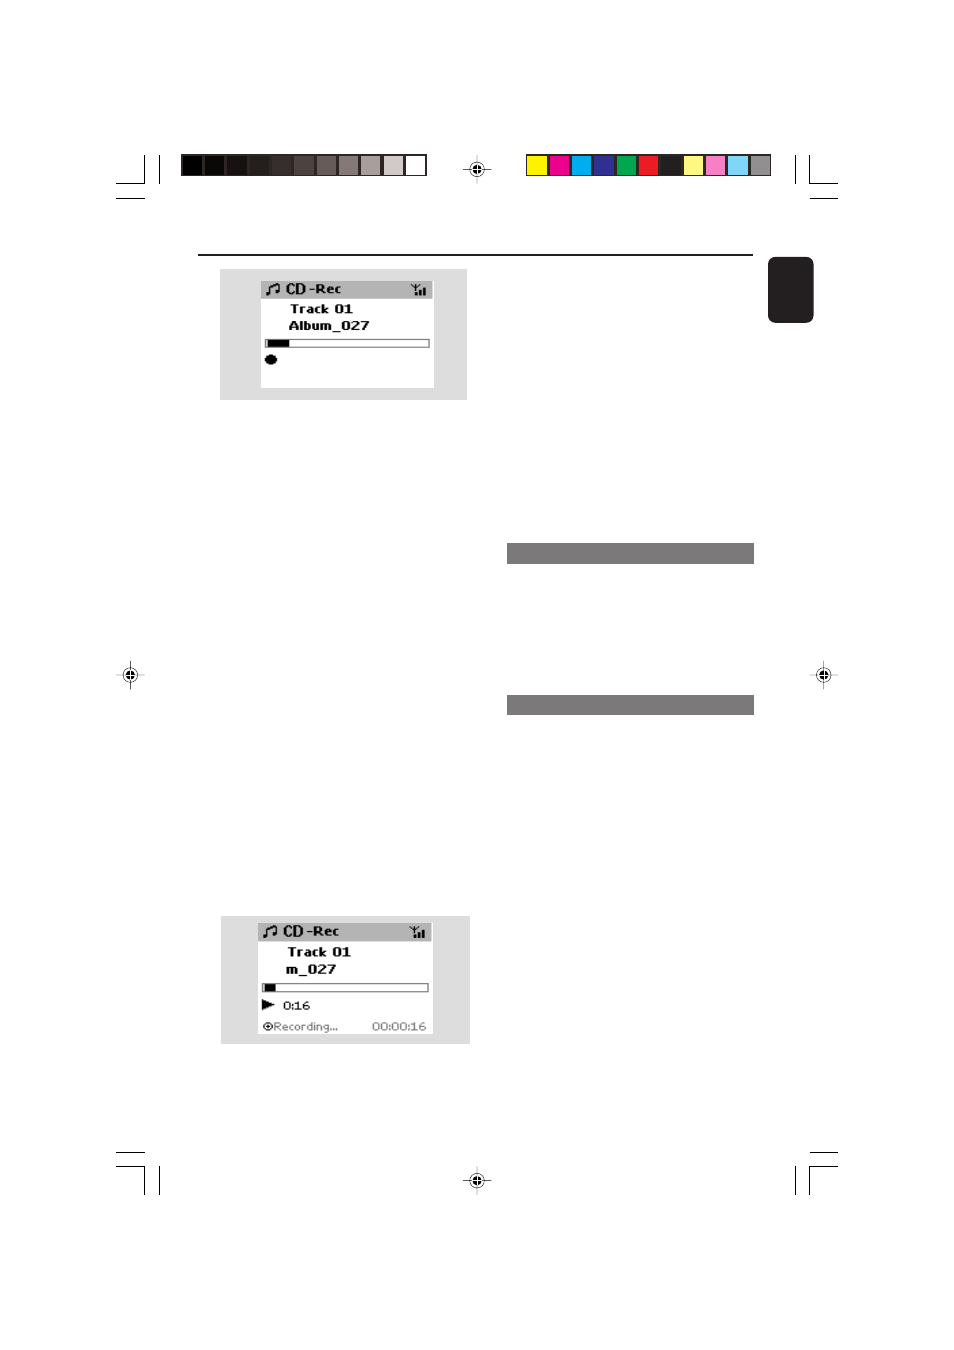
Recording from external source
A maximum of 3-hour recording can be made
from the external source.
1
Check the external device has been properly
connected (See
Installation, Connecting an
additional appliance)
2
In
AUX mode, start playback from the external
source (see
AUX)
3
Press
RECORD
➜
Recording starts
4
To stop recording, press
STOP/
Ç.
➜
The recording is saved as a file under
AUX in
Albums. A file name is given, e.g. Aux_xx
(where xx denotes a number)
To find your recording
1
Select
HD source
2
In
Albums, use the navigation controls 3 or 4
and 2 to enter
AUX
Helpful hints:
– You can edit your track information via DMM.
➜
Center will return to
CD mode when ripping is
finished
➜
All the functions are available at this time
6
To rip another CD, repeat the
step 1-5 above
(Up to 8 CDs can be ripped consecutively)
7
To stop recording, press
STOP/
Ç
To rip a disc during playback
(for audio CDs only)
●
During playback, press
RECORD.
➜
Recording and playback start from current
track
Or
1
Follow the Step 1-3 under
To rip a disc at fast
speed
2
Select
Normal speed by
a. Press and hold
STOP • MENU to enter the
MENU screen (or on remote control, press
MENU)
b. Use the navigation controls 3 or 4 and 2 to
enter
Settings menu
c. In
Settings menu, use the navigation
controls 3 or 4 and 2 to select
Rec
speed
d. Press 3 or 4 and 2 to select
3
To start recording, press
RECORD
➜
Recording and playback start
➜
Display shows the album name of the track
being recorded
Helpful hints:
– To switch off the sound output temporarily,
press MUTE.
p001-p037_WAC5_Eng_22
9/14/2005, 15:08
25