Panasonic DMC-LC50GN User Manual
Page 87
Playback (advanced)
87
ª To print the date connecting to the
printer
There are two ways.
1 The one is to connect to the printer
and then set the date printing.
2 The other is to set the date printing
with the DPOF print in advance.
1 Setting the date printing after
connecting to the printer
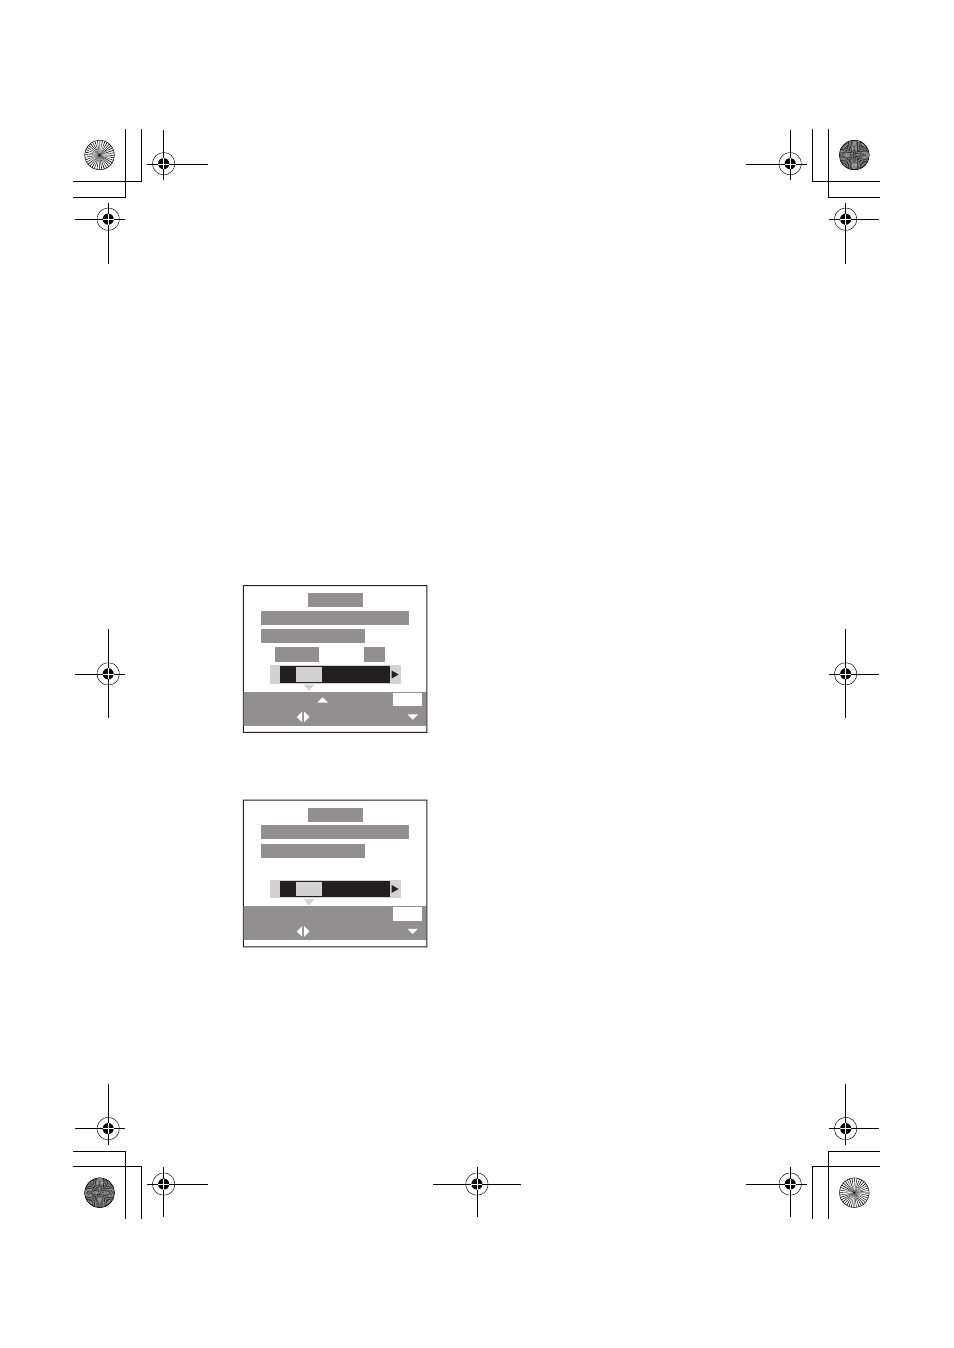
• Before starting the print (when the
screen shown below appears), press
the [DISPLAY] button whether to set
the date printing or not.
• Single picture
• DPOF picture
• Follow the procedure above in these
cases:
• When your printer does not support
DPOF.
• When your printer does not support
the date printing on DPOF.
• When the date printing is not set on
the DPOF print.
2 Setting the date printing with the
DPOF print in advance
• Set the date printing with the DPOF
print (P65) in advance. After selecting
[DPOF] and starting the prints, the
recorded date is printed. When you
start printing, you do not need to press
[DISPLAY] button.
• Follow the procedure above in these
cases:
• When your printer supports the
date printing on the DPOF print
.
¬Suggestions/Tips ¬
ª About the date printing
• The setting on the printer may have
priority over the setting on the camera
in the date print. Also check the date
print setting on the printer.
• Setting the date printing by [DISPLAY]
button is available only when the
printer supports the date printing.
• When you attempt to set the date
printing by pressing the [DISPLAY]
button and by setting the DPOF print
at a time, it depends on the printer you
use which date printing has a priority.
(P65)
PLS CHECK THE PRINTER
START PRINTING?
DATE
DISPLAY
SELECT
SET COUNT
SET
COUNT
1
YES
NO
PictBridge
DATE
DISPLAY
SELECT
SET
PLS CHECK THE PRINTER
START PRINTING?
YES
NO
PictBridge
LC80GN.book 87 ページ 2004年6月17日 木曜日 午前10時18分