Connect – Philips SLA5520 User Manual
Page 13
EN
13
The configuration wizard may prompt for the following information.
Depending on the network configuration, the SLA5520 determines some settings
automatically.
When switching on the SLA5520 for the first time, the Configuration wizard will
appear automatically.
If you wish to change network settings afterwards, you have to restart the
Configuration wizard.
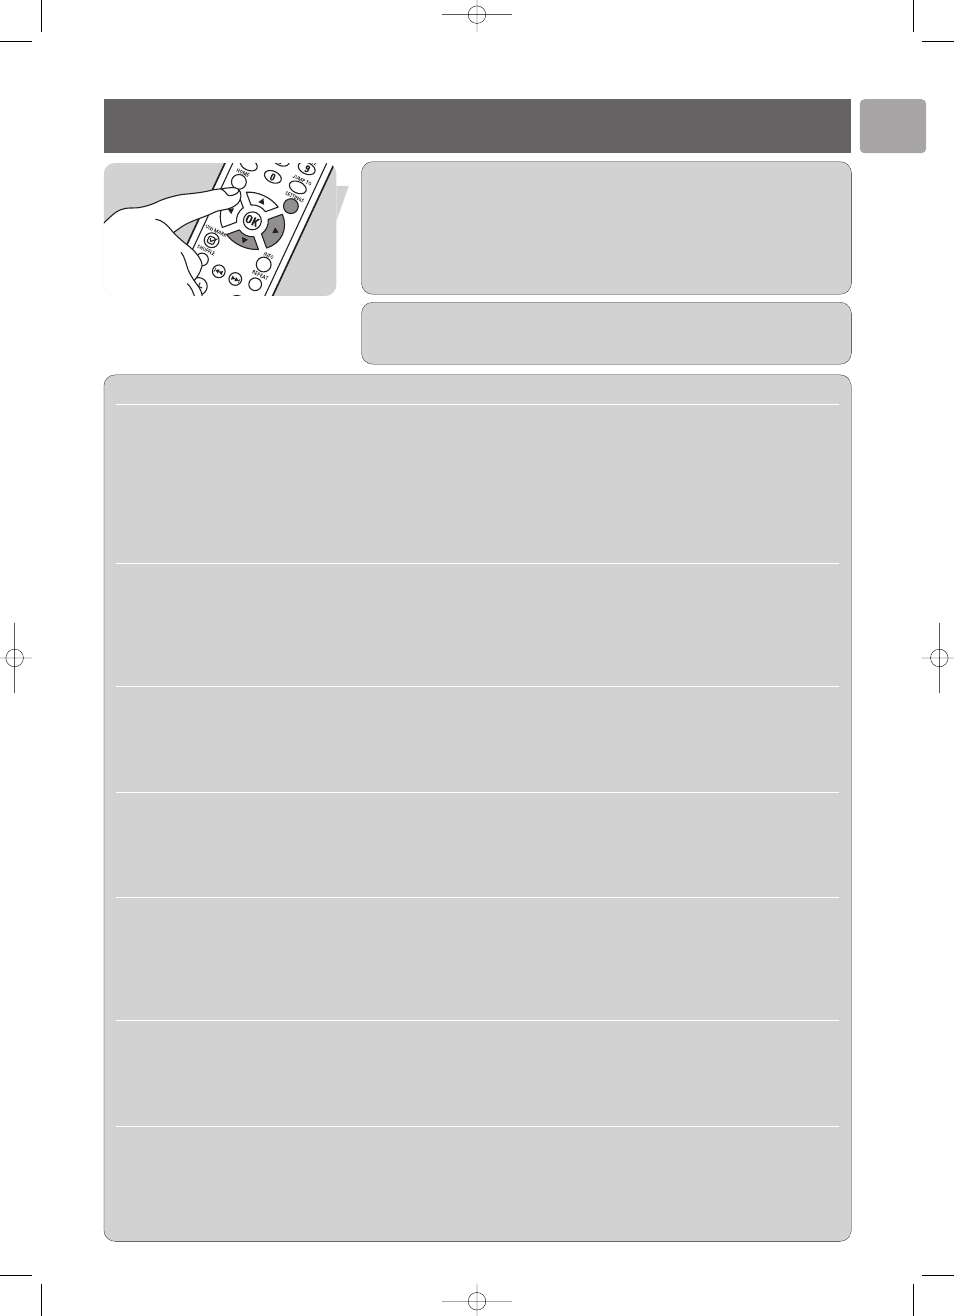
1 Press Settings (17).
2 Select Configuration wizard (
4 or 3).
3 Press
2 or OK (16).
Connect
Prompt
Possible options
Action
Select language
English
1 Select your preferred language (
4 or 3).
Francais
2 Press
2 or OK.
Italiano
Deutsch
Espanol
Nederlands
The configuration wizard and the settings menu will be displayed in your preferred language.
Load profile
Profile 1
1 Select the profile you wish to alter.
Profile 2
2 Press
2 or OK.
Profile 3
Different profiles can be used to easily connect to different wireless networks
See Settings menu – Advanced settings – Profile management for details.
Select network
Network 1 (SSID)
1 Either - Select the network to which the SLA5520
Network 2 (SSID)
should connect.
Other (Advanced)
Or – Select Other (Advanced) to enter the network
name (SSID) manually.
2 Press
2 or OK.
Select wireless mode
Network (Infrastructure)
1 Either, preferred - Select Network (Infrastructure)
Point to point (Ad-Hoc)
Or - Select Point to point (Ad-Hoc). Only if none of
the following devices is available: base station,
router, gateway or access point.
2 Press
2 or OK.
Select security type
WPA
1 Either - select WPA.
WEP
Or – select WEP.
None
Or – select None.
2 Press
2 or OK.
Make sure to select the security type that is configured on the network.
Select WPA mode
TKIP
1 Either, used most often - Select TKIP.
AES
Or – select AES.
2 Press
2 or OK.
Make sure to select the WPA security type that is configured on the network.
SLA5520_Eng*.qxd 04-07-2005 13:39 Pagina 13