Interior seal, Exterior seal – Pella 808F0105 User Manual
Page 6
Caution: Ensure use of low pressure polyurethane window and door insulating foams
and strictly follow the foam manufacturer’s recommendations for application. Use of
high pressure foams or improper application of the foam may cause the window frame
to bow and hinder operation.
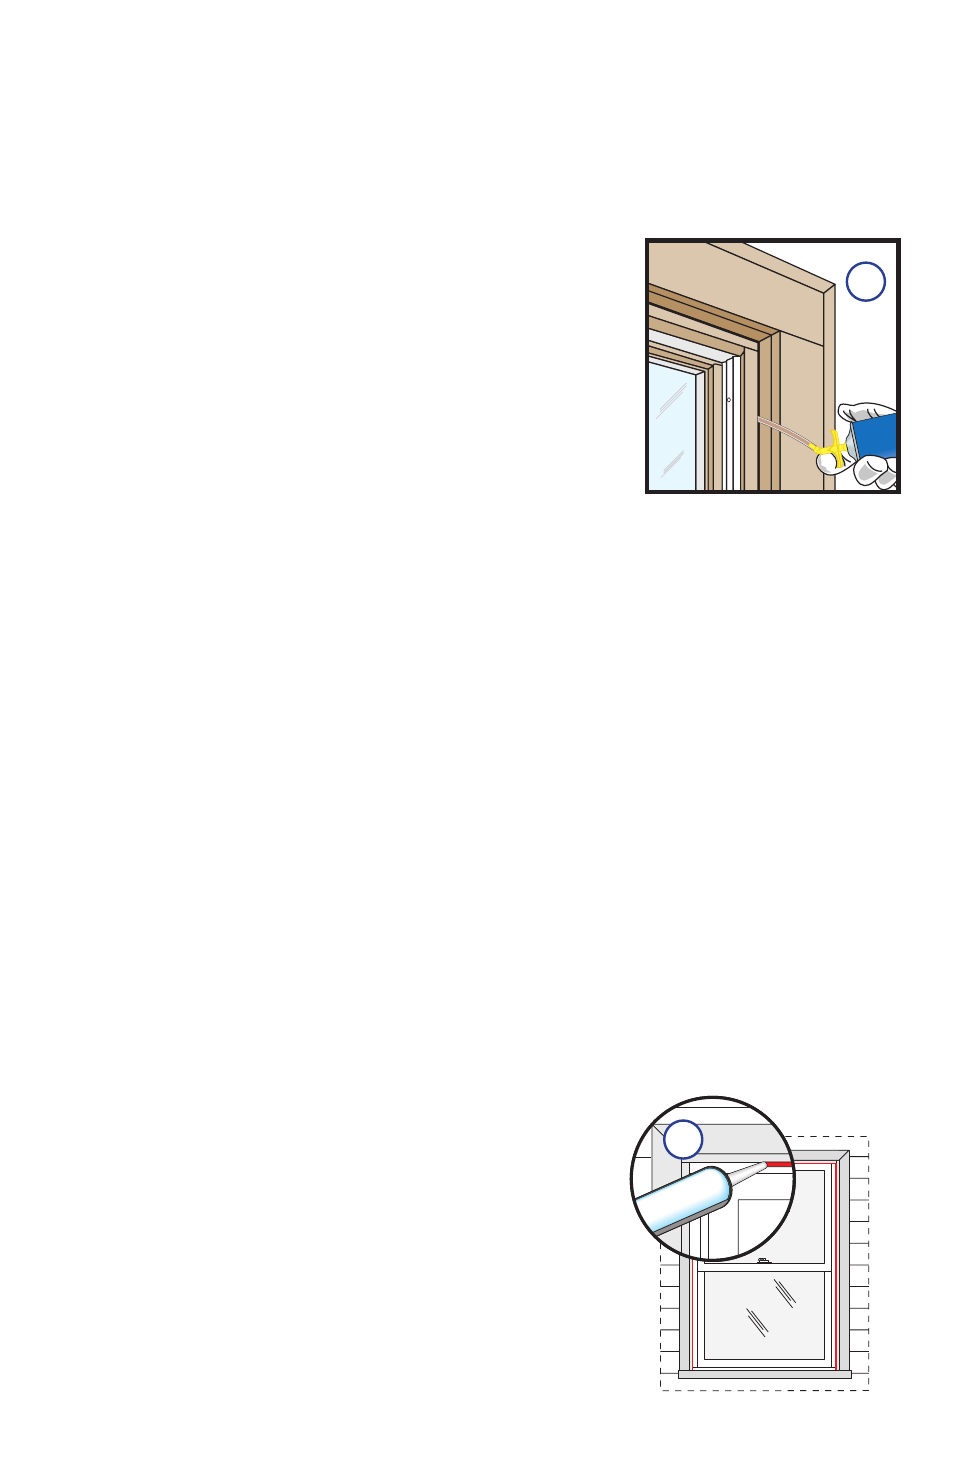
A. Place a corner bead of sealant at the jambs
and head connecting the existing frame and the
replacement window frame.
Caution: DO NOT seal the bottom exterior to allow for
incidental water to weep.
B. Check to ensure the sill adapter is properly seated.
If the window sill appears humped in the center,
carefully push sill down to straighten.
4
INTERIOR SEAL
A. Apply insulation foam. From the interior, insert the nozzle
of the applicator approximately 1" deep into the space
between the window and the rough opening and apply a
1" deep bead of foam. This will allow room for expansion
of the foam and will minimize squeeze out. Apply sealant
across the interior surface of the shims to create a
continuous seal. Follow foam manufacturer’s instructions.
Note: It may be necessary to squeeze the end of the tube
with pliers to be able to insert into the space between the
new and existing window frame. DO NOT completely fill
the space from the back of the blind stops to the interior
face of the opening.
B. Check window operation by opening and closing the window.
Note: If the window does not operate correctly, check to make sure it is still plumb,
level, square and that the sides are not bowed. If adjustments are required, remove the
foam with a serrated knife. Adjust the shims, and reapply the insulating foam sealant.
C. Inspect the foam after it has cured. Fill any voids with foam prior to installing interior trim.
D. Reinstall the existing interior sash stops or new trim as desired.
5
EXTERIOR SEAL
5A
4A