Pella Clad Awning User Manual
Page 6
3D
3C
3D
Exterior
3C
3C
3B
3
INTEGRATING THE WINDOW TO THE WATER RESISTIVE
bARRIER (continued)
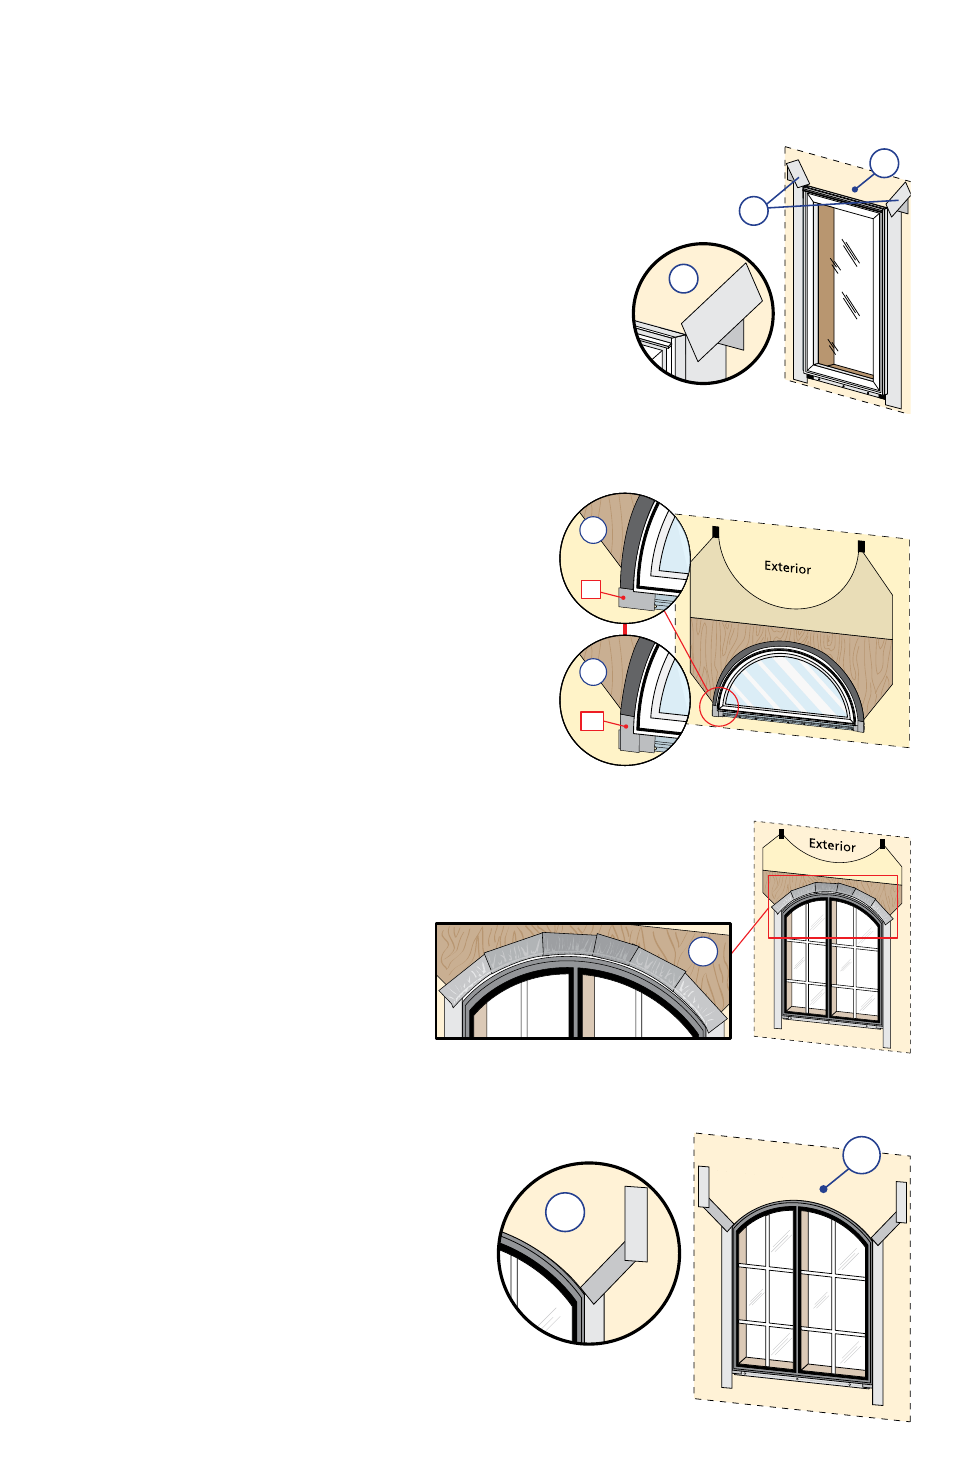
C. Fold down top flap of water resistive barrier (3C).
D. Apply flashing tape to diagonal cuts. Cut pieces of
flashing tape at least 1" longer than the diagonal cuts in the
water resistive barrier. Apply the tape covering the entire
diagonal cut in the water resistive barrier at both upper
corners of the window.
Note: Be sure to overlap the top corners (3D).
Curve Top and Angle Top Units Only:
A. Units that do not have pre-applied fin corners:
Cut four pieces of flashing tape 1-1/2" long. Apply
one piece of flashing tape to each end of the sill fin
so that it extends 1-1/2" past the end of the sill fin.
Apply one piece of flashing tape to the bottom end
of each flexible fin, beginning 1-1/2" from the end
of the fin and lapping over the flashing tape that
extends from the end of the sill fin.
3A
1
st
3A
2
nd
B. For Curve Top Windows: Several pieces of flashing tape will
be needed to cover the top fin. Start taping from the sides
of the window working toward the peak. To determine the
length of cuts, hold the tape along the radius, and cut the
tape just past where it leaves the top
fixed extruded fin or for the flexible
fin, just past the flexible weather
strip. The top tape must overlap the
one beneath it in order to divert
water properly. The sharper the arc
of the window, the shorter the pieces
of tape will be.
C. Apply top flashing tape to an angle top
window 1/2" up onto the frame cladding,
over the top fin onto the sheathing. On
the short side of a trapezoid window, do not
allow the side flashing tape to extend higher
than what the top tape will cover. Fold the
overlapping tape down, and press all tape
down firmly.