Other settings, Tips, Set clock automatically – Panasonic DIGA DMR-EZ47V User Manual
Page 66
66
RQT8853
, to select “Set Clock
Automatically”, then
ENTER
ENTER
to start auto setting.
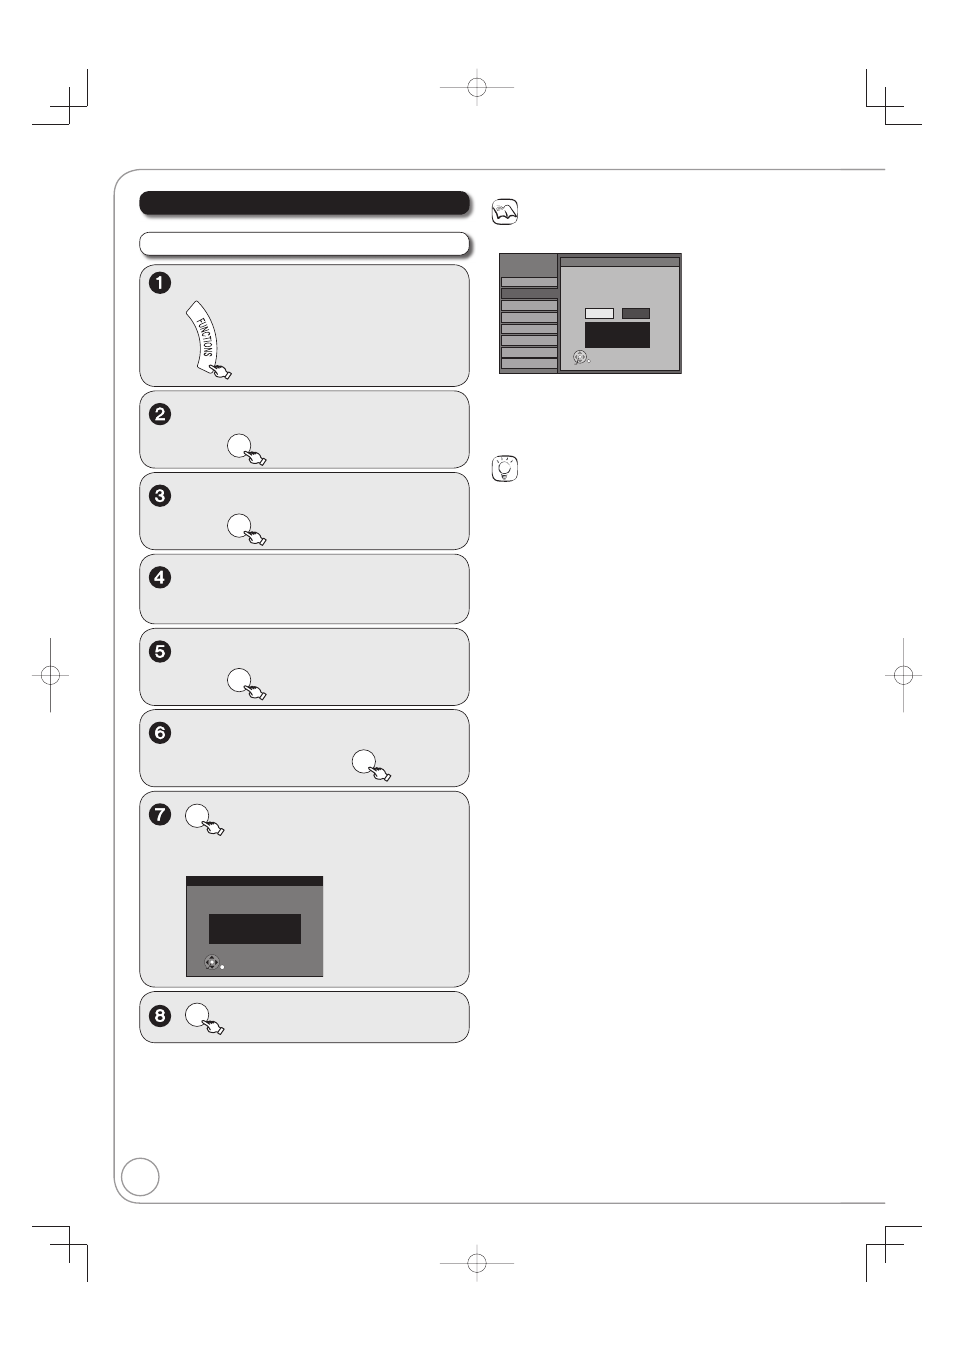
The following screen appears when the setting
is complete.
Set Clock Automatically
Clock Setting completed successfully.
4/4/2007 11:15 AM
DST----------- On
Time Zone---- EST
ENTER
Clock Settings
Notes
This may take some time, up to a few hours in some cases.
If the following message appears
Setup
Setup
Audio
Display
TV Screen
VHS
Channel
Disc
Video
No
Yes
ENTER
Set Clock Automatically
12/14/2007 5:28 AM
DST----------- Off
Time Zone---- EST
Setting completed as follows.
Finish the setup with this clock time?
Note:Selecting“No”will start channel scanning
again and renew the clock time.
If the time is correct, press [
] to select “Yes”, then press [ENTER].
–
If you select “No”, auto setting starts again, then the above
screen reappears. Repeat this step until the correct time appears.
If the clock is not correct, set the clock with “Adjust Time Zone”
(
¼ 67) or “Set Clock Manually” (¼ 48).
Tips
To cancel in the middle
Press [RETURN].
Time Zone
Time Zone shows the time difference from Greenwich Mean Time
(GMT).
EST (Eastern Standard Time)
GMT 5
CST (Central Standard Time)
GMT 6
MST (Mountain Standard Time)
GMT 7
PST (Pacifi c Standard Time)
GMT 8
AST (Alaska Standard Time)
GMT 9
HST (Hawaii Standard Time)
GMT 10
For other areas: xx hr
DST (Daylight Saving Time)
If you select “On”, the clock is advanced one hour starting at
2 a.m. on the second Sunday in March and ending at 2 a.m. on the
fi rst Sunday in November.
Set the DST period manually when it varies according to regions
(
¼ 63).
To return to the previous screen
Press [RETURN].
To exit the screen
Press [RETURN] several times.
ENTER
to complete.
Other Settings
Set Clock Automatically
, to select “Other Functions”,
then
ENTER
, to select “Setup”,
then
ENTER
, to select “Setup”,
then
.
, to select “Clock Settings”,
then
ENTER
With the unit stopped