Extra functions, Introduction of audio adjustments, Audio adjustments – Pioneer Super Tuner III D DEH-P80RS User Manual
Page 48
2 Adjusting subwoofer settings (SW 2)
3 Adjusting low pass filter attenuation slope
(
SW 3)
4 Setting the high pass filter for front speakers
(
F.HPF 1, F.HPF 2)
5 Setting the high pass filter for rear speakers
(
R.HPF 1, R.HPF 2)
6 Adjusting equalizer curves (EQ 1)
7 Adjusting 16-band graphic equalizer (EQ 2)
Extra functions
These functions are helpful in adjusting the
sound to suit your system or your personal
preferences.
! Using BBE sound (BBE)
! Adjusting loudness (LOUD)
! Adjusting source levels (SLA)
! Using BMX and compression (BMX)
Introduction of audio
adjustments
1
1
1
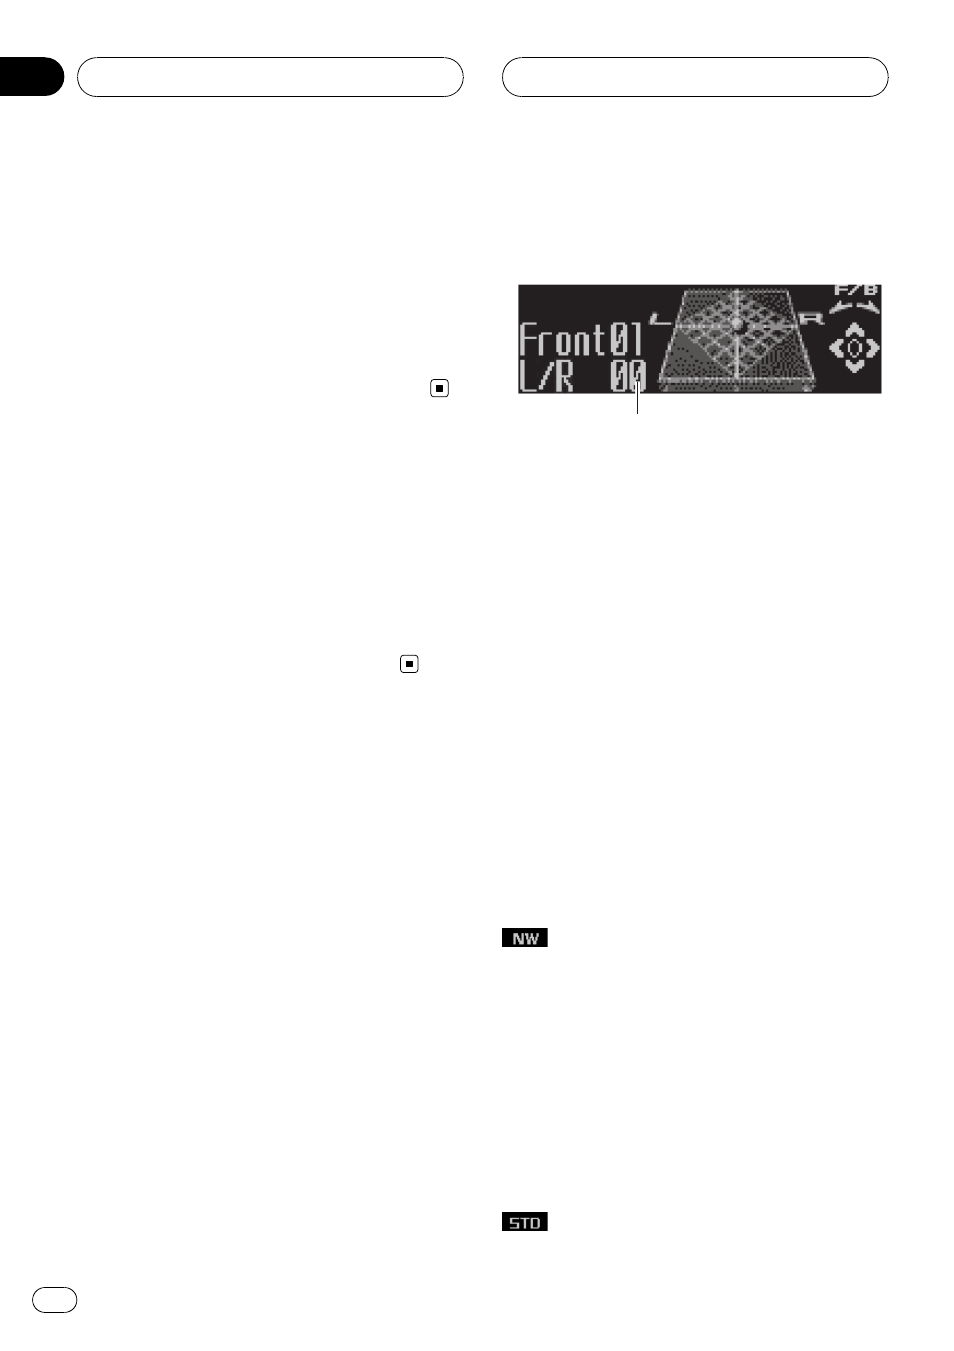
1 Audio display
Shows the audio adjustment status.
1
Press MULTI-CONTROL to display the
main menu.
FUNCTION, AUDIO and ENTERTAINMENT
appear on the display.
2
Use MULTI-CONTROL to select AUDIO.
Turn to change the menu option; press to se-
lect.
The audio function name appears on the dis-
play.
3
Turn MULTI-CONTROL to select the
audio function.
Turn
MULTI-CONTROL clockwise to switch be-
tween the audio functions in the following
order:
BAL (balance adjustment)
— NW 1 (network
adjustment 1)
—NW 2 (network adjustment 2)
—NW 3 (network adjustment 3)—NW 4 (net-
work adjustment 4)
—POSI (position selector)
—TA1 (time alignment setting)—TA2 (time
alignment adjusting)
—LOUD (loudness)—
EQ 1 (graphic equalizer)
—EQ 2 (16-band gra-
phic equalizer)
—BBE (BBE)—BMX (BMX and
compression)
—A.EQ (auto-equalizer on/off)—
SLA (source level adjustment)
Audio Adjustments
En
48
Section
11