Installing a hot-swap hard disk drive – Lenovo THINKSERVER RS210 User Manual
Page 137
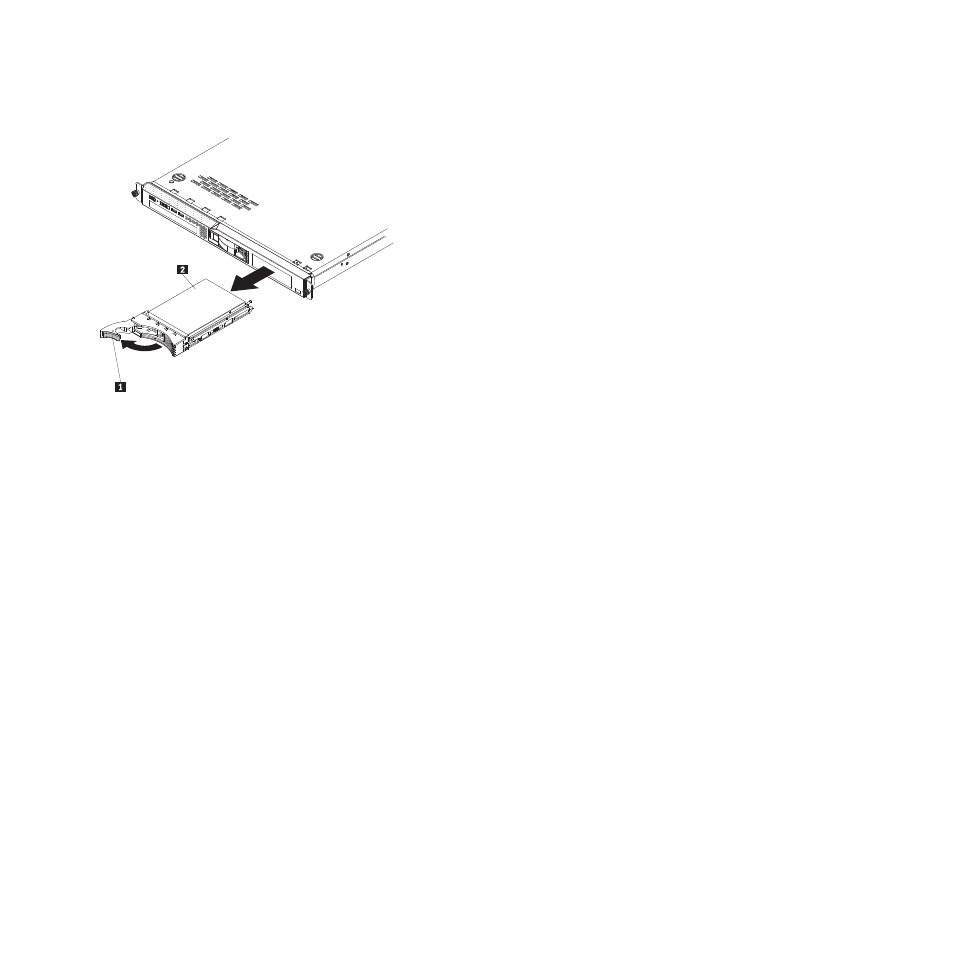
3.
Grasp the handle and pull the hot-swap drive assembly 2 out of the drive bay.
Installing a hot-swap hard disk drive
To install a hot-swap hard disk drive, complete the following steps.
Note:
If your server has only one hot-swap hard disk drive, install it in the left or upper-left drive bay.
Attention:
To avoid damage to the hard disk drive connectors, make sure that the server cover is in
place and fully closed whenever you install or remove a hard disk drive.
1.
Read the safety information in “Important Safety Information” on page 1 and “Guidelines for trained
service technicians” on page 115.
2.
Make sure that the server cover is in place and fully closed.
Attention:
To maintain proper system cooling, do not operate the server for more than 10 minutes
without either a drive or filler panel installed in each bay.
3.
Remove the filler panel from the empty drive bay if necessary.
4.
Touch the static-protective package that contains the drive to any unpainted metal surface on the
server. Then, remove the drive from the static-protective package and place it on a static-protective
surface.
5.
Install the hard disk drive in the hot-swap bay:
a.
Make sure that the tray handle is open (that is, perpendicular to the front of the drive).
b.
Align the drive assembly 3 with the guide rails in the bay.
Chapter 6. Replacing FRUs
129