Kodak 6B6254 User Manual
Page 19
Using the IPS Software with the KODAK PROFESSIONAL LED II Printers
December 2000
15
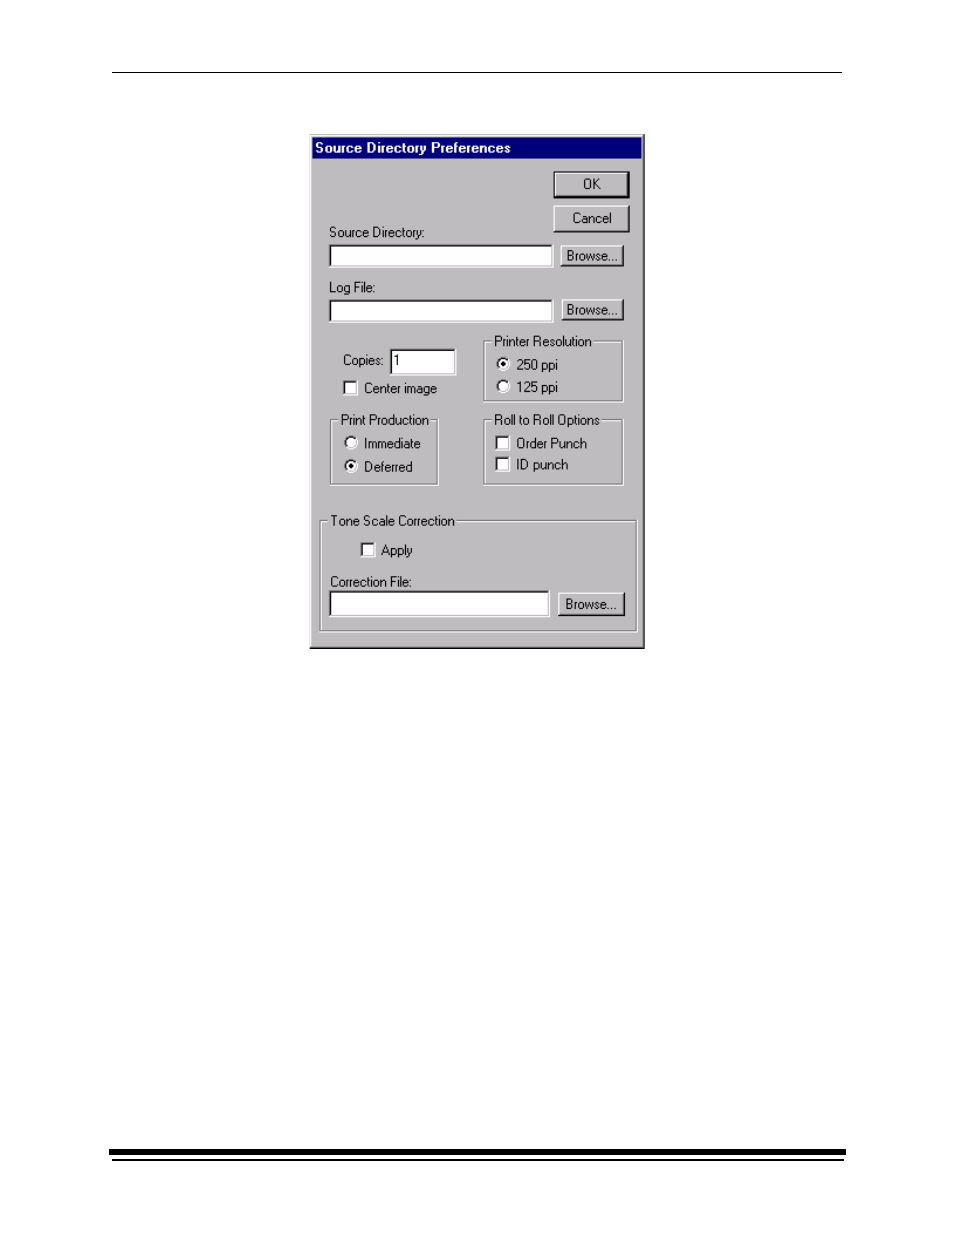
The Source Directory Preferences dialog box appears.
2. Type
the
Source Directory name or click Browse to select the Source
Directory where the TIFF images will be placed.
3. Type
the
Log File name or click Browse to select the Log File where printer
error information is to be stored. The log file applies to all devices for the
application. To edit the log file information, go to “Editing Log File Information”
on page 16.
4. Enter the number of copies to print of each image in the Source Directory.
Valid numbers are from 1 through 9999. The default value is 1.
5. Select
the
Printer Resolution:
•
The default value is 250 ppi; when you select 250 ppi, each image is
printed pixel for pixel.
•
When you select 125 ppi, the printer’s hardware pixel replication capability
is enabled.
6. Select
the
Print Production:
•
To print immediately, click the button next to Immediate.
•
To print later, click the button next to Deferred.
7. Select
the
Roll to Roll Options:
•
If each image is the end of an order, click the box next to Order Punch.
•
If you want a punch .25 in. inside each image area to mark a gutter for host
image information, click the box next to ID Punch.