Transferring images to a pc, Operating environments setting the usb mode, Operating environments – Konica Minolta Konica Revio C2 User Manual
Page 24: Setting the usb mode
24
Transferring Images to a PC
After connecting the camera to your PC with the supplied USB cable, images recorded with the camera
and the through-image displayed on the LCD monitor can be transferred to your PC.
• Back up important data.
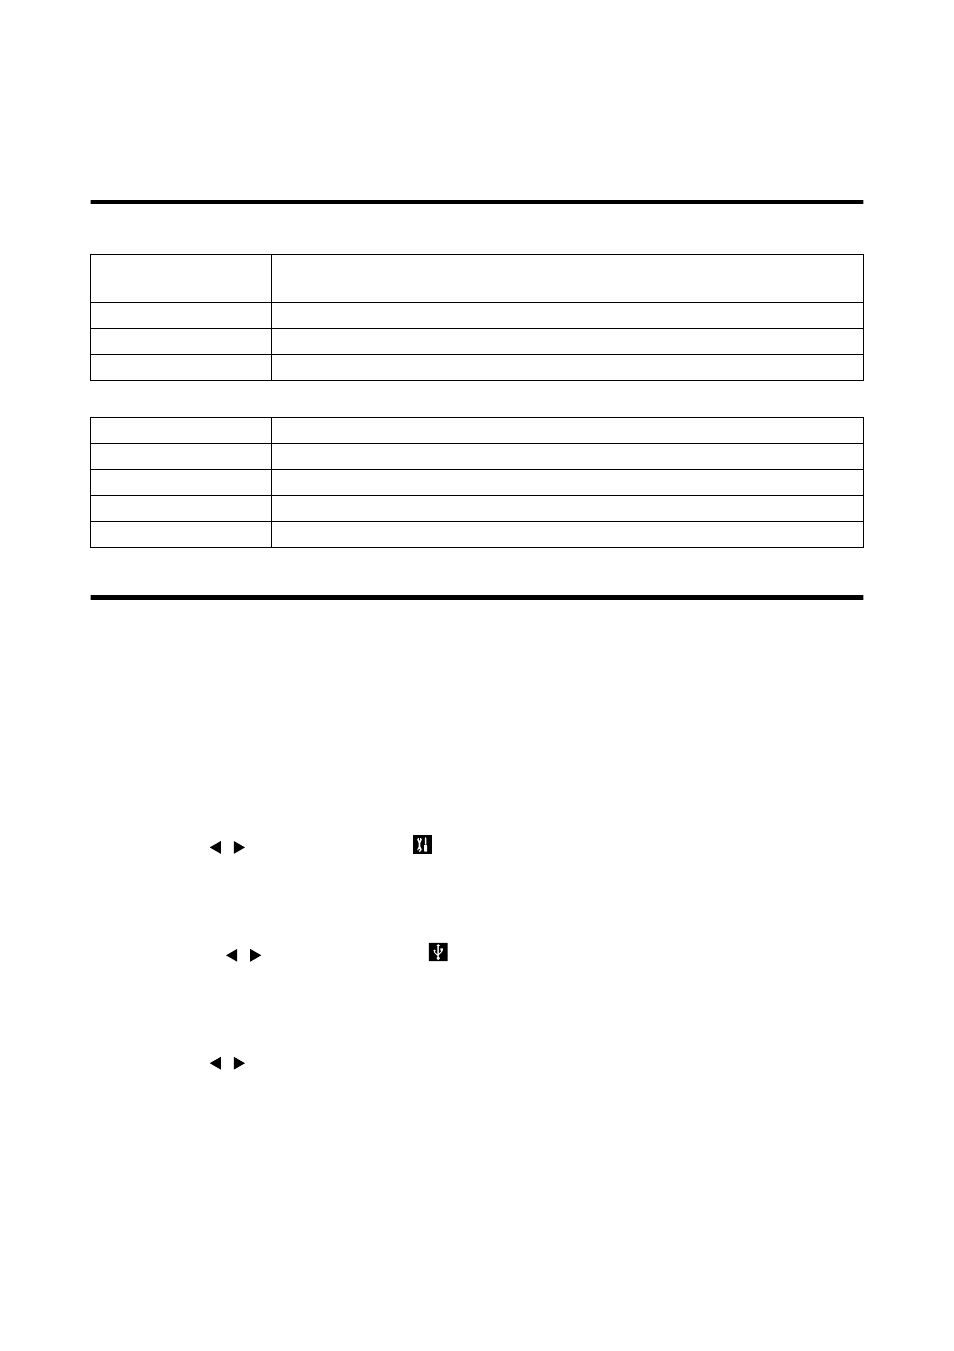
Operating Environments
1. Windows
2. Macintosh
Setting the USB Mode
If the USB mode is set to “MSDC”, the images recorded with the camera can be transferred to your PC.
If the USB mode is set to “PC CAMERA”, the previously installed the application for the WEB Camera
(Amcap) can be used to transfer the through-image displayed on the camera’s LCD monitor live to your
PC.
1
Open the lens cover on the camera.
The LCD monitor on the camera turns on and the through-image is displayed.
2
Press the MENU button.
The REC menu appears.
3
Use the / button to select
(SETUP).
4
Press the SET button.
The SETUP screen appears.
5
Press the / button to select
(USB).
6
Use the SET button.
The USB mode screen appears.
7
Use the / button to select “MSDC” or “PC CAMERA”.
8
Press the SET button.
The through-image is displayed as in Step 1.
OS
Microsoft Windows 98, Windows 98SE, Windows 2000 Professional,
Windows Me, and Windows XP
Memory
16 MB or more of available RAM (32 MB or more recommended)
Display
32,000 colors or more, resolution of 640 x 480 pixels or higher
Others
CD-ROM drive, USB port (standard equipped)
OS
Mac OS 9.0/9.1/9.2/X
CPU
PowerPC
Memory
16 MB or more of available RAM (32 MB or more recommended)
Display
32,000 colors or more, resolution of 640 x 480 pixels or higher
Others
CD-ROM drive, USB port (standard equipped)