Kyocera KM-P4850w User Manual
Page 21
CHAPTER 3 GETTING READY FOR PRINTING
3-3
5
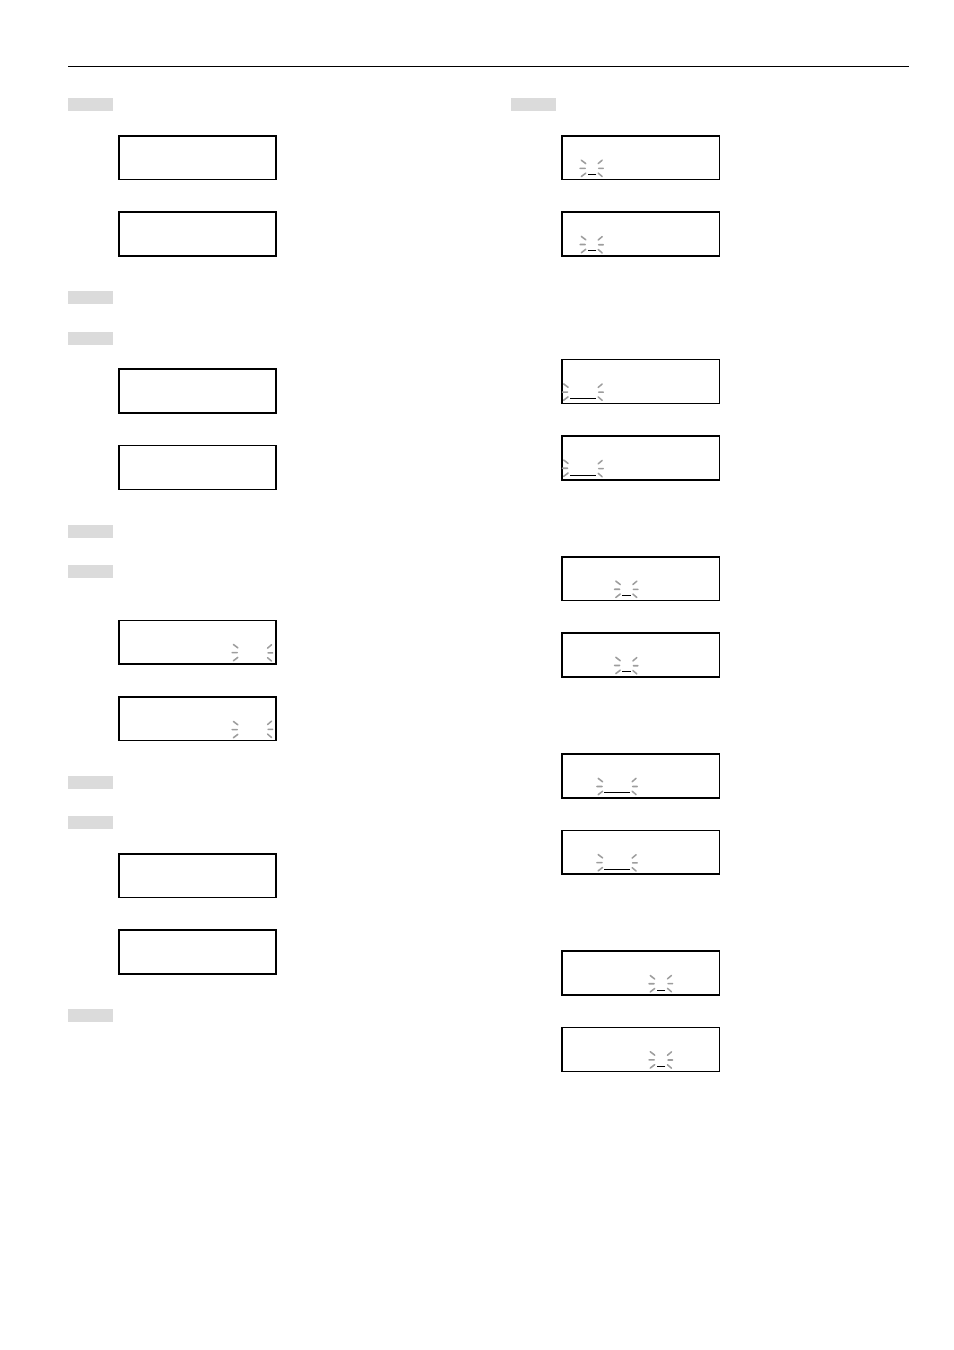
Press the N or M key to select “2. Set printer”.
Inch specifications
Set/manager:
2.Set printer
Metric specifications
Set/manager:
2.Set printer
6
Press the Enter key.
7
Press the N or M key to select “3. DHCP server”.
Inch specifications
Set printer:
3.DHCP server
Metric specifications
Set printer:
3.DHCP server
8
Press the Enter key.
9
The selected item will flash. Press the N or M key to select
“OFF”.
Inch specifications
DHCP server:
OFF
Metric specifications
DHCP server:
OFF
10
Press the Enter key.
11
Press the N or M key to select “4. IP address”.
Inch specifications
Set printer:
4.IP address
Metric specifications
Set printer:
4.IP address
12
Press the Enter key.
13
Use the MNOP cursor keys to input the IP address.
Inch specifications
IP address:
0. 0. 0. 0
Metric specifications
IP address:
0. 0. 0. 0
In order to set the IP address to “192.168.0.1”, perform the
following procedure.
1
Press the N or M key to display “192”.
Inch specifications
IP address:
192. 0. 0. 0
Metric specifications
IP address:
192. 0. 0. 0
2
Press the P key. The next value will flash.
Inch specifications
IP address:
192. 0. 0. 0
Metric specifications
IP address:
192. 0. 0. 0
3
Press the N or M key to display “168”.
Inch specifications
IP address:
192.168. 0. 0
Metric specifications
IP address:
192.168. 0. 0
4
Press the P key. The next value will flash.
Inch specifications
IP address:
192.168. 0. 0
Metric specifications
IP address:
192.168. 0. 0