Station/disc naming (snps/dnps), Auxiliary input display setting, Theft deterrent faceplate – Kenwood KDC-5026G User Manual
Page 10: General features
10
|
English
General features
Station/Disc Naming (SNPS/DNPS)
Attaching a title to a Station or CD.
1
Receive/play the station/disc you want to
attach a title to
• A title can't be attached to an MD.
• Refer to the 'Switching Display' (page 8) and select
either "DNPS" or "SNPS".
2
Enter name set mode
Press the [NAME.S] button for at least 2
seconds.
"NAME SET" is displayed.
3
Move the cursor to the enter character
position
Press the [
4] or [¢] button.
4
Select the characters
Press the [FM] or [AM] button.
•
Characters can be entered by using a remote with a
number buttons.
Example: If "DANCE" is entered.
Character
Button
Times pressed
"D"
[3]
1
"A"
[2]
1
"N"
[6]
2
"C"
[2]
3
"E"
[3]
2
5
Repeat steps 3 through 4 and enter the name.
6
Exit name set mode
Press the [NAME.S] button.
• When operation stops for 10 seconds the name at
that time is registered, and Name Set mode closes.
• Memory numbers
- FM: 28 stations
- AM: 10 stations
- Internal CD player: 10 discs
- External CD changer/ player: Varies according to the
CD changer/ player. Refer to the CD changer/ player
manual.
• The title of station/CD can be changed by the same
operation used to name it.
Auxiliary Input Display Setting
Selecting the display when this device is switched
to Auxiliary input source.
1
Select Auxiliary input source
Press the [SRC] button.
Select the "AUX1" display.
2
Enter Auxiliary input display setting mode
Press the [DISP] button for at least 2 seconds.
The presently selected AUX Name is blinks.
3
Select the Auxiliary input display
Press the [
4] or [¢] button.
Each time the button is pressed it switches
through the below displays.
• "AUX1"
• "TV"
• "VIDEO"
• "GAME"
• "PORTABLE"
• "DVD"
4
Exit Auxiliary input display setting mode
Press the [DISP] button.
• When operation stops for 10 seconds, the name
at that time is selected, and Auxiliary input display
setting mode closes.
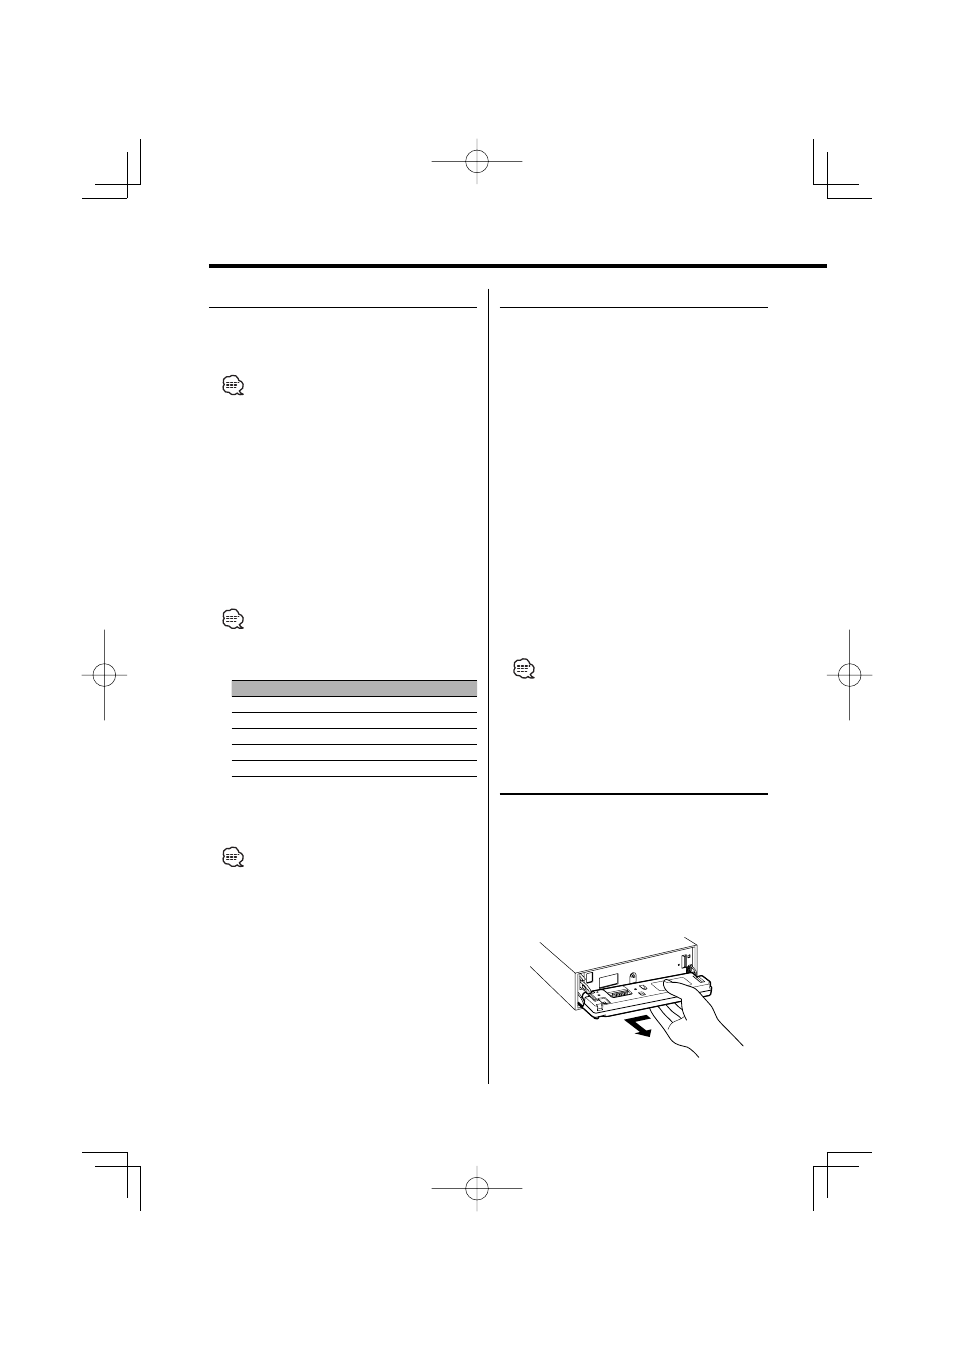
Theft Deterrent Faceplate
The faceplate of the unit can be detached and
taken with you, helping to deter theft.
Removing the Faceplate
1
Press the Release button.
Drop open the faceplate.
2
Drawing the faceplate to left side pull it to
the front and remove it.