13 menu description – Sim2 Multimedia HT 250 User Manual
Page 16
HT 200/250
18
13 MENU DESCRIPTION
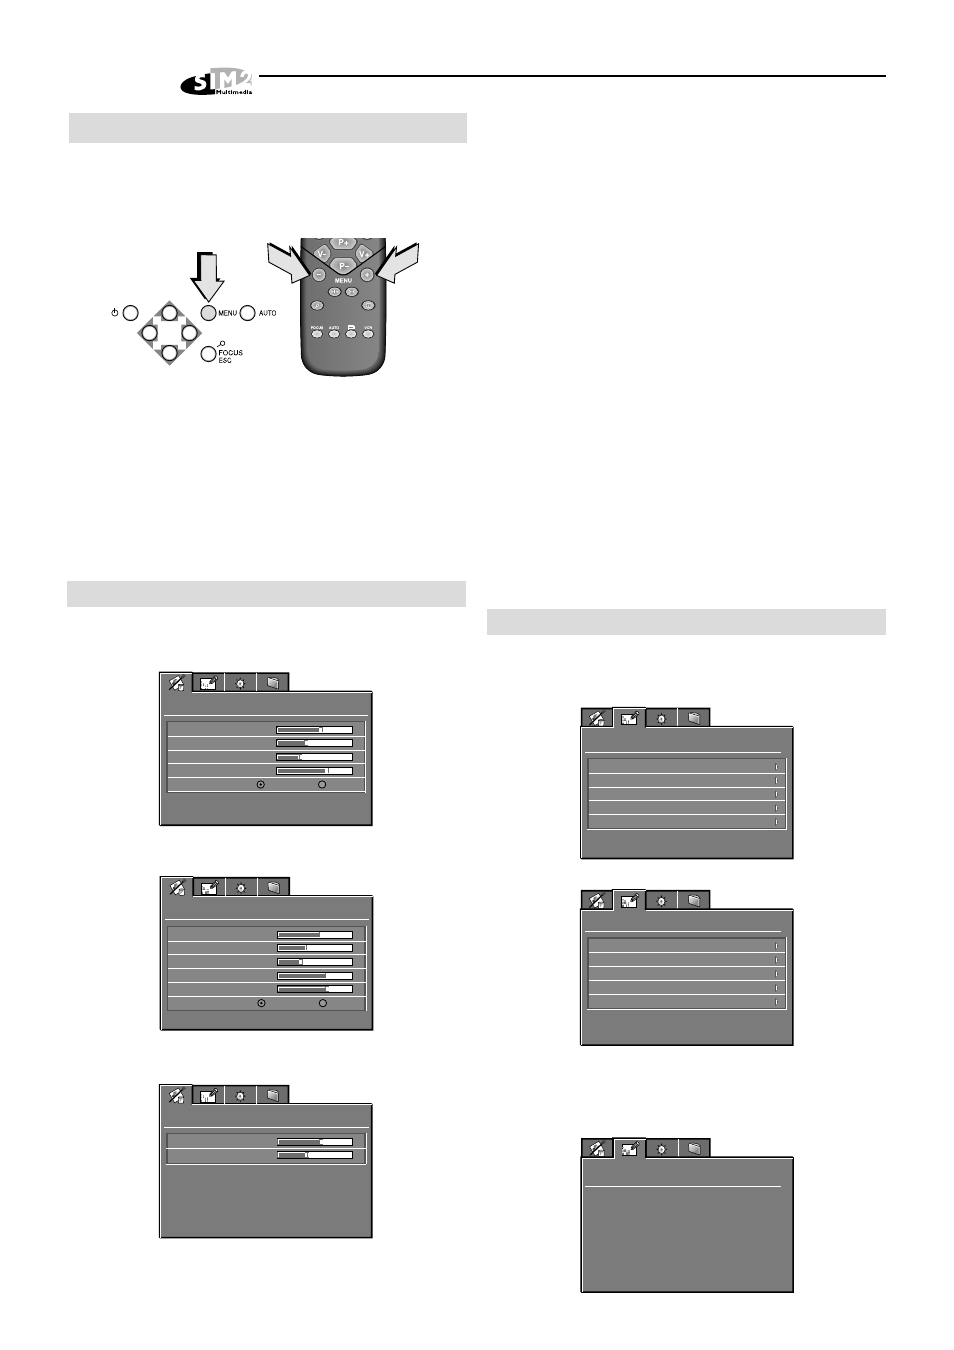
To access the main On Screen Display menu, press the
Menu key on the keyboard or the key Menu + or Menu –
on the remote control
(Fig. 46)
.
The main menu is divided into four sections to cover
various adjustments in a practical and logical manner.
The on-screen menu layout is dependant upon the chosen
input signal so various options may not be applicable, i.e.
some typical adjustments to the video signal are not
applicable to the graphic RGB signals from PC and vice
versa.
13.1 PICTURE
This menu features adjustments relating to the projected
image quality.
Color
Sharpness
Video Type
Picture
57
Contrast
Brightness
38
30
5
Normal
VCR
VIDEO
Color
Tint
Sharpness
Video Type
Picture
57
Contrast
Brightness
38
30
65
5
Normal
VCR
VIDEO-NTSC
57
38
Picture
Brightness
Contrast
RGB
13.1.1 BRIGHTNESS
Use this control to adjust the image’s black level.
13.1.2 CONTRAST
Use this control to adjust the image’s white level, be
careful not to over saturate the white level.
13.1.3 COLOR
Use this control to adjust the colour level.
13.1.4 TINT
Controls the purity of the colours, to NTSC coded signal
standards. Tint is only applicable to video input with
NTSC standard.
13.1.5 SHARPNESS
Use this adjustment to increase or decrease the level of
picture detail.
13.1.6 VIDEO TYPE
Inserts a filter that improves stability of images from vi-
deo-recorders.
To toggle between Normal and VCR mode, press the
VCR key on the remote control.
13.2 IMAGE ADJUSTMENTS
This menu features adjustments relating to position,
aspect ratio and magnification etc.
Image
Position
Aspect
Video Standard
Advanced Settings
Magnification
VIDEO
Image
Position
Aspect
Frequency / Phase
Advanced Settings
Magnification
RGB
13.2.1 POSITION
Use this adjustment to position the image vertically and
horizontally.
Image
Use arrow keys to position
the image
Position
Fig. 46