2 7 digital audio recording with – Sherwood R-956 User Manual
Page 27
2 7
DIGITAL AUDIO RECORDING WITH
Select the desired digital input for the
recording signal input.
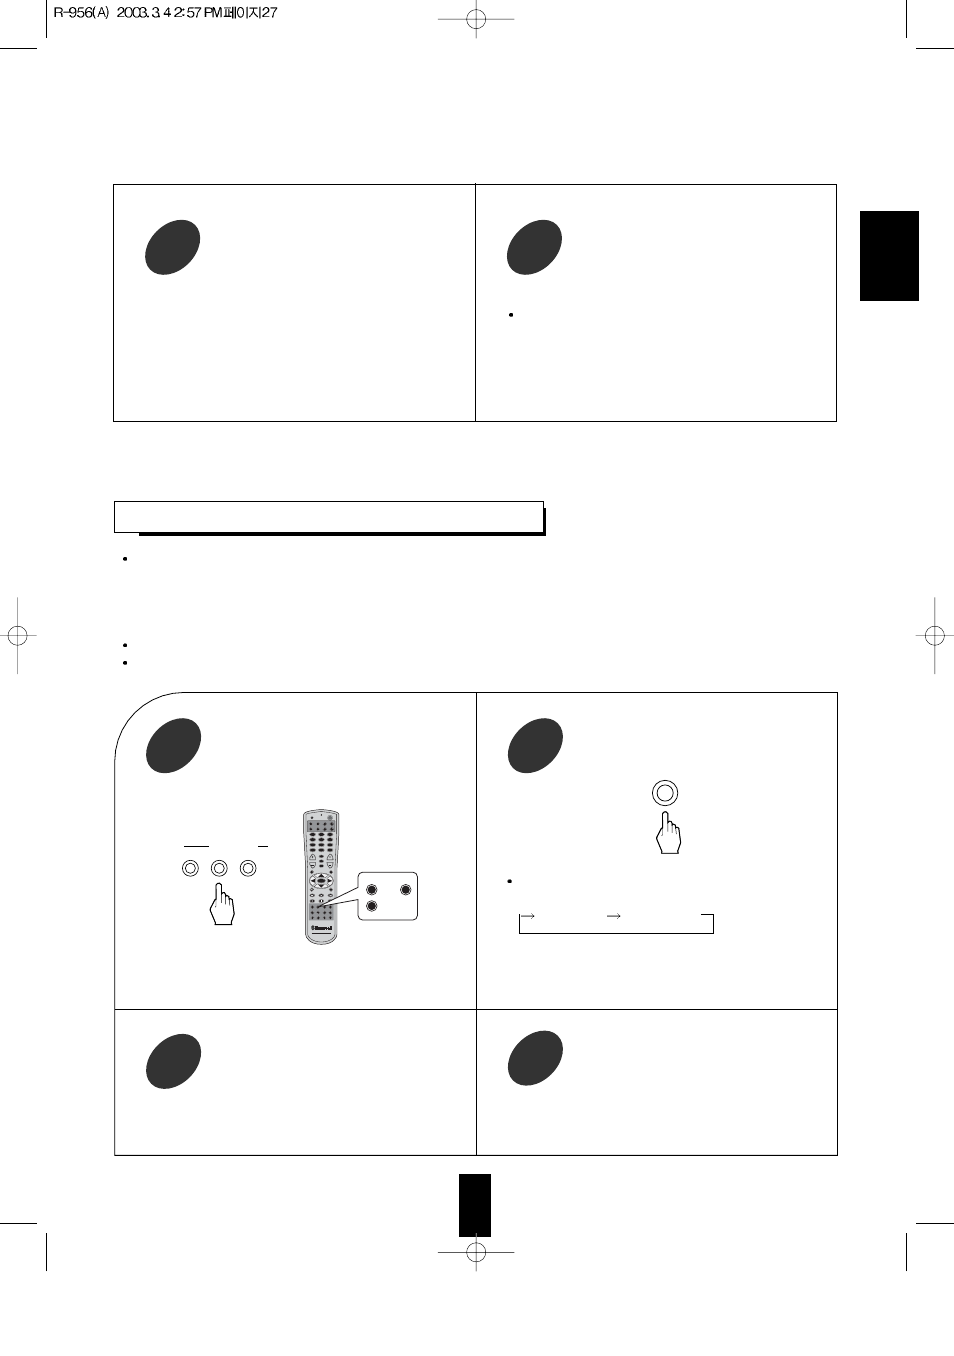
2
Select a desired input of CD, TAPE
MONITOR and VIDEO 1~VIDEO 4 as a
recording source.
1
Start recording on the component
connected to OPTICAL DIGITAL OUT.
3
When the OPTICAL DIGITAL OUT of this receiver is connected to the OPTICAL DIGITAL IN of an MD or CD
recorder, you can enjoy high-quality sound of digital recording, without converting the original signals. Refer to
“CONNECTING AUDIO COMPONENTS” and “CONNECTING VIDEO COMPONENTS” on pages 5 and 6 and
the operator’s manual of the MD or CD reocrder.
Notes:
Digital recording is available for the digital audio program sources such as CDs, MDs, some DVDs, etc.
In most DVDs as well as some CDs, etc., digital recording may not be available depending on the signal format.
ENGLISH
or
SE
TUP
AUD
SAT
VOL
VID 4
SE
TUP
P.SCAN
VOL
SLEEP
CH LEVL
HOME THEATER MASTER
RNC-30
PWR
ENTER
PHONO
CD
TUNER TAPE MON
T2 MON
VID SEL
VID 2
VID 3
VID 4
AUX
ROOM 2 SYS DISP
AUD
CD
DVD
AUX
TV
VCR
CBL
SAT
1
2
3
4
5
6
7
8
9
MUTE
0
CH SEL
T.TONE
D.TIME
D.ADJ
STEREO
AUTO
6.1CH IN
DSP MODE
OSD
CD
VID SEL
TAPE MON
INPUT SELECTOR
AUDIO
VIDEO
TAPE MON.
Start play on the desired input.
4
Each time this button is pressed, the corresponding
input is selected as follows;
DIGITAL
ANALOG
Note: When the selected digital input is not connected,
“DIGITAL” is flickering, meaning no recording
as well as no sound.
DIGITAL/ANALOG
Start recording on the VIDEO 1.
3
Start play on the VIDEO 2 and the CD
respectively.
4
The audio signal from the CD and the video signal
from the VIDEO 2 will be dubbed and you can
enjoy them on the TV set and from the speakers.
Note: Be sure to observe the order of the above steps
1 and 2.