Operation, Fasteners – Shindaiwa 80045 User Manual
Page 6
4
1. Place the spreader on a driveway or
sidewalk – not on the lawn. Make
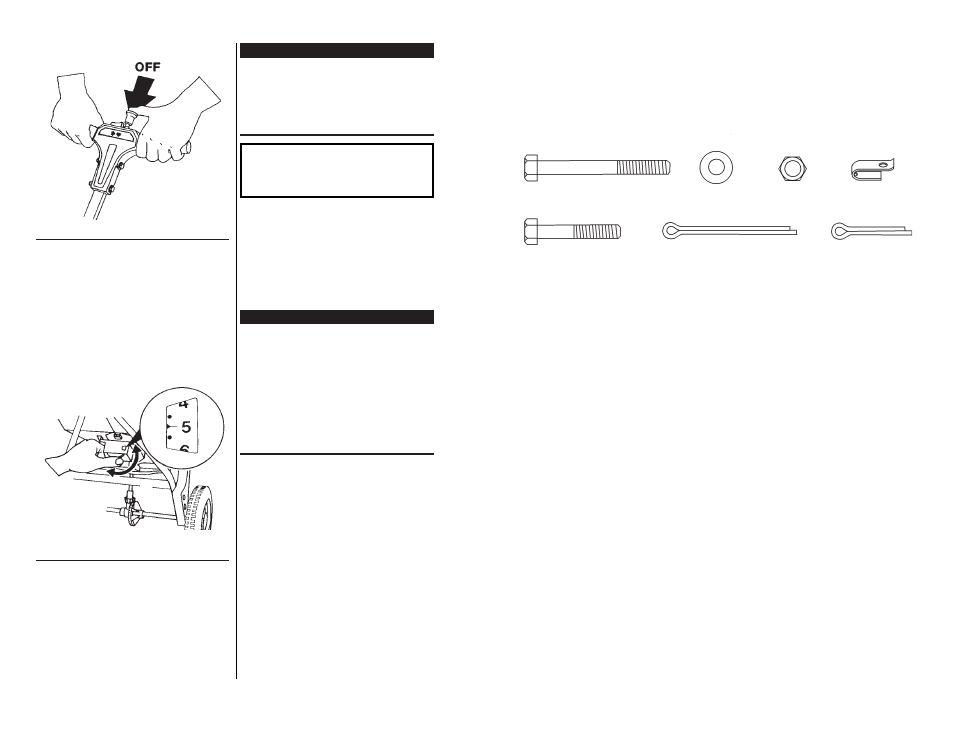
sure the spreader is off by pushing
the control knob in. See Figure 8.
2. Determine the recommended
application and spreader settings of
the material to be applied (check
the product container).
Operation
Figure 8
3. Rotate the rate cam to the proper
setting. See Figure 9.
4. Fill the hopper with the product to
be spread.
Figure 9
IMPORTANT!
Always begin moving the spreader
before you open the control by
pushing the thumb release to the ON
position, and push the control knob in
to CLOSE before stopping.
CAUTION!
During operation, always push the
spreader; never pull!
5. Hold the handle so the top of the
hopper is level. Start the spreader
moving, then push the thumb
release to the ON position and
begin applying the material. Avoid
tipping the spreader; doing so can
cause an uneven application.
IMPORTANT!
The settings and swath widths are
recommended starting points. Always
check the delivery rate and pattern
on a small area before treating a
large area. Actual delivery rate can
vary due to weather conditions,
walking speeds, and the condition of
the product being applied.
See pages 6-7 for details.
OF
F
ON
9
Fasteners
The Fastener Bag contains these
fasteners. Most are all common parts;
replacements are available at local
hardware outlets.
1/4-20 x 2 1/4 Hex Bolt
(6 Req.)
1/4" Flat Washer
(4 Req.)
1/4"-20 Nut
(8 Req.)
1/8 x 1" Cotter Pin
(1 Req.)
5/32 x 2" Cotter Pin
(1 Req.)
1/4-20 x 1 1/2" Hex Bolt
(2 Req.)
Wire Attachment
Clip (1 Req.)