Sierra Wireless AirCard 710 User Manual
Page 33
Chapter 1: Introducing the AirCard 555 Network Card
Rev 1.2 Mar.02
25
Configuring Y
o
ur
Ac
co
unt
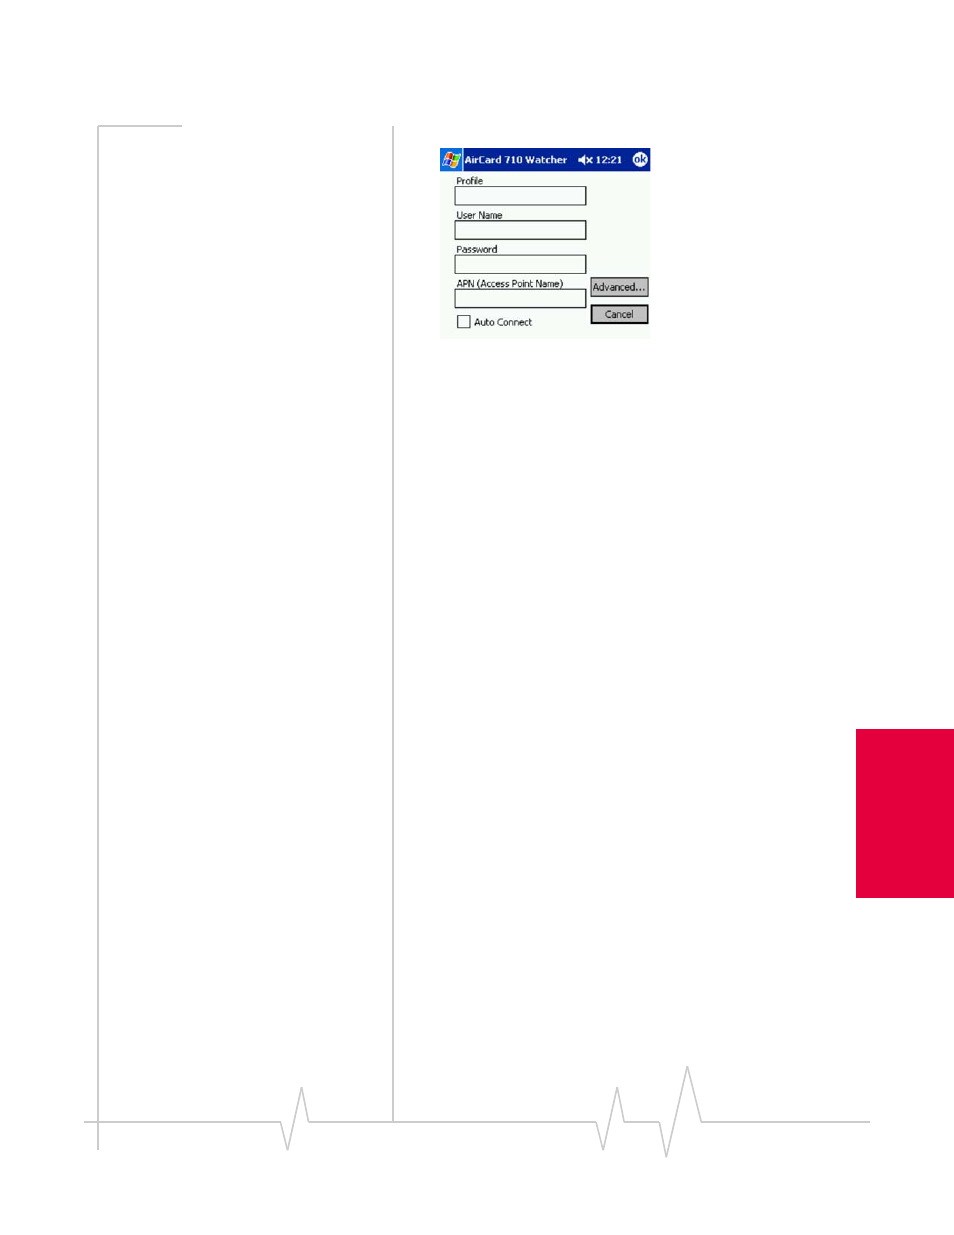
A screen in which you enter profile information appears.
Figure 5-2: Entering profile information (Pocket PC 2002)
3.
Fill in the following fields:
Profile
—type in any name that will help you remember the
purpose/use of this account. This name will be shown in
the main Watcher screen and, if you later create more pro-
files, you can use it to select this profile.
User Name
and
Password
—type in the user name and pass-
word that the service provider gave you, if applicable.
APN (Access Point Name)
— type in the name that the service
provider gave you, if any (some service providers do not
use this, and allow a blank name). This is the name of the
gateway through which you will be connecting to the
Internet.
4.
If you want to have a GPRS packet data session established
whenever you are using this profile and whenever you are
in GPRS coverage, then check
Auto Connect
.
5.
Tap
Advanced
.
6.
If your service provider gave you a specific IP address for
your AirCard, then select the radio button “
Use static IP
address
”, and type the address. (Usually, you should select
the radio button “
Use dynamic IP address
“.)
7.
If your service provider is using data compression and/or
header compression, then select the checkbox(es) for the
feature(s) that your service provider supports.
8.
If your service provider gave you values for
Primary DNS
and
Secondary DNS
, then:
a.
Tap the DNS tab at the bottom of the screen.
b.
Enter the values into the corresponding fields.
c.
Tap
ok
.
9.
Tap
ok
until you return to the main Watcher screen.
The AirCard is now ready for use.