Setting up channels (cont.), Remote control unit ■ channel setup menu, Press the cursor button 3 to move to “swno – JVC G2000 User Manual
Page 55: Press the menu/enter button (fix), Press the cursor button 2 or 3 to select a number, Press the page back button, 53 english, Operating the main menu (cont.)
53
ENGLISH
Setting Up Channels (Cont.)
Operating the Main Menu (Cont.)
OPERATE
VOL.
PAGE
BACK
PRESET
ZOOM
FOCUS
COMPUTER VIDEO
QUICK
ALIGN.
AV
MUTING
W
T
MENU/ENTER
MENU/ENTER
button
Cursor buttons
PAGE BACK button
■
Remote control unit
■
CHANNEL setup menu
Notes
• The selected item is shown in magenta color. Items shown
in gray color cannot be operated or set in the current mode.
• Items that can be set are different when video signals are
input and when computer signals are input.
• For dedicated source signals (corresponding frequency, etc.)
for computer signals, see page 19.
■
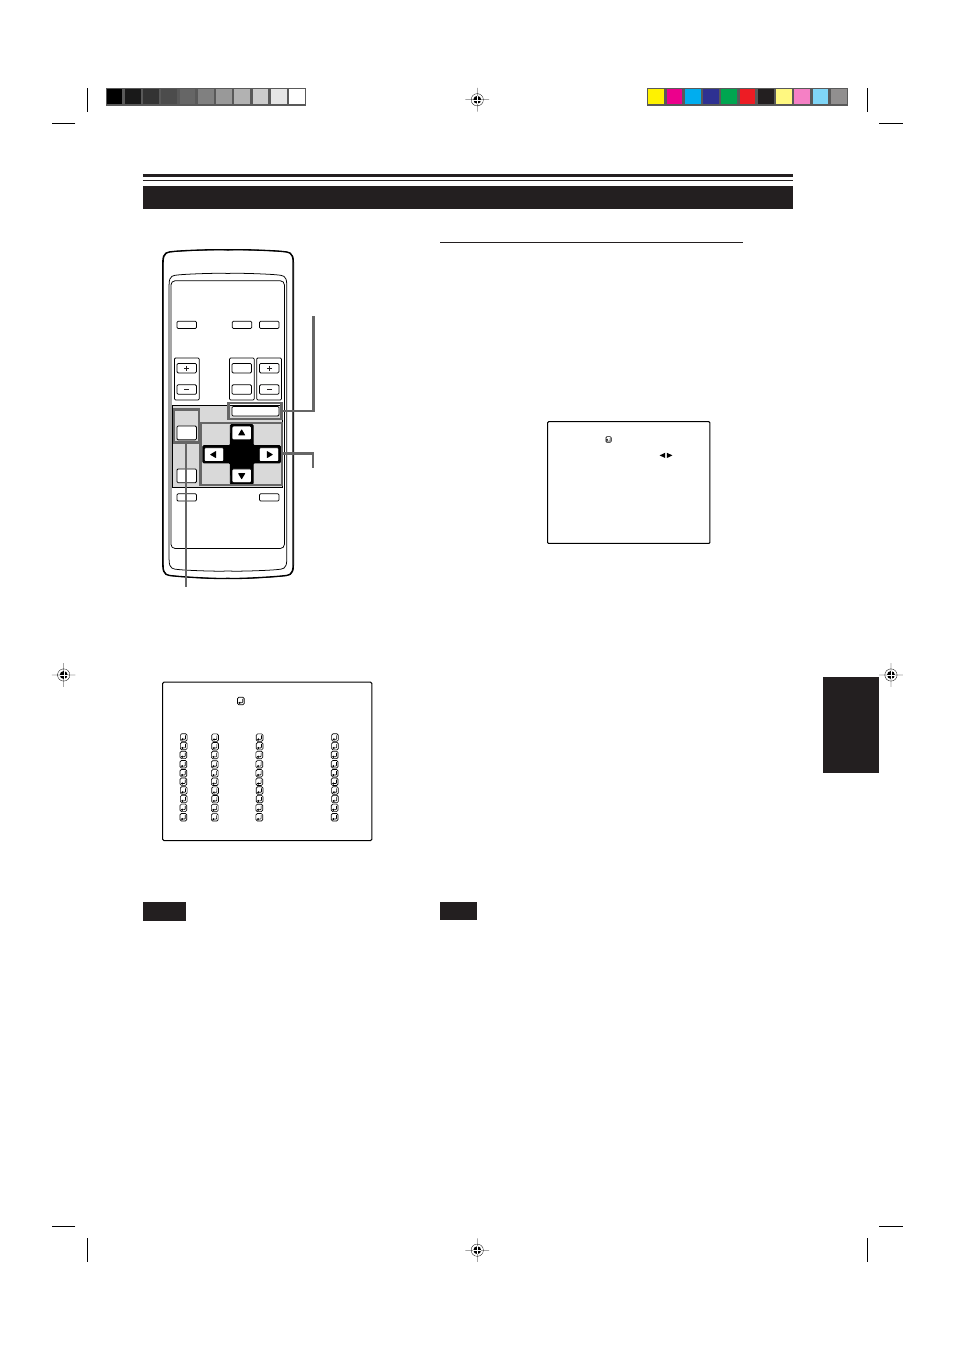
To set up a switcher number “SWNo” :
1
Press the cursor button
3
to move to
“SWNo”.
• The selected item is shown in magenta color on the screen.
• If any “LINE” item is not selected, you cannot choose a
“SOURCE” or “SWNo” item. First, register a “LINE” item.
2
Press the MENU/ENTER button (fix).
• The “Switcher Number Setup” menu is displayed on the screen.
3
Press the cursor button
2
or
3
to select
a number.
• Numbers that you can choose from are numbers from 1 to 20
and symbols “
77
” that signify non-registration.
• Pressing the cursor
2
makes the number smaller.
Pressing the cursor
3
makes the number larger.
• If you select “
77
”, any “SWNo” item is not registered.
• If a channel is selected, you cannot make any settings or
changes.
4
Press the PAGE BACK button.
• When you press PAGE BACK, the switcher number is set, and
the display returns to the “CHANNEL setup” menu.
• Be careful that if you set the same switcher number to a few
channels and operate using the switcher number, the youngest-
number channel is switched to because channels are read in
the order of channel numbers.
(Switcher Number Setup menu)
1
2
3
4
5
6
7
8
9
( A U T O )
C H A N N E L
N T S C ( 4 8 0 i )
P A L / S E C A M
777777777
777777777
777777777
777777777
777777777
777777777
777777777
777777777
10
77777
77777
77777
77777
77777
77777
77777
77777
Y / C
V I D E O
1
2
77
77
77
77
77
77
77
77
CH
L I N E
S O U R C E
SWNo
S W I T C H E R NO.
S W I T C H E R
1
Note
• If used in combination with a dedicated switcher, the channels of
the projector can be automatically switched in conjunction with the
switching of the swticher.
As an example, if you have set Switcher 1 (SWNo 1) to the Channel
No. 1 (CH1), selecting Switcher 1 (SWNo 1) automatically switches
to Channel No. 1 (CH1). (Communication setup between the
projector and the switcher is required.)
For information on dedicated switchers, contact the dealer where
you purchased your projector.
G2000 p.35-59
99.11.20, 3:29 AM
53