JVC GR-D70 EN User Manual
Page 26
EN
26
FOR RECORDING
Manual Focus
To obtain correct focus.
1
If you are using the viewfinder, you should already
have made the necessary viewfinder adjustments
(
੬
pg. 8).
2
Set the Power Switch
u
to “
” while pressing
down the Lock Button
y
located on the switch, then
press FOCUS
*
(
੬
pgs. 48 and 49). The manual
focus indicator appears.
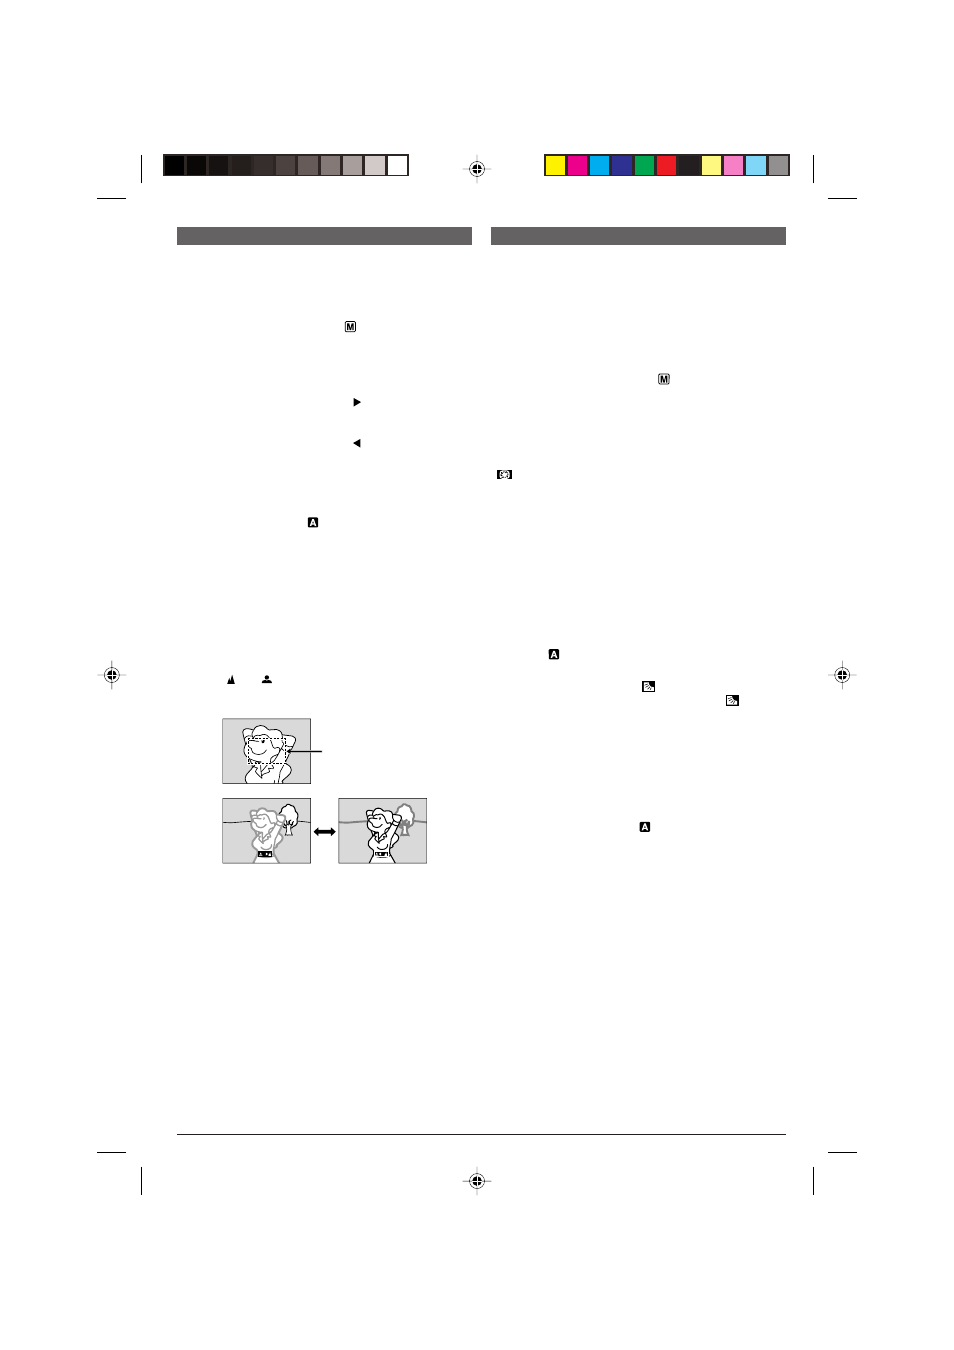
3
To focus on a farther subject, rotate the MENU/
VOLUME wheel
%
towards “+”. “
”
o
appears and
blinks.
To focus on a nearer subject, rotate the MENU/
VOLUME wheel
%
towards “–”. “
”
o
appears and
blinks.
4
Press the MENU/VOLUME wheel
%
in. Focus
adjustment is complete.
To reset to Auto Focus, press FOCUS
*
twice or set
the Power Switch
u
to “
”.
If FOCUS
*
is pressed once, the camcorder will enter
the focus adjustment mode again.
NOTES:
● Be sure to focus the lens in the maximum telephoto
position when you use the Manual Focus mode. If you
focus in on a subject in the wide-angle position, sharply
focused images cannot be obtained when zoomed up
because the depth-of-field is reduced at longer focal
lengths.
● When the focus level cannot be adjusted any further or
closer, “
” or “
” will blink.
Exposure Control
Manual exposure adjustment is recommended in the
following situations:
• When shooting using reverse lighting or when the
background is too bright.
• When shooting on a reflective natural background
such as at the beach or when skiing.
• When the background is overly dark or the subject
light.
1
Set the Power Switch
u
to “
” while pressing
down the Lock Button
y
located on the switch. Open
the LCD monitor fully or pull out the viewfinder fully.
2
Press the MENU/VOLUME wheel
%
in. The Menu
Screen appears.
3
Rotate the MENU/VOLUME wheel
%
to select
“
(EXPOSURE)”, then press it.
4
Rotate the MENU/VOLUME wheel
%
to select
“MANUAL”, then press it. The Menu Screen disappears.
The exposure control indicator appears.
5
Rotate the MENU/VOLUME wheel
%
towards “+” to
brighten the image, or towards “–” to darken the image.
(maximum ±6)
6
Press the MENU/VOLUME wheel
%
in. Exposure
adjustment is complete.
To Return To Automatic Exposure Control . . .
..... select “AUTO” in step 4. Or, set the Power Switch
u
to “
”.
To Brighten The Subject Quickly . . .
..... press BACKLIGHT
!
.
)
is displayed and the
subject is brightened. If pressed again,
)
disappears and the brightness returns to the
previous level.
• +3 exposure has the same effect as the BACKLIGHT
Button
!
.
• Using BACKLIGHT
!
may cause the light around the
subject to become too bright and the subject to
become white.
• Backlight compensations is also available when the
Power Switch
u
is set to “
”.
NOTE:
You cannot use the manual exposure control at the same
time with backlight, spotlight (
੬
pg. 23) compensation and
“SNOW” (
੬
pg. 23).
While focusing on
a nearer subject
While focusing on
a further subject
Focus detection zone
01 GR-D70/60EK 23-34
02.12.4, 17:17
26