English – JVC RX-889PGD User Manual
Page 28
25
English
Notes:
• You can adjust the speaker output levels without outputting the
test tone.
• No test tone comes out of the center speaker when “CENTER
SPK” is set to “NONE” (see page 14).
• No test tone comes out of the rear speakers when “REAR SPK”
is set to “NONE” (see page 14).
• If the TV is turned on and the proper video input is selected on
the TV, the test tone screen will appear on the TV.
• The signal indicators also light on the display while the test tone
comes out of the speakers.
L:
Lights when the test tone comes out of
the left front speaker.
C:
Lights when the test tone comes out of
the center speaker.
R:
Lights when the test tone comes out of the right front
speaker.
RS: Lights when the test tone comes out of the right rear
speaker.
LS:
Lights when the test tone comes out of the left rear
speaker.
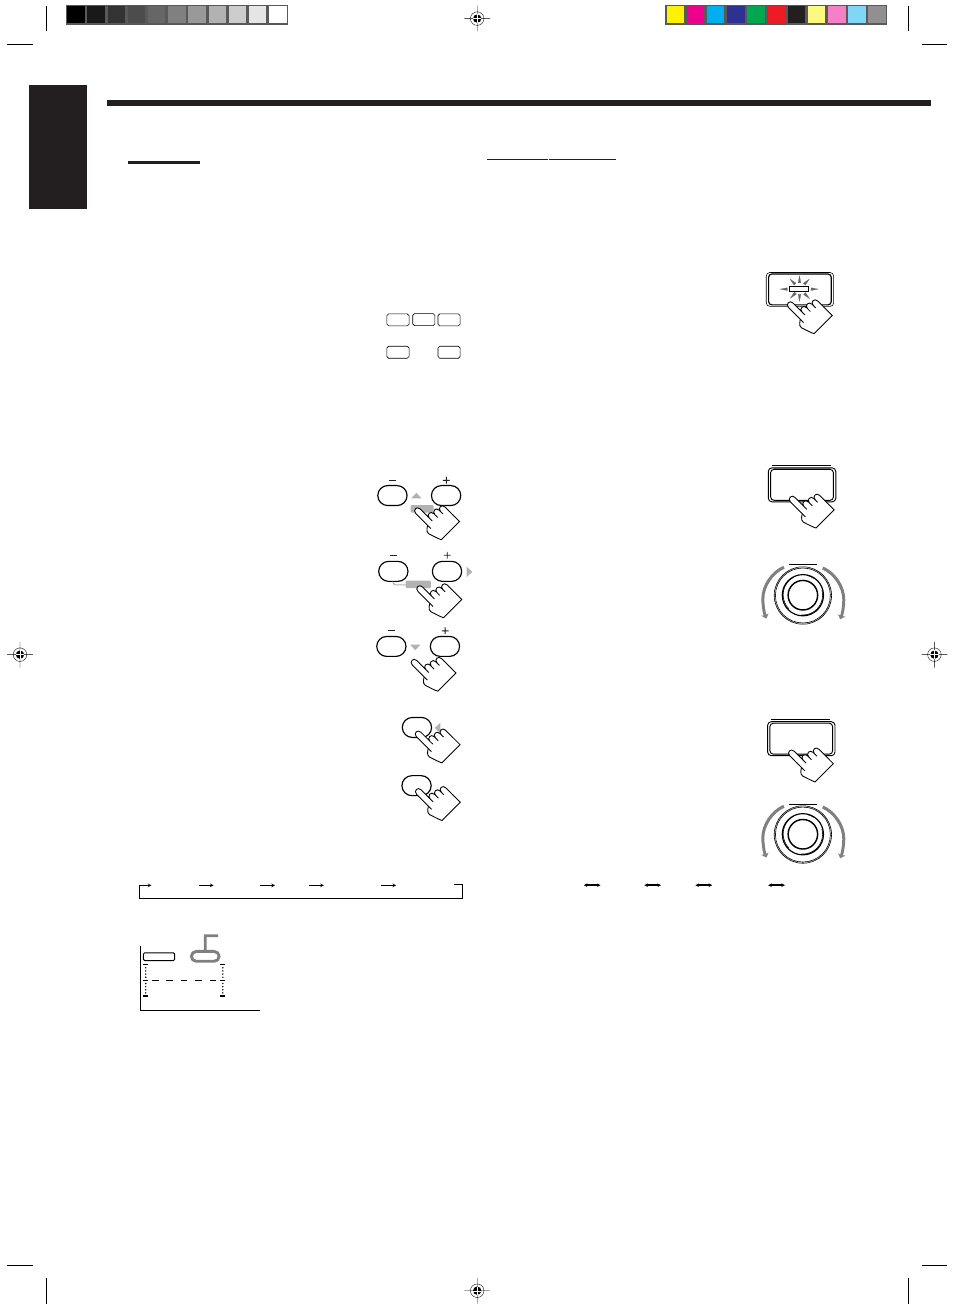
4. Adjust the speaker output levels.
• To adjust the center speaker level, press
CNTR –/+ (from –10 dB to +10 dB).
• To adjust the left rear speaker level, press
REAR•L –/+ (from –10 dB to +10 dB).
• To adjust the right rear speaker level, press
REAR•R –/+ (from –10 dB to +10 dB).
5. Press TEST again to stop the test tone.
6. Press CNTR TONE to select the
center tone level you want.
The center tone adjustment affects the mid-
frequency range, which the human voice is
mostly made up of.
• Each time you press the button, the display changes to show
the following:
Adjusted levels are also shown on the equalizer display.
To make the dialogue clearer, select “SHARP 1” (little) or
“SHARP 2” (much).
To make the dialogue softer, select “SOFT 1” (little) or “SOFT
2” (much).
When “FLAT” is selected, no adjustment is applied.
On the front panel:
You can also use the buttons on the front panel to adjust the
Surround modes. However, no test tone is available when using the
buttons on the front panel. So, make adjustments while listening to
the sound of the source played back.
1. Press DOLBY/DTS/MPEG
SURROUND ON/OFF to activate
an appropriate Surround mode —
PRO LOGIC, DOLBY DIGITAL,
DTS SURROUND, or MPEG
SURROUND.
• Each time you press the button, the Surround mode turns on
and off alternately.
• When “PRO LOGIC” is selected, the PRO LOGIC indicator
lights up on the display.
2. Adjust the speaker output levels.
1) Press BALANCE/SURROUND
ADJUST repeatedly until one of the
indications appears on the display.
“CENTER LEVEL”:
To adjust the center speaker level.
“REAR L LEVEL”:
To adjust the left rear speaker level.
“REAR R LEVEL”:
To adjust the right rear speaker level.
2) Turn MULTI JOG to adjust the
selected speaker output level (from –10
dB to +10 dB).
3) Repeat 1) and 2) to adjust the other
speaker output levels.
3. Adjust the center tone.
1) Press BALANCE/SURROUND
ADJUST repeatedly until “CENTER
TONE” appears on the display.
The display changes to show the current
setting.
2) Turn MULTI JOG to select the center
tone level you want.
• As you turn it, the display changes to
show the following:
MULTI JOG
CNTR TONE
1
TEST
4
SHARP 1
SHARP 2
FLAT
SOFT 2
SOFT 1
CNTR
2
3
MENU
MENU
REAR•R
8
9
DOLBY/DTS/MPEG
SURROUND ON/OFF
C
LS
L
RS
R
REAR•L
5
6
ENTER
BALANCE/
SURROUND
ADJUST
BALANCE/
SURROUND
ADJUST
MULTI JOG
SHARP 1
SHARP 2
FLAT
SOFT 2
SOFT 1
CNTR
100
1k
10k
S E A
This CNTR means this adjustment can
be applied to the center speaker only.
(Example: When “FLAT” is selected.)
EN19_30.RX-889P[US, UB]/f
99.4.19, 6:12 PM
25